
So, in previous post we discussed about setting up elementor and in this post we are going to discuss how to actually design a page using its free page builder. This page builder works with custom post types and has plenty of ready-made templates to choose from, but for this post, let’s see what it looks like to start at square one. Just follow the simple steps listed below to get your job done.
Step 1. Create New Post or Page
Go to the dashboard of your WordPress website and click “Add New” under Posts or Pages. For this tutorial, I’m going to make a new blog post.
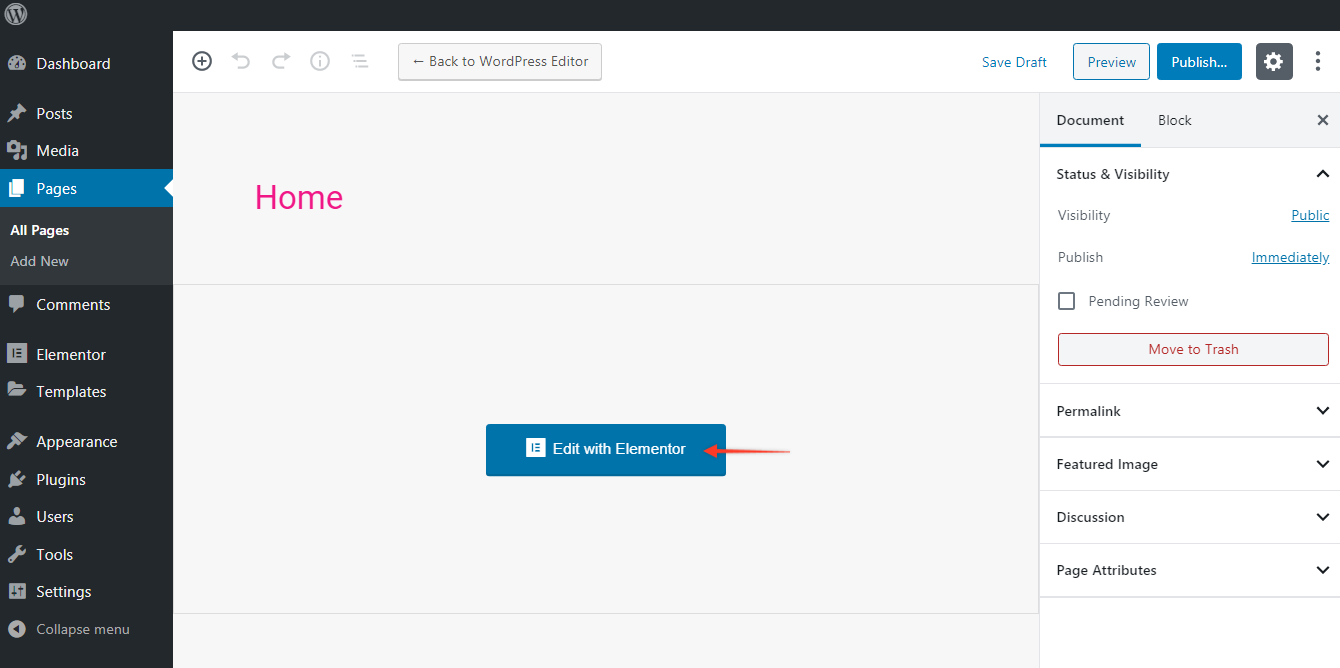
Step 2. Edit With Elementor
Once you get to this screen, you can choose to edit the page with the default WordPress editor. To use Elementor, you should click the “Edit With Elementor” button. as shown below
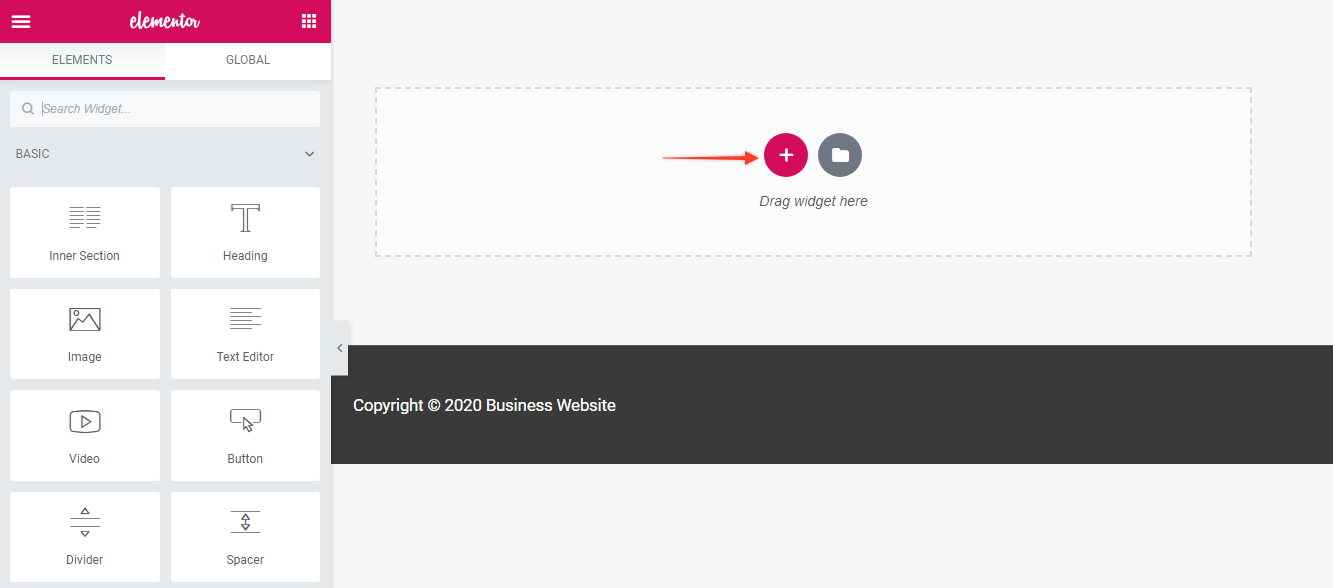
Step 3. Drag Elements to Main Page
This page will be empty initially. Pick and drag elements from the Elementor sidebar. Let’s create a new heading for the page. All you have to do is click on the box that says “Heading,” hold down the mouse button, and drag it to the widget area on the page (where it says “Drag widget here”).Step 3. Drag Elements to Main Page
If you don’t want this element to take up the full width of your page (which it does by default), you can click the little “plus” button to customize the structure of that section of your page.
After you’ve clicked the plus button, you’ll see an option to “Select Your Structure.” Let’s go with three equal columns.
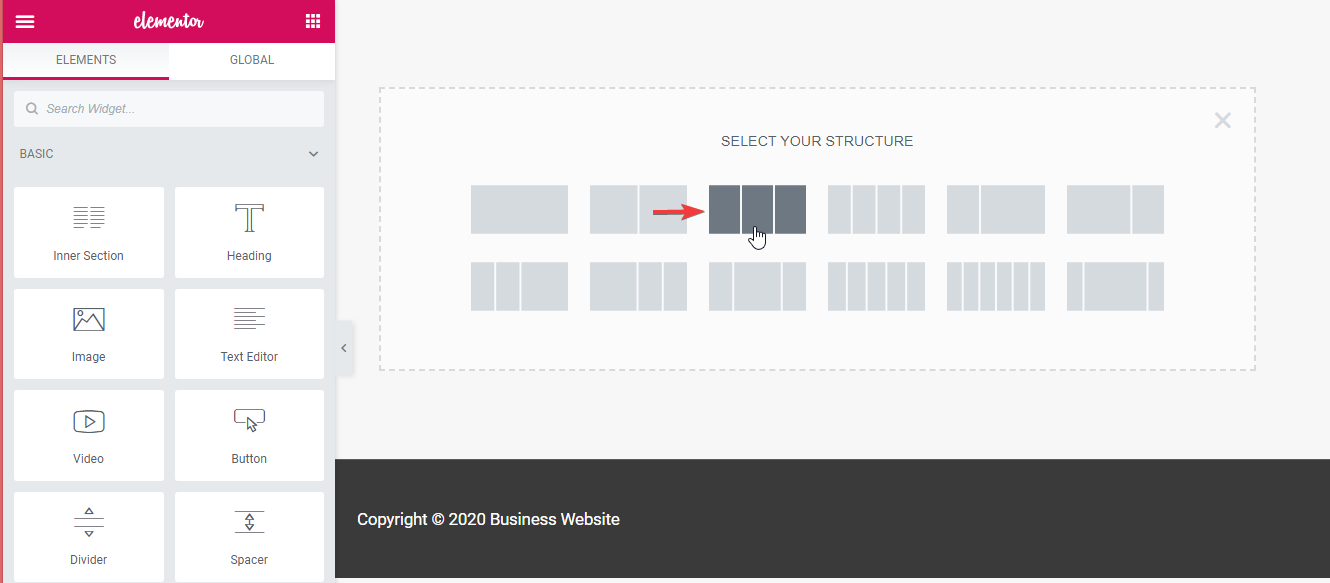
After we click that icon with the three columns, we now see a brand-new section on the page with three columns, each with a plus button.
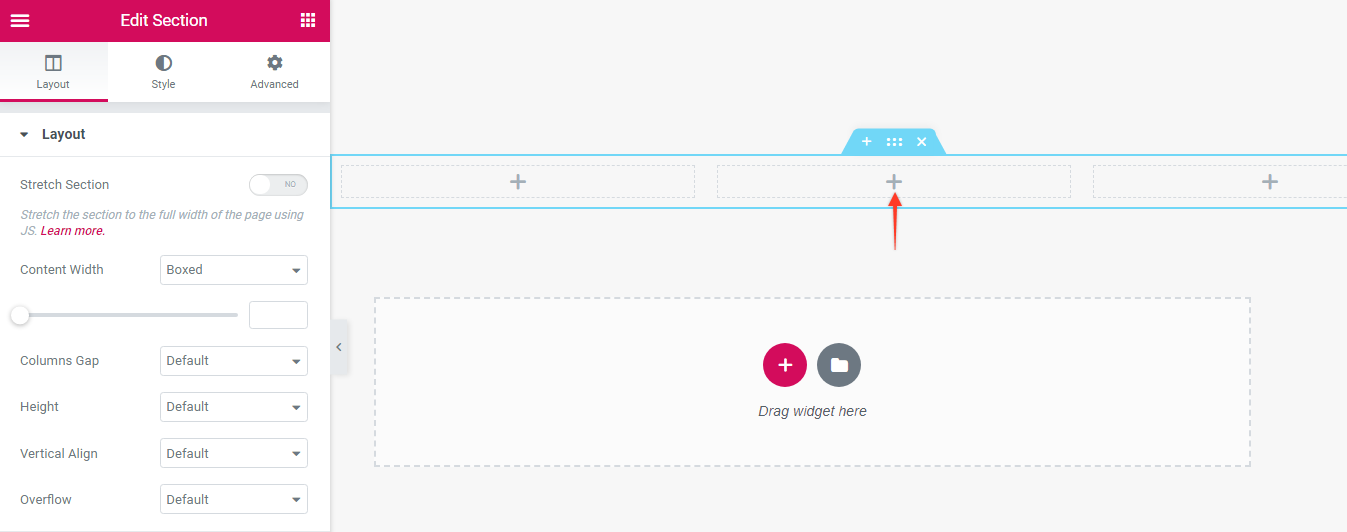
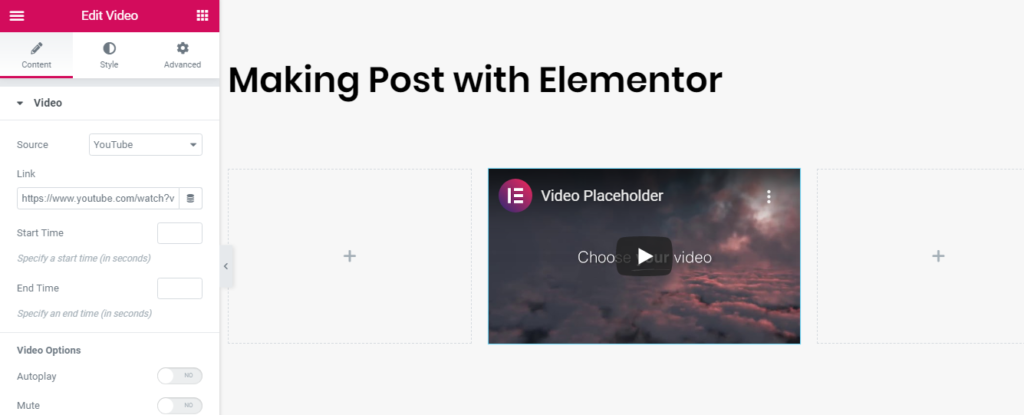
And if we want to customize what we see in this section? You guessed it: we drag a widget there. I dragged a Video element to the middle column, which is preloaded with an Elementor video playlist by default.
Step 4. Edit Settings
For every section or element you place on the page, you have options to customize it further. Just look for the six dots.
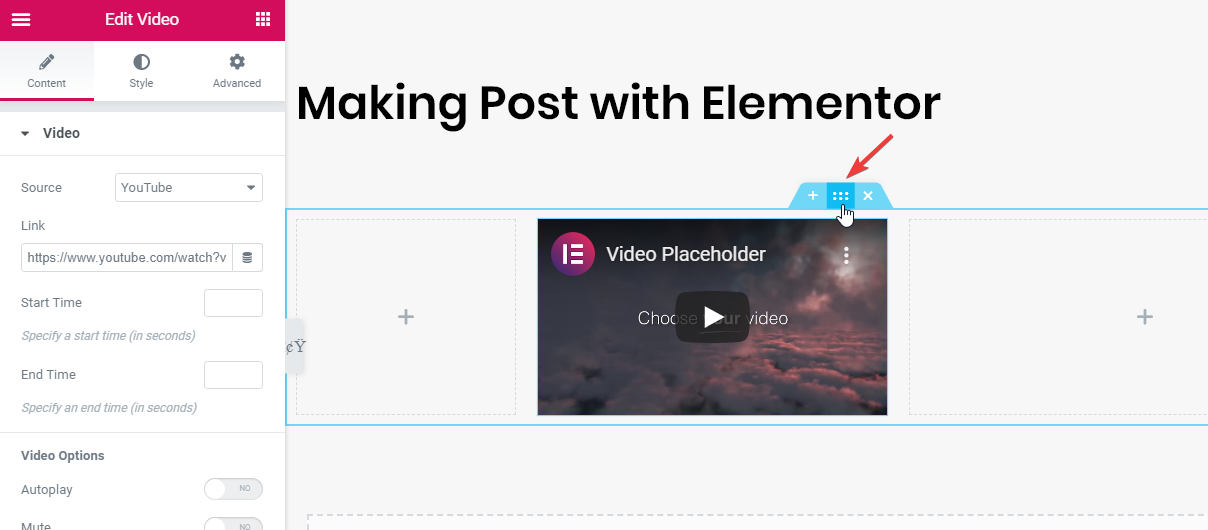
If we select the heading, for example, we can change its content, style, or advanced features like margins and padding, responsiveness, and so on.
Step 5. Publish Your Page
Once you’re happy with settings, it’s time to check out the finished product. We’ve seen what this page looks like in the editor, but if we take a peek at the preview of the actual page, we see that it’s the same! That’s a very good thing. It means that once the page you’re working on is live, you can be confident that it looks exactly like it did while you were editing it. That’s one of the most important features of Elementor.
Page Builder Summary
This was obviously a quick example which shows you how easy it is to place elements and make a working website. The bottom line is, you don’t have to be an expert to build a website with Elementor. And with tons of templates to choose from, you never have to start from scratch unless you want to. There’s one more huge point I want to emphasize here: Whether you choose Elementor Free or Elementor Pro, the nuts and bolts of Elementor’s page builder are identical. Pro just offers more advanced functionality through premium widgets to help you right out of the box with marketing, eCommerce, design, and integrations with other common tools like MailChimp and Adobe TypeKit.


No comments:
Post a Comment