
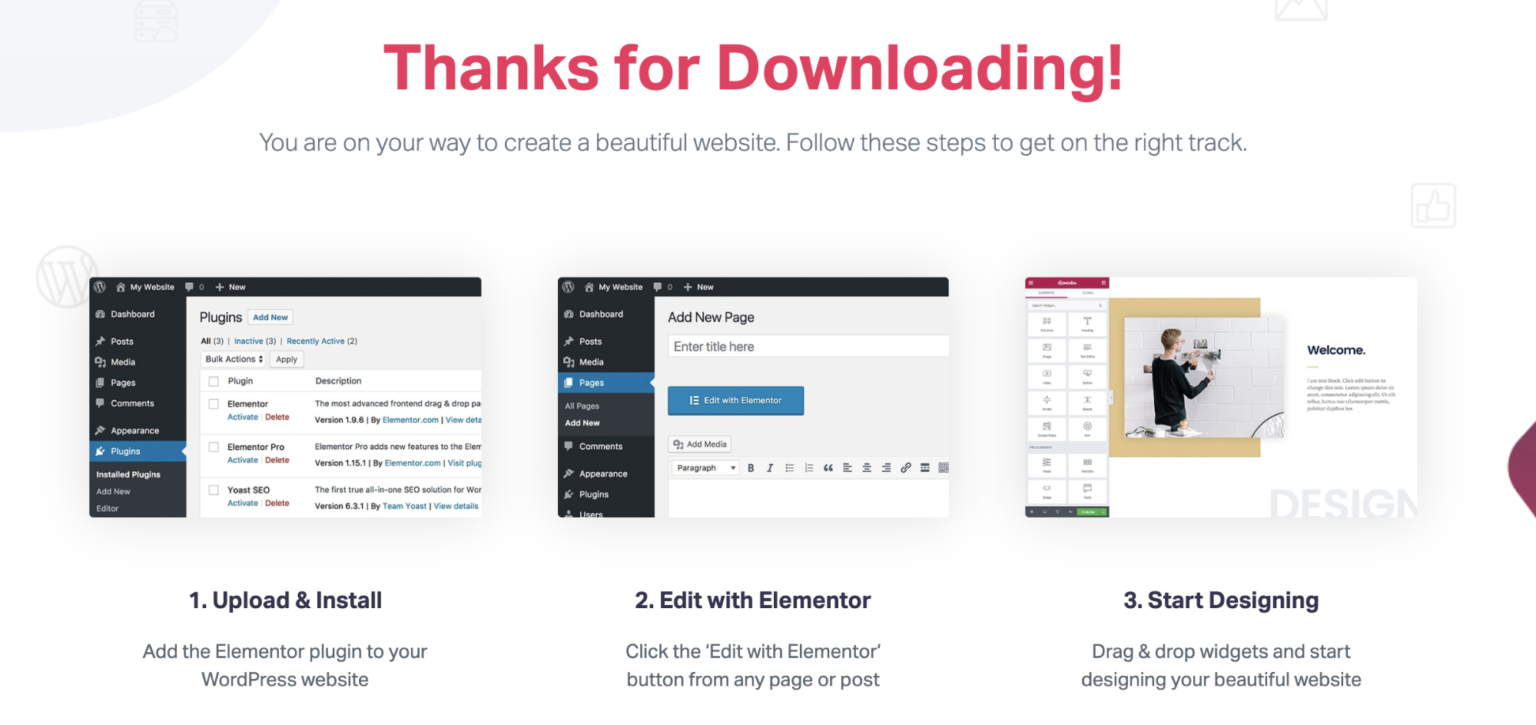
It’s now easy task to build an amazing website without any need to code each page from scratch or hire a team of technical wizards. All you really need is a plugin called Elementor, one of the most versatile and accessible WordPress page builders on the market. it’s totally free to get started, which makes it must use plugin. In this post, we’re going to cover how to use Elementor step-by-step and go over some of its best features. By the end, you should have everything you need to build a WordPress website that wows in no time flat!. Elementor is a popular page builder that pairs well with almost all lightweight WordPress themes. This page builder allows you to control every aspect of the visual look and layout of your website’s pages and posts, with dozens of widgets adding functionality through a clean drag-and-drop interface. Now, keep in mind, Elementor itself is not a WordPress theme — it’s strictly a plugin. This is important because you’ll still need to choose a dedicated theme to handle other aspects of your website.
Installing Elementor
Once you’ve installed WordPress and a chosen theme on your site, there are a few different routes you can take to install Elementor page builder:
Method 1: Elementor’s Website. Visit the Elementor website and get the free version of Elementor directly. A download button is prominently displayed at the top of the home page. Once you enter your email, your browser will automatically download the ZIP file.
Next, navigate to the plugins section on the backend of your WordPress website, click “Add New,” and upload the .ZIP file to your website via the “Upload Plugin” button at the top.

Method 2: WordPress Dashboard. Log into the backend of your WordPress website and prepare to install the plugin by hitting the “Add New” button from the Plugins tab.
To find Elementor, just type the word “Elementor” into the plugin search bar. The Elementor Page Builder should pop right up as the first plugin option for you to install.
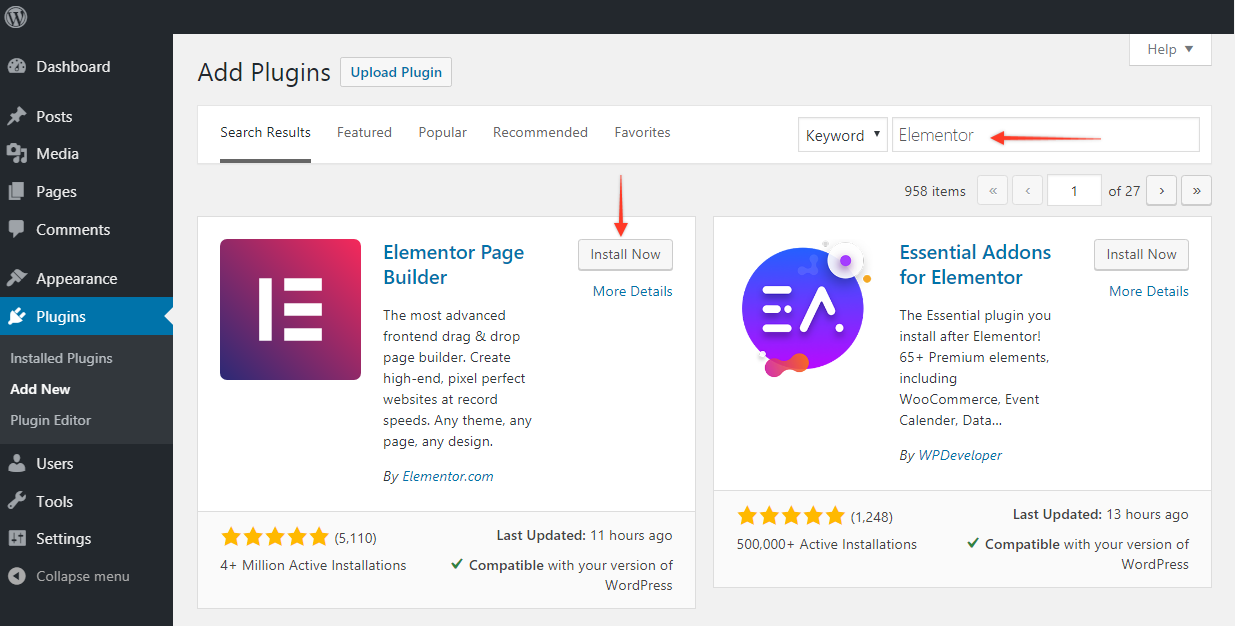
Just click “Install” and then “Activate” once it’s downloaded.
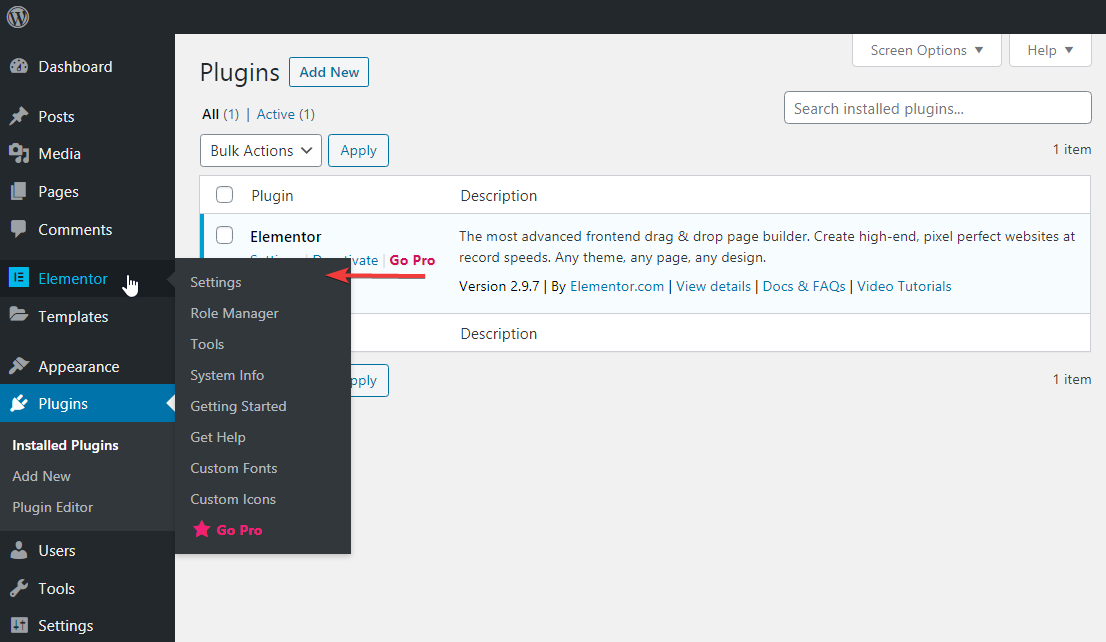
Whichever method you choose to install Elementor, you’ll be able to find Elementor in your list of “Installed Plugins” from now on — and it’ll also have its own entry in the side menu. From that area, you’ll be able to adjust the plugin’s settings
Unlike with many plugins, however, Elementor’s greatest functionality happens on the pages themselves. That means you’ll spend most of your time using Elementor when you’re creating or editing pages and posts.
Exploring Elementor’s Features
Let’s take a look at features which you'll get with Elementor!.One of the most important features of any page builder is ease of use. Elementor has one of the easiest page builders I’ve ever used. It’s a front-end editor, which means you can see exactly how the page is going to look while you work on it. Once you get accustomed to the workflow of dragging widgets onto the page and tweaking properties in the sidebar, you’ll realize that it’s about as intuitive as you can get. Most of the customization options you’ll find in Elementor are based on the widgets that come with the plugin.
Elementor Settings
Elementor has a handful of top-level settings you can find directly in the plugin. This allows you to do things like check which types of posts Elementor works with, set default font and spacing, and adjust responsiveness settings.
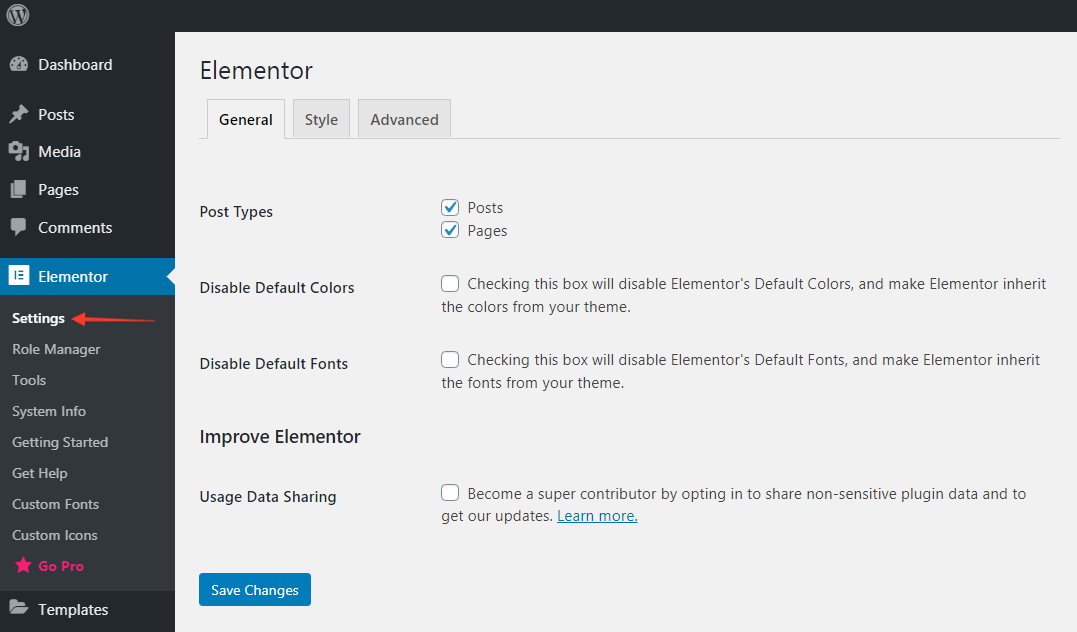
There’s also a handy Role Manager function in Elementor that lets you categorize which types of users can have access to the Elementor editor (note: this is only a feature in Pro).
What Widgets Are Included?
In general, Elementor is based on a drag-and-drop editor that accommodates sections, columns, and widgets. The system is broken down as follows:
Sections – Containers for columns and widgets.
Columns – Sections that contain widgets.
Widgets – Individual elements on the page.

These widgets are simple categories of content that allow you to customize your webpage. In the free version of Elementor, you get access to basic elements. Here’s a quick list of several basic widgets you’ll use often: Heading, Image, Text Editor, Video, Button, Divider, Icon, Spacer, Google Maps, Portfolio, Form, Flip box, Price table, Blockquote, Call to action. All told, you get nearly 30 basic elements that give you everything you need to make a functional page. Simply drag an instance of an element to the main page. If these basic elements aren’t enough, it’s possible to get additional widgets by upgrading to Elementor Pro. However, I would argue that most of what can you do in Pro is possible in the free version — it just takes longer. It’s up to you whether you need the premium widgets found in the Pro version. Here’s a quick sampling of the dozens of widgets found in Elementor Pro.These Pro elements will help make your site look slick and more professional, and are also designed to support eCommerce efforts, including in-depth integration with WooCommerce.Lastly, Elementor does support third-party widgets. You can find plenty of third-party Elementor add-ons that expand your available widgets further, or even develop your own widget with dev resources from Elementor. Not sure you want to add extra widgets? While it can be convenient to have widgets for everything you want to do on your website, it’s not absolutely necessary — there are still countless free third-party WordPress plugins that work well in tandem with Elementor and your WordPress theme.
Conclusion
Thanks for reading! Hopefully, this post has given you a great starting point for success with Elementor. In the next post we will discuss about designing the page using page builder. If you have any questions or comments, please share them with us below!


No comments:
Post a Comment