
The fonts you use not only impact your website’s presentation, they can also make it stand out from other sites and render your content easier to read. Picking the same fonts as everyone else might be a safe idea, but you can add custom fonts to WordPress. Although WordPress includes a decent variety of font options out of the box, there are plenty of ways to improve on that selection. In this article, we’ll go over three methods you can use to upload custom fonts to WordPress.
Adding Custom Fonts to your WordPress
When it comes to custom fonts, WordPress provides you with several ways that you can implement the options you want. Let’s go over what each involves, so you can select the method that works best for you.
1. Edit your theme’s file
If you don’t want to upload font files to your website manually, you can always ‘import’ them from third-party repositories. With Google Fonts, for example, you can open any font page you want and click on Select This Font at the top of the screen:
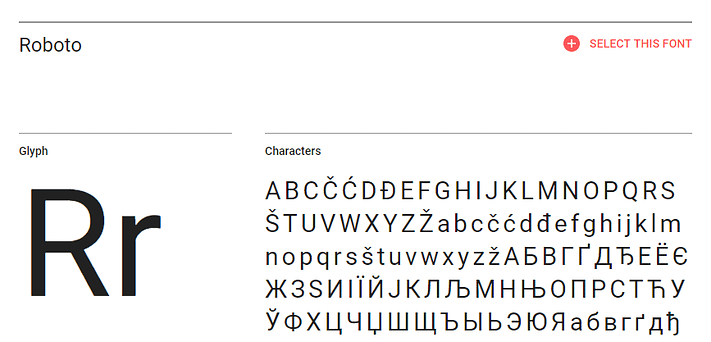
Once you do that, a new menu will appear that includes two snippets of code. The first one should look like this:
<link href="https://fonts.googleapis.com/css?family=Roboto&display=swap" rel="stylesheet">
Add code under the <head> tags of your child theme’s header.php file. This is found inside theme’s folder in the public_html/wp-content/themes directory. With that line, you’re telling WordPress to import the option you selected from Google Fonts. To use it, open your child theme’s stylesheet and specify the elements of your new font. Here’s what that code should look like:
font-family: 'Roboto', sans-serif;
Child theme’s stylesheet should be within the same directory as its header.php file. That means you can take care of both tasks in the same place, and implement new fonts in just a few minutes.
Uploading your font’s file to your theme’s folder
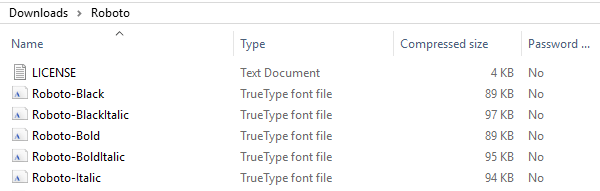
Uploading font files to your website directly can enable you to shave a few milliseconds off your loading times. The first thing you’ll need, of course, is the font file you want to upload to your server:
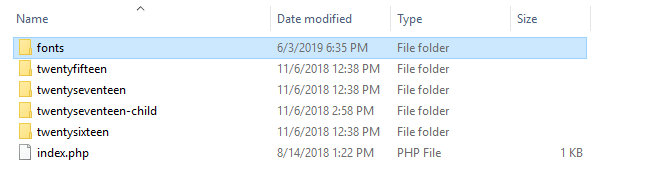
Since WordPress doesn’t include a dedicated fonts folder, you’ll want to create one. You can add the folder wherever you want, but we recommend placing it within your themes directory so you can keep track of it. Set it up now, and upload your font file to the new folder:
Use a plugin
The simplest and the easiest way to implement new functionality in WordPress is to install a plugin. When it comes to using custom fonts, there are a lot of options to pick from.
For example, if you want to use Google Fonts, we recommend the aptly-named Google Fonts for WordPress plugin. After activating this tool, you’ll be able to pick from the entire Google Fonts catalog for your pages and posts, without the need to add any code to your website:

Custom Fonts is the tool you should for you if you want to use any font file and not limit yourself to a single repository,


No comments:
Post a Comment