
17. Installing Packages in Flutter: Streamlining App Development with External Dependencies
Installing Packages in Flutter: Streamlining App Development with External Dependencies
Flutter is a powerful framework for building natively compiled applications for mobile, web, and desktop from a single codebase. One of the key features that make Flutter development efficient and enjoyable is its extensive package ecosystem. In this tutorial, we will explore the process of installing packages in Flutter, which can significantly streamline your app development by incorporating external dependencies.
Why Use Packages in Flutter?
Packages in Flutter serve various purposes, from adding new functionalities to simplifying existing ones. They can help you:
- Save Time: Leverage pre-built solutions for common features.
- Enhance Functionality: Add advanced features like image processing, network requests, or state management.
- Maintain Code: Use community-tested code to avoid reinventing the wheel.
How to Find Packages
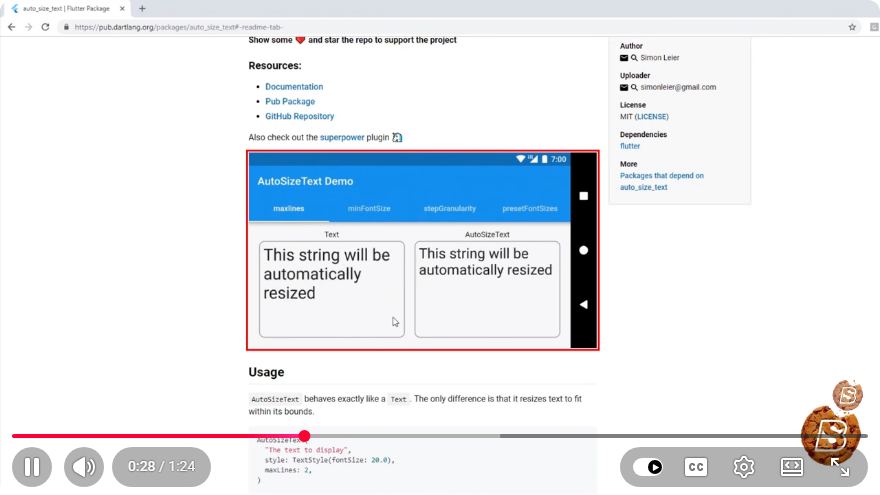
Before we install a package, we need to know where to find them. The official repository for Flutter packages is pub.dev. Here, you can search for packages by keyword, category, or popularity. Each package comes with documentation, installation instructions, and usage examples.
Installing a Package
Let’s walk through the steps of installing a package in a Flutter project. For this example, we will install the http package, which allows us to make HTTP requests.
Step 1: Open Your Flutter Project
First, ensure that you have a Flutter project set up. You can create a new project using the following command:
flutter create my_flutter_app
Navigate into your project directory:
cd my_flutter_app
Step 2: Locate the pubspec.yaml File
In your Flutter project, locate the pubspec.yaml file. This file is crucial for managing your project’s dependencies. It is usually found in the root directory of your Flutter project.
Step 3: Add the Dependency
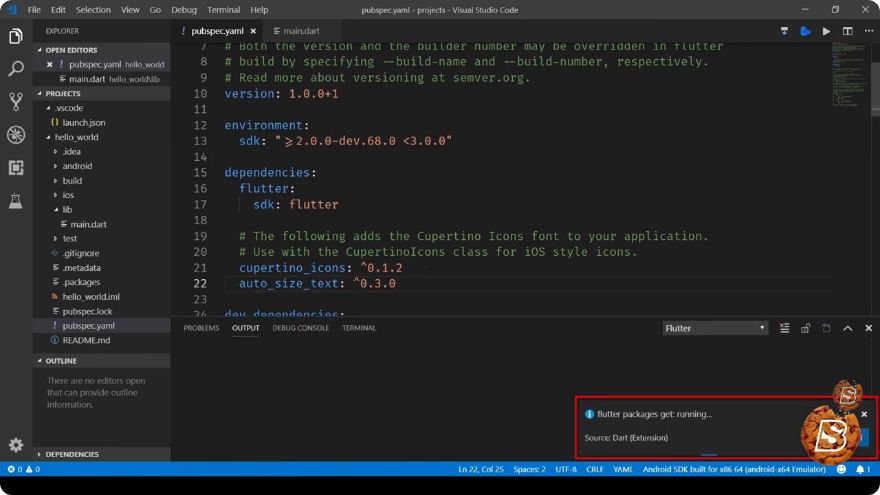
Open the pubspec.yaml file in your favorite code editor. Under the dependencies section, add the desired package. For the http package, it would look like this:
dependencies:
  flutter:
    sdk: flutter
  http: ^0.14.0
Make sure to replace ^0.14.0 with the latest version available on pub.dev.
Step 4: Install the Package
After saving the changes to pubspec.yaml, you need to run the following command in your terminal to install the new dependency:
flutter pub get
This command fetches the package and updates your project’s configuration to include it.
Step 5: Import the Package
Now that the package is installed, you can start using it in your Dart files. To do this, you need to import the package at the top of your Dart file:
import 'package:http/http.dart' as http;
Step 6: Use the Package
You can now utilize the functionalities provided by the package. For instance, if you want to make a simple GET request, you can do so as follows:
void fetchData() async {
  final response = await http.get(Uri.parse('https://jsonplaceholder.typicode.com/posts'));

  if (response.statusCode == 200) {
    print('Response data: ${response.body}');
  } else {
    throw Exception('Failed to load data');
  }
}
Conclusion
Installing packages in Flutter is a straightforward process that can greatly enhance your app development experience. By leveraging external dependencies, you can save time, maintain cleaner code, and focus on building features that matter most to your users.
For more packages and detailed documentation, remember to check pub.dev. Happy coding!
Connect with SkillBakery Studios
Explore more tutorials, tools, and resources:
Posted by SkillBakery Studios


 Hello, my name is Jack Sparrow. I'm a 50 year old self-employed Pirate from the Caribbean.
No comments:
Post a Comment