
Web Developers : 3-Building a Next.js App with Tailwind CSS
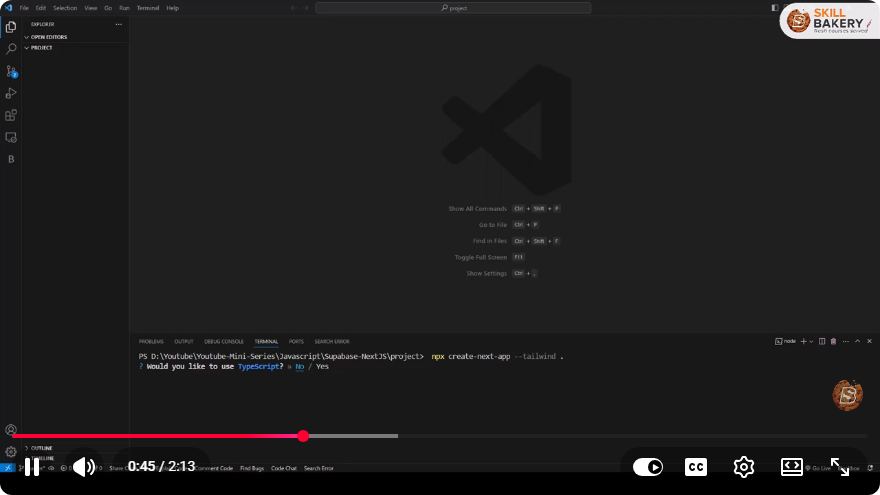
Building a Next.js App with Tailwind CSS in 2 Minutes
In the fast-paced world of web development, efficiency is key. For web developers looking to create stunning and responsive user interfaces quickly, combining Next.js with Tailwind CSS is a match made in heaven. In this blog post, we'll walk through the steps to build a simple Next.js application styled with Tailwind CSS.
What is Next.js?
Next.js is a powerful React framework that enables developers to build server-rendered React applications with ease. It offers features like static site generation, server-side rendering, and API routes, making it an excellent choice for modern web applications.
What is Tailwind CSS?
Tailwind CSS is a utility-first CSS framework that allows developers to build custom designs without having to leave their HTML. It provides a set of pre-defined classes that can be combined to create unique styles, enhancing both the speed of development and the maintainability of your code.
Prerequisites
Before we get started, ensure you have the following installed on your machine:
- Node.js (version 12.0 or higher)
- npm (Node package manager)
Step 1: Create a New Next.js Application
To start off, we need to create a new Next.js application. Open your terminal and run the following command:
npx create-next-app my-nextjs-tailwind-app
This command will create a new directory named my-nextjs-tailwind-app with all the necessary files to get started.
Step 2: Navigate into Your Project Directory
Once the installation is complete, navigate into your project directory:
cd my-nextjs-tailwind-app
Step 3: Install Tailwind CSS
Now, let's install Tailwind CSS along with its dependencies. Run the following command:
npm install tailwindcss postcss autoprefixer
After installing the packages, initialize Tailwind CSS by running:
npx tailwindcss init -p
This command will create two files: tailwind.config.js and postcss.config.js.
Step 4: Configure Tailwind CSS
Next, we need to configure Tailwind to remove unused styles in production. Open tailwind.config.js and update the content array to include your file paths:
module.exports = {
  content: [
    "./pages/**/*.{js,ts,jsx,tsx}",
    "./components/**/*.{js,ts,jsx,tsx}",
  ],
  theme: {
    extend: {},
  },
  plugins: [],
}
Step 5: Add Tailwind to Your CSS
Now, let’s add Tailwind’s base styles to your global CSS file. Open styles/globals.css and add the following lines at the top:
@tailwind base;
@tailwind components;
@tailwind utilities;
Step 6: Start Your Next.js Development Server
With everything set up, it’s time to start your development server. Run the following command in your terminal:
npm run dev
You should see output indicating that your development server is running, typically at http://localhost:3000.
Step 7: Create a Sample Component
To see Tailwind CSS in action, let’s create a simple component. In the pages/index.js file, replace the existing code with the following:
export default function Home() {
  return (
    <div className="flex flex-col items-center justify-center h-screen bg-gray-100">
      <h1 className="text-4xl font-bold text-blue-500">Welcome to My Next.js App!</h1>
      <p className="mt-4 text-lg text-gray-700">Built with Next.js and Tailwind CSS</p>
    </div>
  )
}
This code creates a centered welcome message styled with Tailwind CSS.
Step 8: View Your Application
Open your web browser and navigate to http://localhost:3000. You should see the welcome message styled with Tailwind CSS!
Conclusion
In just a few minutes, we've successfully set up a Next.js application and integrated Tailwind CSS for styling. This combination enhances your development speed and allows for rapid prototyping while maintaining a clean and manageable codebase.
Feel free to explore more components and styles provided by Tailwind CSS to take your application to the next level. Happy coding!
Connect with SkillBakery Studios
Explore more tutorials, tools, and resources:
Posted by SkillBakery Studios


 Hello, my name is Jack Sparrow. I'm a 50 year old self-employed Pirate from the Caribbean.
No comments:
Post a Comment