
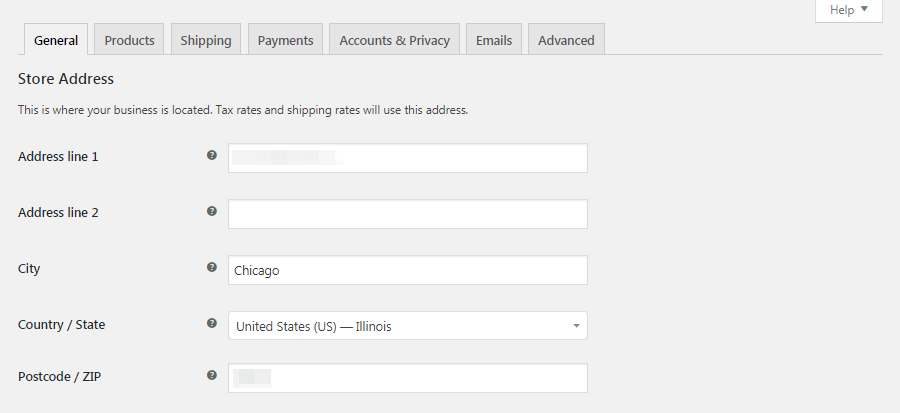
In the Settings screen, you can customize just about every aspect of your ecommerce store. Elements such as the placement of your ‘thousands’ separator, the entire checkout process, email options, and much more can be tailored to meet your needs. Within this section, the General tab covers your store’s basic information, including its currency, selling locations, and display options. Your screen will look like screenshot shown below.
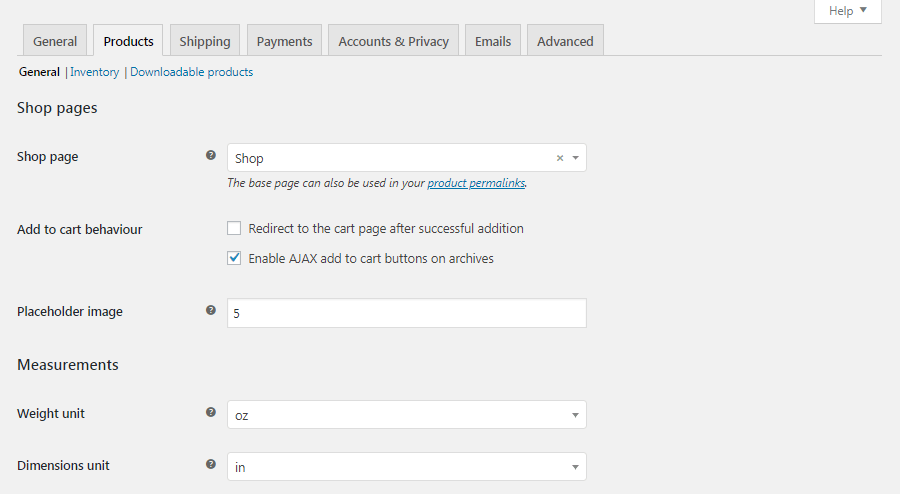
Your product data, including measurements, reviews, stock details, download methods, and even add-to-cart buttons can be customized in the Products tab:
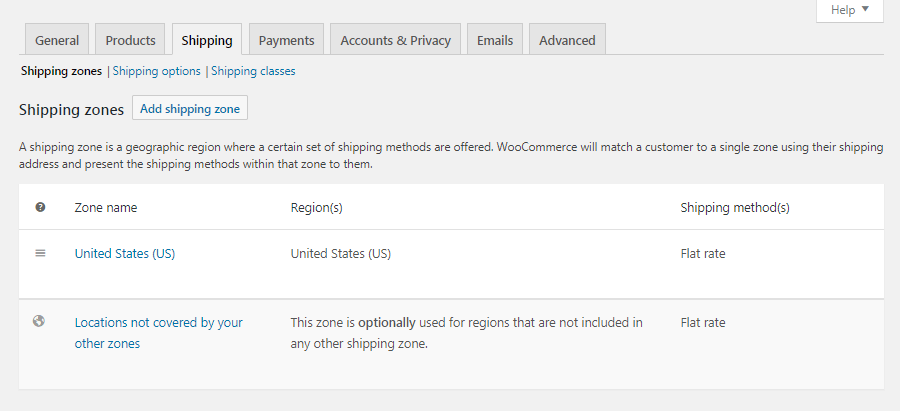
Shipping is where you can configure your shipping zones and pricing:
The Payments tab shows you what payment processors are available and active on your store:
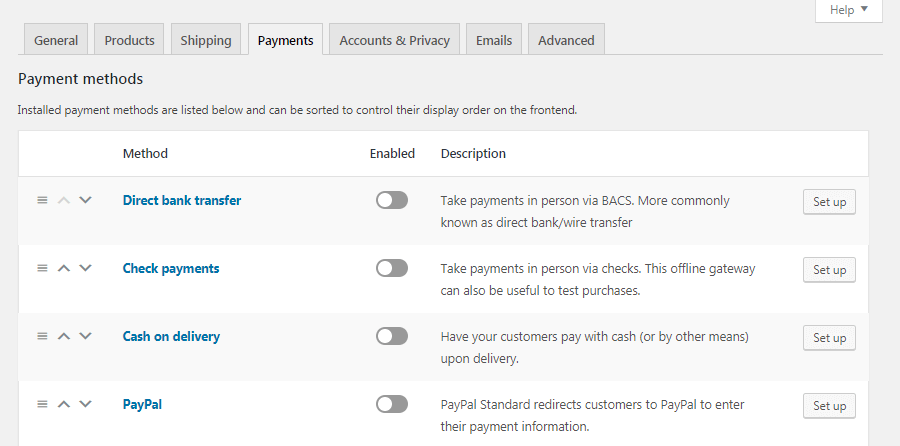
Here you can enable and disable whatever payment options you like. Plus, you’ll find handy links for customizing the settings for specific processors.
Next up, Accounts & Privacy controls various aspects of your customers’ experience:

Here you can enable and disable whatever payment options you like. Plus, you’ll find handy links for customizing the settings for specific processors.
Next up, Accounts & Privacy controls various aspects of your customers’ experience:
In the Emails tab, you can customize all things customer support:
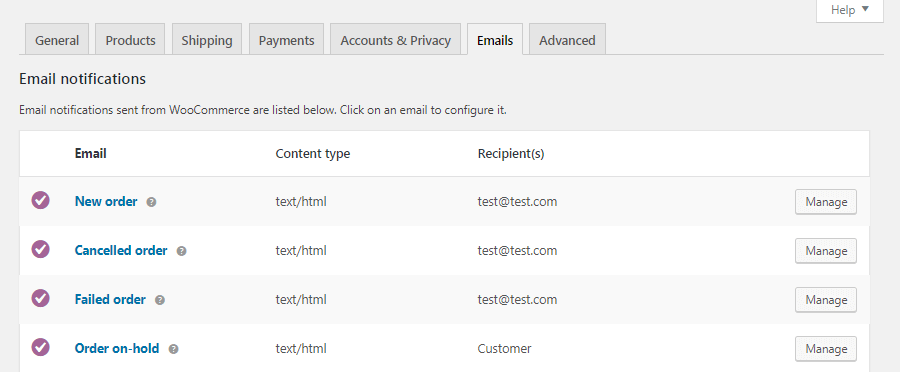
At the top of this screen, you’ll find a list of email notifications that are sent through WooCommerce in response to specific triggers (such as an order being placed or canceled). You can click on any of these emails to enable/disable them, as well as to customize their contents:
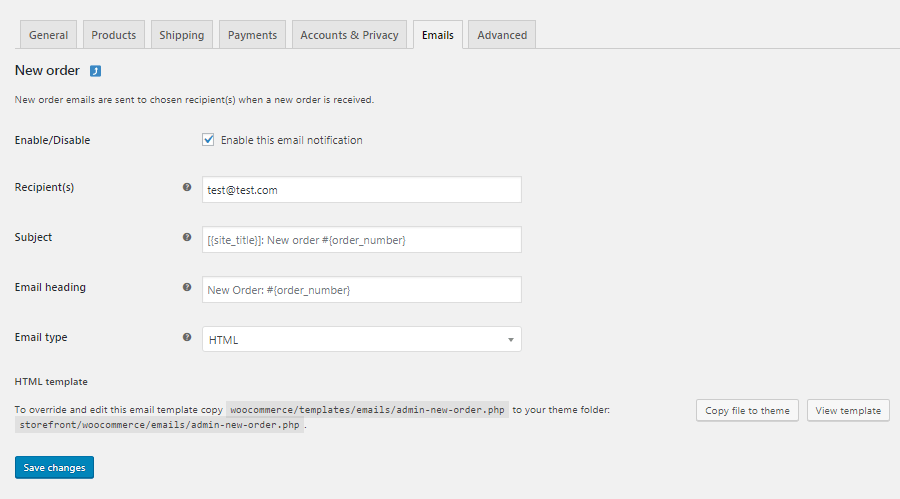
You’ll even find instructions here for editing the email templates, if you’re comfortable using HTML. You can copy the email’s file to your theme folder, then make whatever changes you like. Alternatively, you can create your own custom email templates.
Below that, you can configure a few global settings for all the emails sent from your WooCommerce store. This includes the ‘from’ name and address, footer text, and even colors and backgrounds.
Finally, in the Advanced tab you can enable the REST API, configure keys, apps, and webhooks, and perform other lower-level tasks:
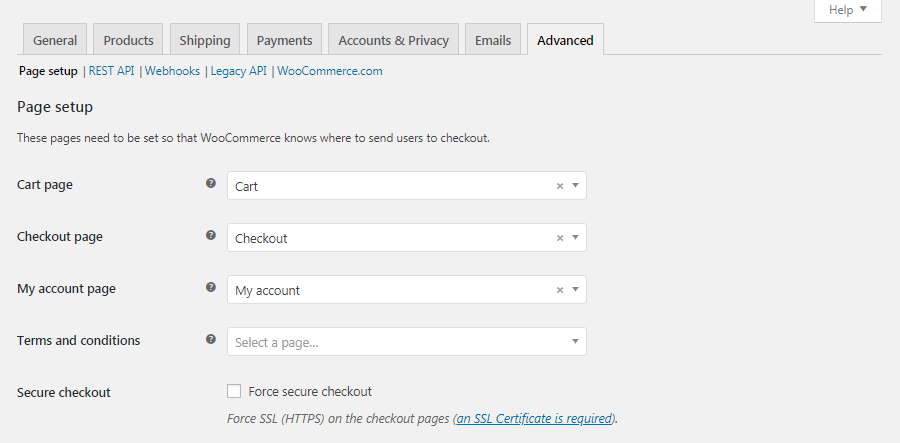
All of these settings can be customized and changed whenever you like, and your store will be updated automatically.
Status
Next, let’s briefly check out the Status tab:
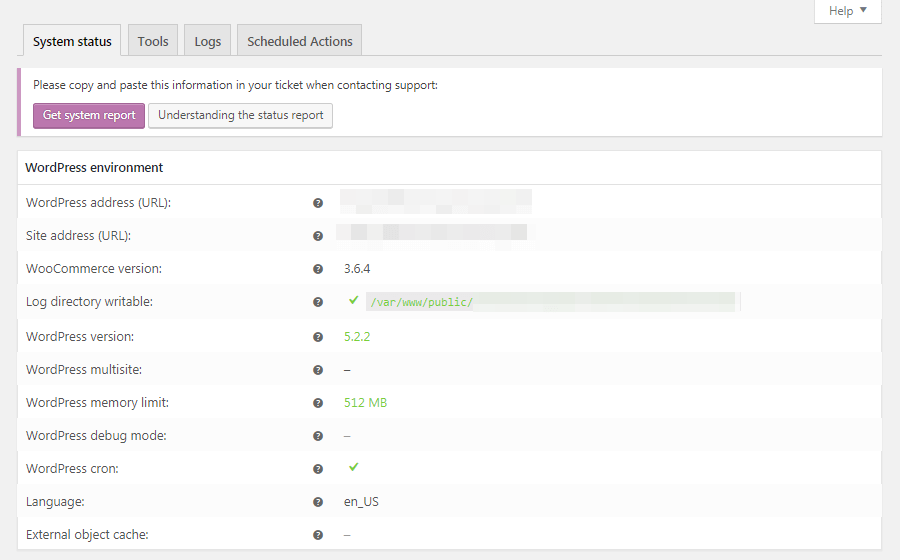
All of your back-end information can be found here, such as your WooCommerce/PHP/MySQL/etc. version, size limits, logging, and more.In the Tools sub-tab on the same page, you can clear your website’s caches for multiple variables, clear out old data, and even revert your store’s settings to their defaults.
The settings/options listed above helps to setup woocommerce as per our needs and requirements and if you want to tweak something about the way your WooCommerce store works, chances are you can do so by simply finding the right tool.S this concludes this post regarding woocommerce settings.


No comments:
Post a Comment