
2-Generate Stunning AI Images in Node.js with OpenAI SDK & DALL·E!
Generate Stunning AI Images in Node.js with OpenAI SDK & DALL·E
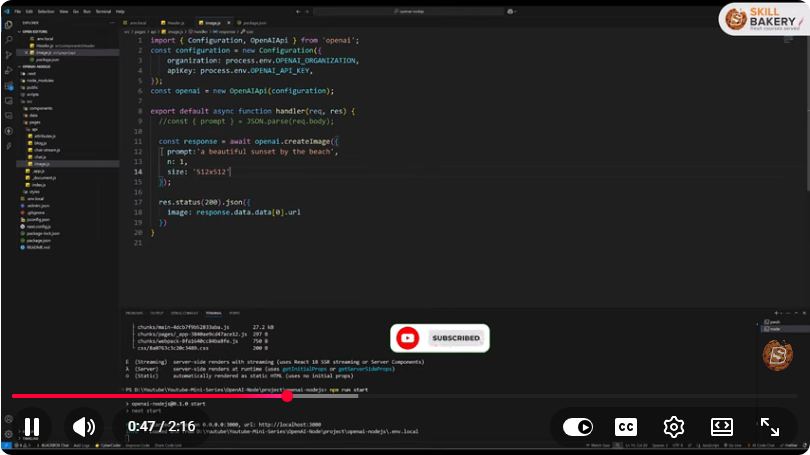
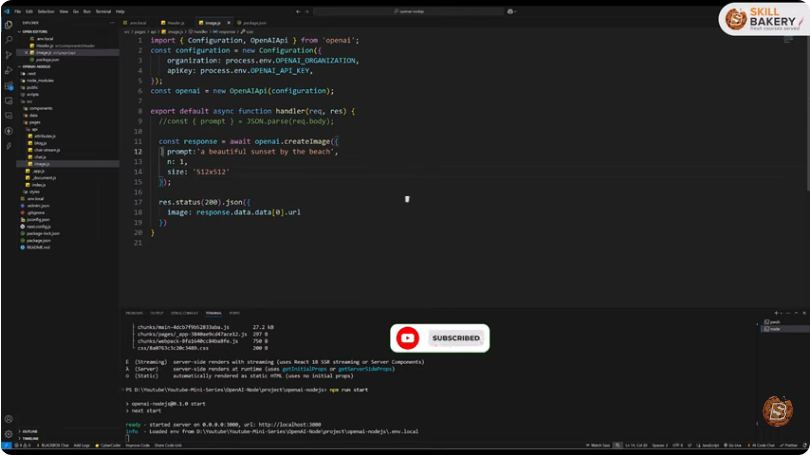
In this blog post, we will explore how to generate stunning AI images using Node.js, the OpenAI SDK, and DALL·E. With the rise of artificial intelligence, creating images from textual descriptions has become more accessible and exciting. By the end of this tutorial, you will have a working application that can produce unique images based on your prompts.
Prerequisites
Before we dive in, make sure you have the following prerequisites:
- Node.js installed on your machine. You can download it from Node.js official website.
- An OpenAI API key. If you don't have one, you can sign up for an API key at the OpenAI website.
Setting Up Your Project
Step 1: Create a New Node.js Project
First, create a new directory for your project and navigate into it:
mkdir ai-image-generator
cd ai-image-generator
Next, initialize a new Node.js project:
npm init -y
This will create a package.json file that will hold your project configuration.
Step 2: Install Required Packages
You will need the OpenAI SDK to interact with the API. Install it by running the following command:
npm install openai
Step 3: Create Your Application File
Create a new JavaScript file for your application:
touch index.js
Open index.js in your favorite code editor to start coding.
Writing the Code
Step 4: Import the OpenAI SDK
In your index.js file, import the OpenAI SDK and set up your API key:
const { Configuration, OpenAIApi } = require('openai');
require('dotenv').config(); // For loading environment variables

const configuration = new Configuration({
  apiKey: process.env.OPENAI_API_KEY, // Make sure to set this in a .env file
});
const openai = new OpenAIApi(configuration);
Step 5: Create a Function to Generate Images
Now, let’s create a function that will generate images based on user input. Add the following function to index.js:
async function generateImage(prompt) {
  try {
    const response = await openai.createImage({
      prompt: prompt,
      n: 1,
      size: '1024x1024',
    });

    const imageUrl = response.data.data[0].url;
    console.log(`Generated Image URL: ${imageUrl}`);
  } catch (error) {
    console.error('Error generating image:', error);
  }
}
Step 6: Capture User Input
To allow users to input their image prompts, you can use the readline module. Add the following code to capture input and trigger the image generation:
const readline = require('readline');

const rl = readline.createInterface({
  input: process.stdin,
  output: process.stdout,
});

rl.question('Enter a prompt for the image: ', (answer) => {
  generateImage(answer).then(() => rl.close());
});
Step 7: Set Up Environment Variables
To keep your API key secure, create a .env file in your project directory and add your OpenAI API key:
OPENAI_API_KEY=your_api_key_here
Make sure to replace your_api_key_here with your actual OpenAI API key.
Running Your Application
Step 8: Execute Your Code
Now that everything is set up, you can run your application. In your terminal, execute:
node index.js
You will be prompted to enter a text description of the image you want to generate. Type in your prompt and hit Enter.
Step 9: View Your Generated Image
After a short wait, the application will output a URL for your generated image. You can open this URL in your web browser to view your stunning AI-generated image!
Conclusion
Congratulations! You have successfully built a Node.js application that generates images using the OpenAI SDK and DALL·E. This tutorial covered everything from setting up your environment to generating images based on user input.
Feel free to experiment with different prompts and parameters to enhance your image generation experience. As you explore further, you might consider adding features such as saving images to your local directory or integrating this functionality into a web application.
Happy coding!
Connect with SkillBakery Studios
Explore more tutorials, tools, and resources:
Posted by SkillBakery Studios


 Hello, my name is Jack Sparrow. I'm a 50 year old self-employed Pirate from the Caribbean.
No comments:
Post a Comment