
2-Getting Started with Remix: Set Up Your First Project in Minutes
Getting Started with Remix: Setting Up Your First Project in Minutes
Welcome to our tutorial on setting up your first Remix project! Remix is a powerful, full-stack React framework designed for building modern web applications. Whether you're developing for personal projects or for production, Remix provides the necessary tools to create fast, dynamic, and scalable applications. In this blog post, we will walk you through the process of setting up a new Remix project in just a few minutes.
What is Remix?
Remix is a full-stack framework that utilizes React, allowing developers to build applications that are not only interactive but also optimized for performance. With its built-in features for routing, data loading, and server-side rendering, Remix is an excellent choice for those looking to streamline their web development process.
Prerequisites
Before we dive into the setup process, ensure you have the following prerequisites:
- Node.js: Make sure you have Node.js installed on your machine. You can download it from nodejs.org.
- npm or Yarn: These package managers come with Node.js, but you can also install Yarn separately if you prefer.
Step 1: Create a New Remix Project
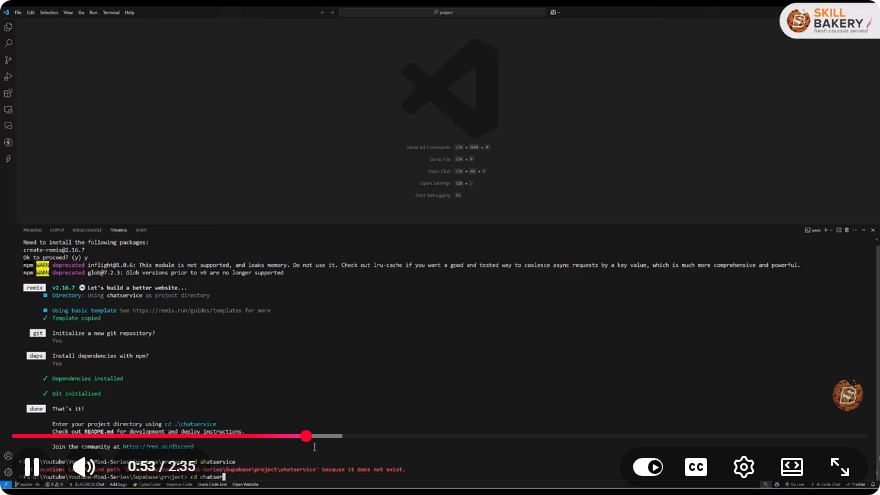
To get started with your new Remix project, open your terminal and run the following command:
npx create-remix@latest
This command uses npx to execute the create-remix package, which will scaffold a new Remix application for you.
Step 2: Choose Your Project Options
After executing the command, you will be prompted to answer a few questions regarding your project setup:
Where would you like to create your app?
Specify the directory where you want your new project to be created.What type of project do you want to create?
You can choose between a "TypeScript" or "JavaScript" project, depending on your preference.Where do you want to deploy?
Select the deployment target that suits your needs. You can choose from several options like Remix App Server, Vercel, Netlify, etc.Do you want to use a database?
If your project requires a database, you can select the type you would like to use. If not, you can skip this option.
Step 3: Install Dependencies
Once you have answered all the prompts, navigate to your project directory:
cd your-project-name
Now, install the project dependencies by running:
npm install
or, if you are using Yarn:
yarn install
This command will install all the necessary packages required for your Remix application.
Step 4: Start Your Development Server
Now that your dependencies are installed, you can start the development server. Use the following command:
npm run dev
or with Yarn:
yarn dev
You should see output indicating that your server is running, typically at http://localhost:3000. Open this URL in your browser to see your newly created Remix application in action!
Step 5: Explore Your Project Structure
Once the server is running, take a moment to explore the project structure. You'll notice several key folders:
- app/: Contains the main application files, including routes, components, and styles.
- public/: Holds static assets like images and icons.
- remix.config.js: The configuration file for your Remix project.
Conclusion
Congratulations! You've successfully set up your first Remix project in just a few minutes. With this powerful framework at your fingertips, you can now start building fast and dynamic web applications. As you progress, take advantage of Remix's advanced features such as data loading, nested routes, and enhanced error handling.
For more resources and documentation on Remix, visit the official Remix website.
Happy coding!
Connect with SkillBakery Studios
Explore more tutorials, tools, and resources:
Posted by SkillBakery Studios


 Hello, my name is Jack Sparrow. I'm a 50 year old self-employed Pirate from the Caribbean.
No comments:
Post a Comment