
6. Redis 101: Step-by-Step Guide for Configuring Redis on an Amazon EC2 Instance
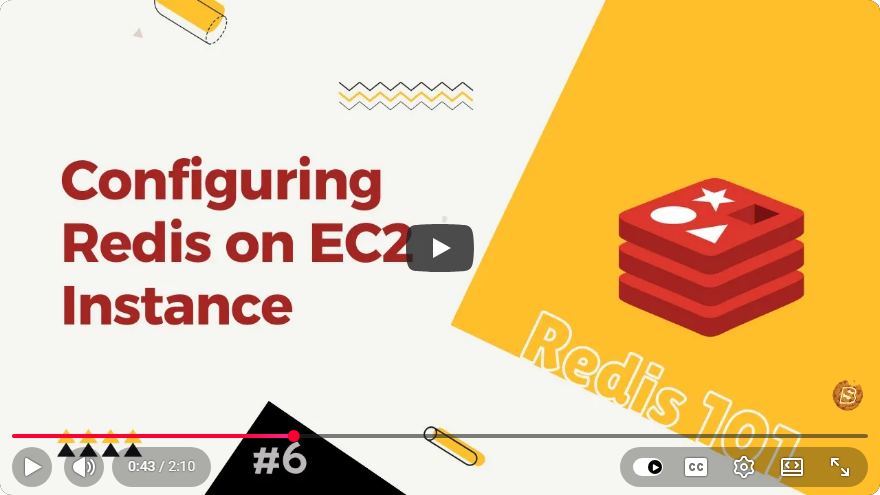
Redis 101: Step-by-Step Guide for Configuring Redis on an Amazon EC2 Instance
Redis is an in-memory data structure store, commonly used as a database, cache, and message broker. Configuring Redis on an Amazon EC2 instance can significantly enhance your application's performance and scalability. In this tutorial, we’ll walk you through the process of setting up Redis on an EC2 instance in just a few simple steps.
Prerequisites
Before we dive into the configuration, ensure you have the following:
- An AWS account
- Basic knowledge of AWS EC2 and terminal commands
- An SSH client (like PuTTY for Windows or a terminal on macOS/Linux)
Step 1: Launch an Amazon EC2 Instance
- Log in to your AWS Management Console and navigate to the EC2 Dashboard.
- Click on Launch Instance.
- Choose an Amazon Machine Image (AMI). For Redis, a Linux-based AMI such as Amazon Linux 2 or Ubuntu is suitable.
- Select an instance type. The
t2.microinstance is a good starting point and falls under the free tier if you are eligible. - Configure instance details as needed and proceed to the next steps, including adding storage and tags.
- In the Security Group settings, allow inbound traffic on port
6379(the default port for Redis). Add a rule to allow access from your IP address for better security. - Review your settings and launch the instance. Download the key pair to access your instance via SSH.
Step 2: Connect to Your EC2 Instance
Once your instance is up and running, connect to it using SSH:
ssh -i /path/to/key.pem ec2-user@your-instance-public-dns
Replace /path/to/key.pem with the path to your downloaded key file and your-instance-public-dns with the public DNS of your EC2 instance.
Step 3: Install Redis
For Amazon Linux 2:
Update the package manager and install Redis:
sudo yum update -y
sudo yum install -y redis
For Ubuntu:
If you are using Ubuntu, use the following commands:
sudo apt update
sudo apt install -y redis-server
Step 4: Configure Redis
After installation, you can configure Redis settings by editing the configuration file.
sudo nano /etc/redis/redis.conf
In the configuration file, consider changing the following settings:
Bind Address: Change the bind address to
0.0.0.0to allow remote connections (be cautious with this setting).bind 0.0.0.0Protected Mode: Disable protected mode if you wish to allow remote access, but ensure you have proper security measures in place.
protected-mode noPersistence: Adjust the persistence settings if you want Redis to save data on disk.
Step 5: Start Redis
Start the Redis service using the following command:
sudo systemctl start redis
To enable Redis to start on boot, use:
sudo systemctl enable redis
Step 6: Test Your Redis Installation
To verify that Redis is running correctly, use the Redis CLI:
redis-cli
Once inside the Redis shell, run the following command:
ping
If Redis is functioning correctly, it should respond with:
PONG
Conclusion
Congratulations! You have successfully installed and configured Redis on an Amazon EC2 instance. This setup can help you leverage Redis for caching, session management, or any other data storage needs.
Next Steps
To further enhance your Redis setup, consider:
- Implementing Redis security best practices, like password protection and firewall rules.
- Exploring Redis data structures and commands to make the most of your installation.
- Looking into Redis clustering for scalability as your application grows.
Feel free to leave comments or questions below if you run into any issues or would like to share your experience with Redis on EC2. Happy coding!
Connect with SkillBakery Studios
Explore more tutorials, tools, and resources:
Posted by SkillBakery Studios


 Hello, my name is Jack Sparrow. I'm a 50 year old self-employed Pirate from the Caribbean.
No comments:
Post a Comment