
ASP NetMVC Core Deploy Create Website App Pool
Deploying an ASP.NET Core MVC Application: Creating a Website and App Pool in Under Two Minutes
Deploying an ASP.NET Core MVC application can seem daunting, especially if you're new to web development. However, with the right guidance, you can set up your website and application pool efficiently. In this blog post, we will walk through the steps demonstrated in the YouTube video titled "ASP NetMVC Core Deploy Create Website App Pool 1 minute, 35 seconds," providing you with a comprehensive tutorial to achieve the same results.
Prerequisites
Before we dive into the deployment process, ensure that you have the following prerequisites in place:
- Windows Server: The deployment will be done on a Windows Server environment.
- Internet Information Services (IIS): Ensure IIS is installed and configured on your server.
- ASP.NET Core Hosting Bundle: This must be installed to run ASP.NET Core applications on IIS.
- Your ASP.NET Core MVC Application: Ensure that your application is ready for deployment and has been tested locally.
Step 1: Publish Your ASP.NET Core Application
Before deploying, you need to publish your ASP.NET Core application. This process compiles the application and prepares it for hosting.
- Open your project in Visual Studio.
- Right-click on the project in the Solution Explorer and select Publish.
- Choose a target framework; for simplicity, select Folder.
- Specify the folder path where you want to publish the application (e.g.,
C:\inetpub\wwwroot\YourApp). - Click on Publish.
Your application files will be compiled and copied to the specified folder.
Step 2: Create an Application Pool in IIS
Now that your application is published, the next step is to create an application pool in IIS.
- Open IIS Manager on your Windows Server. You can do this by typing "IIS" in the Start menu.
- In the left-hand connections pane, right-click on Application Pools and select Add Application Pool.
- In the dialog that appears:
- Name: Enter a name for your application pool (e.g.,
YourAppPool). - .NET CLR Version: Select No Managed Code since ASP.NET Core runs in its own process.
- Click OK to create the application pool.
- Name: Enter a name for your application pool (e.g.,
Example Command for PowerShell
If you prefer using PowerShell, you can create an application pool with the following command:
New-WebAppPool -Name "YourAppPool" -ClrVersion "No Managed Code"
Step 3: Create a Website in IIS
With the application pool created, the next step is to set up the website.
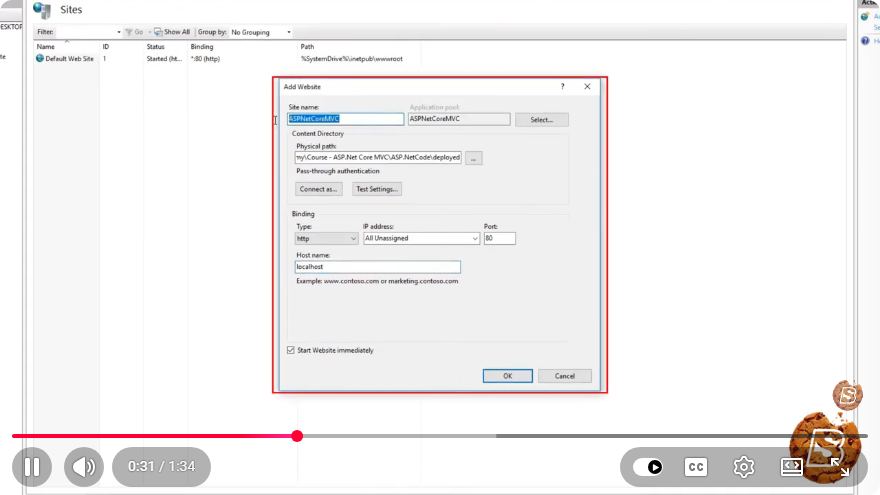
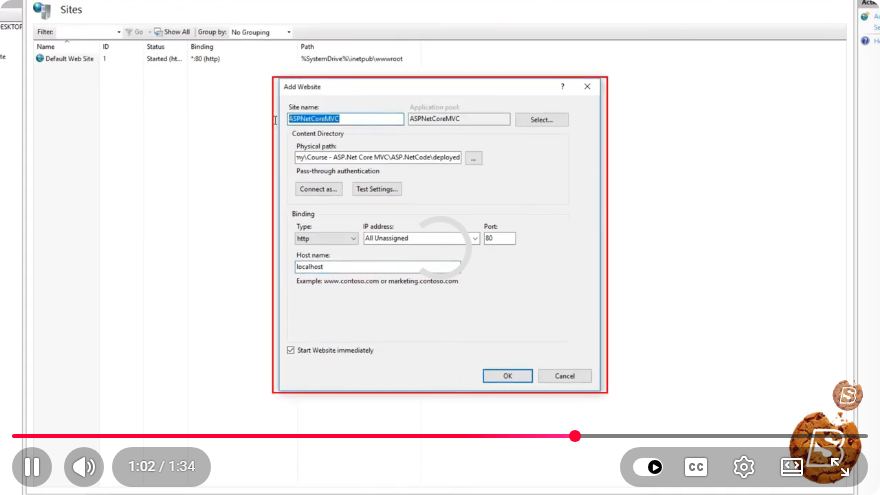
- In IIS Manager, right-click on Sites and select Add Website.
- In the dialog:
- Site Name: Give your site a name (e.g.,
YourWebsite). - Physical Path: Browse to the folder where you published your application (e.g.,
C:\inetpub\wwwroot\YourApp). - Binding: Configure your site’s binding (e.g., set the type to HTTP and specify a port, such as 80).
- Application Pool: Select the application pool you created earlier (e.g.,
YourAppPool). - Click OK to create the website.
- Site Name: Give your site a name (e.g.,
Step 4: Configure Application Settings
Once your website is created, you may need to adjust some settings:
- Select your website in IIS Manager.
- Click on Basic Settings in the right panel to ensure the physical path points to your published application folder.
- Set up Authentication settings:
- Click on Authentication and enable or disable as necessary (typically, you will enable Anonymous Authentication).
- Adjust any other necessary settings, such as SSL or URL Rewrite rules.
Step 5: Test Your Website
Now that you have created your website and application pool, it’s time to test it:
- Open a web browser and navigate to the URL you configured (e.g.,
http://localhost). - If everything is set up correctly, your ASP.NET Core MVC application should load without any issues. If you encounter errors, check the Windows Event Viewer and IIS logs for troubleshooting.
Conclusion
Deploying an ASP.NET Core MVC application using IIS can be accomplished quickly with the right steps. By following this guide, you can create an application pool and a website in IIS in under two minutes.
Remember to always test your application after deployment to ensure everything is functioning as expected. Happy coding! If you have any questions or run into issues, feel free to leave a comment below.
Connect with SkillBakery Studios
Explore more tutorials, tools, and resources:
Posted by SkillBakery Studios


 Hello, my name is Jack Sparrow. I'm a 50 year old self-employed Pirate from the Caribbean.
No comments:
Post a Comment