
ASP NetMVC Core Working With Data EntityFrameworkCore Insert
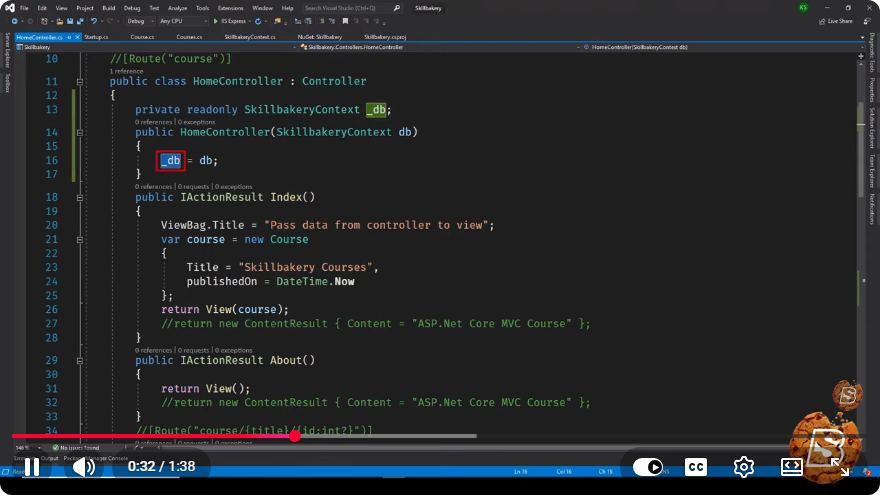
Working with Data in ASP.NET Core MVC Using Entity Framework Core
In modern web application development, managing data efficiently is crucial. ASP.NET Core MVC, in conjunction with Entity Framework Core (EF Core), provides a robust framework to interact with databases. This blog post will guide you through the basics of inserting data into a database using ASP.NET Core MVC and Entity Framework Core.
Prerequisites
Before we begin, ensure you have the following:
- .NET SDK installed on your machine.
- A code editor (like Visual Studio or Visual Studio Code).
- Basic knowledge of C# and ASP.NET Core MVC.
- A database server (e.g., SQL Server, SQLite) set up for testing purposes.
Setting Up Your ASP.NET Core MVC Project
To start, create a new ASP.NET Core MVC project. You can do this using the .NET CLI:
dotnet new mvc -n MyMvcApp
cd MyMvcApp
Next, we will add the Entity Framework Core package. For SQL Server, run the following command in your terminal:
dotnet add package Microsoft.EntityFrameworkCore.SqlServer
dotnet add package Microsoft.EntityFrameworkCore.Tools
Creating Your Data Model
In this tutorial, we will create a simple data model for a Product. Create a new folder named Models and add a class Product.cs:
using System.ComponentModel.DataAnnotations;

namespace MyMvcApp.Models
{
    public class Product
    {
        public int Id { get; set; }

        [Required]
        public string Name { get; set; }

        [Required]
        public decimal Price { get; set; }
    }
}
Setting Up the Database Context
Now, we need to set up the database context. Create a new folder named Data and add a class ApplicationDbContext.cs:
using Microsoft.EntityFrameworkCore;
using MyMvcApp.Models;

namespace MyMvcApp.Data
{
    public class ApplicationDbContext : DbContext
    {
        public ApplicationDbContext(DbContextOptions<ApplicationDbContext> options) : base(options) { }

        public DbSet<Product> Products { get; set; }
    }
}
Next, we’ll register this context in the Startup.cs file. Modify the ConfigureServices method as follows:
public void ConfigureServices(IServiceCollection services)
{
    services.AddDbContext<ApplicationDbContext>(options =>
        options.UseSqlServer(Configuration.GetConnectionString("DefaultConnection")));

    services.AddControllersWithViews();
}
Make sure to add a connection string in appsettings.json:
{
  "ConnectionStrings": {
    "DefaultConnection": "Server=(localdb)\\mssqllocaldb;Database=MyMvcAppDb;Trusted_Connection=True;"
  },
  // Other settings
}
Creating the Product Controller
To handle data operations, we need a controller. Create a new folder named Controllers and add a class ProductController.cs:
using Microsoft.AspNetCore.Mvc;
using MyMvcApp.Data;
using MyMvcApp.Models;
using System.Threading.Tasks;

namespace MyMvcApp.Controllers
{
    public class ProductController : Controller
    {
        private readonly ApplicationDbContext _context;

        public ProductController(ApplicationDbContext context)
        {
            _context = context;
        }

        public IActionResult Create()
        {
            return View();
        }

        [HttpPost]
        [ValidateAntiForgeryToken]
        public async Task<IActionResult> Create(Product product)
        {
            if (ModelState.IsValid)
            {
                _context.Add(product);
                await _context.SaveChangesAsync();
                return RedirectToAction(nameof(Index));
            }
            return View(product);
        }

        public IActionResult Index()
        {
            return View(await _context.Products.ToListAsync());
        }
    }
}
Creating the Views
You need to create views for the Create and Index actions. Create a new folder named Product under Views and create two Razor views: Create.cshtml and Index.cshtml.
Create.cshtml
@model MyMvcApp.Models.Product

<h1>Create Product</h1>

<form asp-action="Create">
    <div class="form-group">
        <label asp-for="Name"></label>
        <input asp-for="Name" class="form-control" />
        <span asp-validation-for="Name" class="text-danger"></span>
    </div>
    <div class="form-group">
        <label asp-for="Price"></label>
        <input asp-for="Price" class="form-control" />
        <span asp-validation-for="Price" class="text-danger"></span>
    </div>
    <button type="submit" class="btn btn-primary">Create</button>
</form>

<a asp-action="Index">Back to List</a>
Index.cshtml
@model IEnumerable<MyMvcApp.Models.Product>

<h1>Products</h1>

<a asp-action="Create">Create New Product</a>

<table class="table">
    <thead>
        <tr>
            <th>Name</th>
            <th>Price</th>
        </tr>
    </thead>
    <tbody>
        @foreach (var item in Model)
        {
            <tr>
                <td>@item.Name</td>
                <td>@item.Price</td>
            </tr>
        }
    </tbody>
</table>
Running the Application
Now that everything is set up, run your application:
dotnet run
Navigate to /Product/Create in your browser to add a new product. After submitting the form, you should be redirected to the index page, where you can view the list of products you’ve created.
Conclusion
This tutorial has guided you through the process of setting up an ASP.NET Core MVC application with Entity Framework Core to insert data into a database. With the steps outlined above, you can expand upon this foundation by adding features like data validation, error handling, and more complex queries.
Feel free to customize and enhance this application according to your requirements. Happy coding!
Connect with SkillBakery Studios
Explore more tutorials, tools, and resources:
Posted by SkillBakery Studios


 Hello, my name is Jack Sparrow. I'm a 50 year old self-employed Pirate from the Caribbean.
No comments:
Post a Comment