
ASP.Net MVC - Passing Parameter to Partial Views
ASP.Net MVC - Passing Parameters to Partial Views
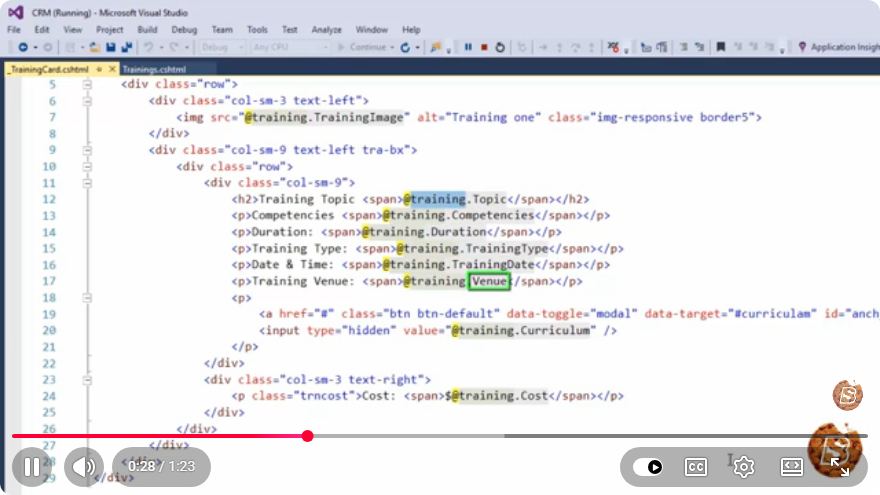
In ASP.Net MVC, partial views are a powerful feature that allows us to encapsulate reusable view components. They can be used to build more modular and maintainable web applications. One common requirement is passing parameters to these partial views, enabling them to display data dynamically. In this blog post, we will explore how to pass parameters to partial views in ASP.Net MVC.
What is a Partial View?
A partial view is a segment of a view that can be reused across different views. It is similar to a standard view but is intended to be rendered within another view. Partial views help in reducing code duplication and enhance the maintainability of your application.
Why Use Partial Views?
- Reusability: You can use the same partial view in multiple places.
- Separation of Concerns: It helps in separating different sections of the user interface.
- Maintainability: Changes made in the partial view will automatically reflect wherever it is used.
Passing Parameters to Partial Views
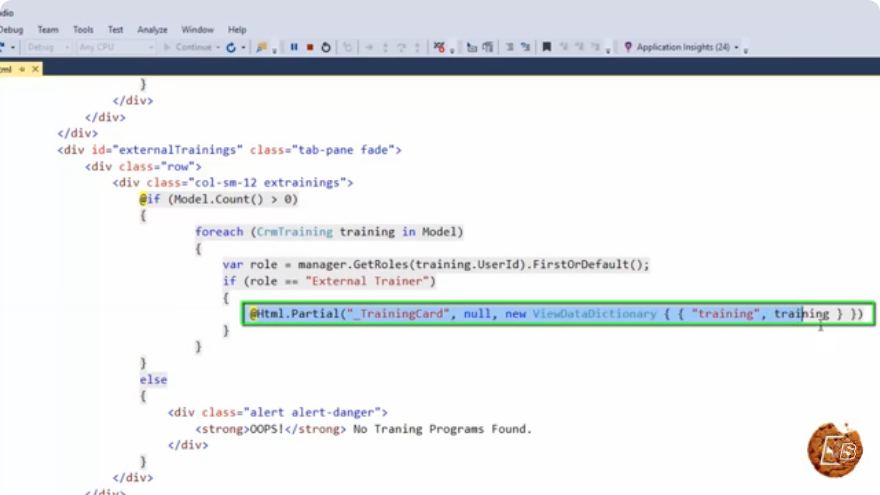
Passing parameters to a partial view can be accomplished in several ways. The most common methods include:
- Using ViewData
- Using ViewBag
- Using Strongly Typed Models
Let’s explore each of these methods in detail.
Method 1: Using ViewData
The ViewData dictionary allows you to pass data from a controller to a view. Here’s how to use it with partial views.
Step 1: Controller Action
In your controller action, you can set a value in ViewData before returning the view.
public ActionResult Index()
{
    ViewData["Message"] = "Hello from Partial View!";
    return View();
}
Step 2: Creating a Partial View
Create a partial view named _MyPartialView.cshtml and use the ViewData to access the passed parameter.
@{
    var message = ViewData["Message"] as string;
}

<div>
    <h2>@message</h2>
</div>
Step 3: Rendering the Partial View
Now, in your main view, you can render the partial view like this:
@Html.Partial("_MyPartialView")
Method 2: Using ViewBag
The ViewBag is a dynamic wrapper around ViewData, which allows for more flexible data passing.
Step 1: Controller Action
Set a value in ViewBag from the controller.
public ActionResult Index()
{
    ViewBag.Message = "Hello from Partial View using ViewBag!";
    return View();
}
Step 2: Creating a Partial View
In your _MyPartialView.cshtml, access the ViewBag property.
<div>
    <h2>@ViewBag.Message</h2>
</div>
Step 3: Rendering the Partial View
Render the partial view in the main view:
@Html.Partial("_MyPartialView")
Method 3: Using Strongly Typed Models
For stronger type safety and IntelliSense support, you can pass a strongly typed model to the partial view.
Step 1: Create a Model
First, create a model class. For example:
public class MessageModel
{
    public string Message { get; set; }
}
Step 2: Controller Action
In your controller action, create an instance of the model and pass it to the view.
public ActionResult Index()
{
    var model = new MessageModel { Message = "Hello from Strongly Typed Partial View!" };
    return View(model);
}
Step 3: Creating a Partial View
Create a strongly typed partial view _MyPartialView.cshtml.
@model YourNamespace.MessageModel

<div>
    <h2>@Model.Message</h2>
</div>
Step 4: Rendering the Partial View
In your main view, render the partial view and pass the model:
@Html.Partial("_MyPartialView", Model)
Conclusion
Passing parameters to partial views in ASP.Net MVC is straightforward once you understand the different methods available. Depending on your requirements, you can choose to use ViewData, ViewBag, or strongly typed models. Each method has its advantages and use cases, so select the one that best fits your project.
By leveraging partial views effectively, you can create cleaner, more maintainable code that adheres to the principles of separation of concerns. Happy coding!
Connect with SkillBakery Studios
Explore more tutorials, tools, and resources:
Posted by SkillBakery Studios


 Hello, my name is Jack Sparrow. I'm a 50 year old self-employed Pirate from the Caribbean.
No comments:
Post a Comment