
Flutter Install Android Studio Plugins
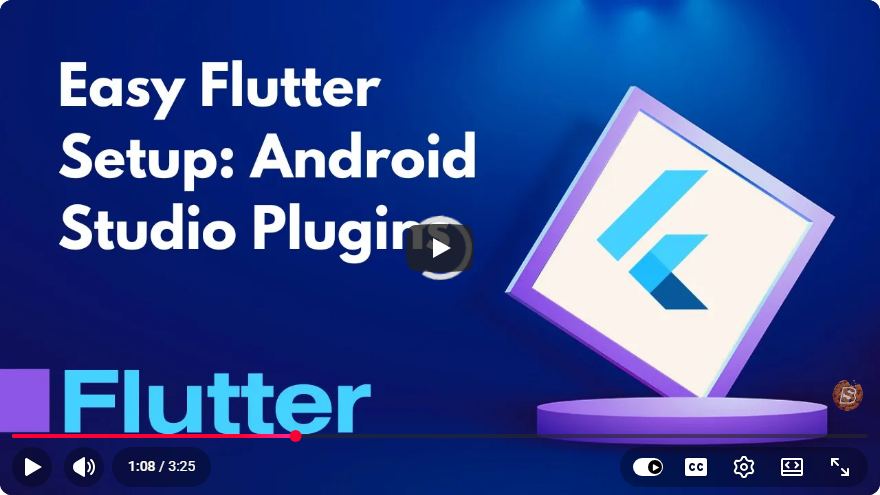
How to Install Flutter and Android Studio Plugins in Under 4 Minutes
In the world of mobile app development, Flutter has emerged as a leading framework for building cross-platform applications. One of the essential tools for Flutter development is Android Studio, which offers a robust Integrated Development Environment (IDE). In this tutorial, we will go through the process of installing the necessary Flutter and Android Studio plugins step-by-step, all in under four minutes.
Prerequisites
Before we start, ensure that you have the following:
- Android Studio installed on your machine. You can download it from the official Android Studio website.
- Flutter SDK downloaded and added to your system path. You can find the installation instructions on the Flutter installation page.
Step 1: Open Android Studio
First, launch Android Studio. If you are opening it for the first time, you may be greeted with a welcome screen.
Screenshot

Step 2: Access Plugins
- From the welcome screen or the main IDE interface, navigate to
Filein the top menu. - Select
Settings(on Windows/Linux) orPreferences(on macOS).
Navigation Path
File > Settings (or Preferences on macOS)
Step 3: Install Flutter Plugin
- In the Settings/Preferences window, look for
Pluginsin the left sidebar. - Click on the
Marketplacetab in the Plugins section.
Searching for Flutter
In the search bar, type Flutter.
- You should see the Flutter plugin appear in the search results. Click on the
Installbutton.
Screenshot

Step 4: Install Dart Plugin
Once the Flutter plugin is installed, you will also need to install the Dart plugin, as it is essential for Flutter development.
- After the Flutter installation is complete, a prompt will likely appear asking if you want to install the Dart plugin. If it doesn't, repeat Step 3 but search for Dart this time.
- Click on the
Installbutton for the Dart plugin.
Confirm Installation
Once both plugins are installed, you will be prompted to restart Android Studio. Click on Restart IDE to apply the changes.
Step 5: Verify Installation
After restarting, you can verify that the plugins are installed correctly:
- Go back to
File>Settings(orPreferences). - In the Plugins section, search for Flutter and Dart. Both should be listed as installed.
Creating a New Flutter Project
To ensure everything is set up correctly, create a new Flutter project:
- On the welcome screen, select
Start a new Flutter project. - Follow the on-screen instructions to complete the project setup.
Conclusion
Congratulations! You have successfully installed the Flutter and Dart plugins for Android Studio in just a few minutes. With these plugins, you are now equipped to start developing powerful cross-platform applications using Flutter.
If you encounter any issues during the installation, refer to the official documentation for Flutter and Android Studio, or check the community forums for assistance. Happy coding!
Connect with SkillBakery Studios
Explore more tutorials, tools, and resources:
Posted by SkillBakery Studios


 Hello, my name is Jack Sparrow. I'm a 50 year old self-employed Pirate from the Caribbean.
No comments:
Post a Comment