
Getting Started with Laravel : Laravel Forms and Validations: Building and Validating User Input
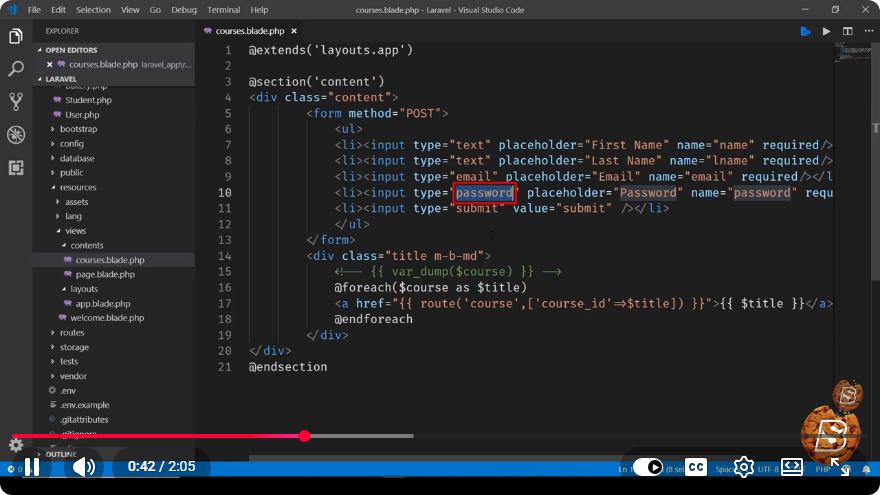
Getting Started with Laravel: Forms and Validations
Laravel is a powerful PHP framework that streamlines the process of web application development. One of its key features is the handling of forms and validations, which ensures that user input is secure and meets specific criteria. In this blog post, we will explore how to build forms and implement validations in Laravel, helping you to create robust applications with ease.
Setting Up Laravel
Before diving into forms and validations, ensure you have a working Laravel environment. If you haven't set up Laravel yet, you can do so by following these steps:
Install Composer: Laravel utilizes Composer for dependency management. You can download Composer from getcomposer.org.
Create a New Laravel Project: Run the following command in your terminal:
composer create-project --prefer-dist laravel/laravel your-project-nameNavigate to Your Project:
cd your-project-nameServe Your Application: Use Laravel's built-in server to start your application:
php artisan serve
You should now have a Laravel application running on http://localhost:8000.
Creating a Form
To create a form in Laravel, follow these steps:
Step 1: Define a Route
First, define a route in your web.php file located in the routes directory to show the form and handle form submission.
// routes/web.php

use App\Http\Controllers\FormController;

Route::get('/form', [FormController::class, 'create']);
Route::post('/form', [FormController::class, 'store']);
Step 2: Create a Controller
Next, create a controller that will handle the form logic.
php artisan make:controller FormController
Now, open the newly created FormController.php file and add the following methods:
// app/Http/Controllers/FormController.php

namespace App\Http\Controllers;

use Illuminate\Http\Request;

class FormController extends Controller
{
    public function create()
    {
        return view('form');
    }

    public function store(Request $request)
    {
        // Validation logic will go here
    }
}
Step 3: Create a View
Create a view for the form by creating a new file named form.blade.php in the resources/views directory.
<!-- resources/views/form.blade.php -->

<!DOCTYPE html>
<html lang="en">
<head>
    <meta charset="UTF-8">
    <meta name="viewport" content="width=device-width, initial-scale=1.0">
    <title>Laravel Form</title>
</head>
<body>
    <h1>User Input Form</h1>
    <form action="/form" method="POST">
        @csrf
        <label for="name">Name:</label>
        <input type="text" id="name" name="name" required>
        <br>
        <label for="email">Email:</label>
        <input type="email" id="email" name="email" required>
        <br>
        <button type="submit">Submit</button>
    </form>
</body>
</html>
In this form, we use the @csrf directive to include a CSRF token for security.
Validating User Input
Laravel provides a simple and elegant way to validate user input. Let's implement validation in the store method of the FormController.
Step 1: Add Validation Logic
In the store method, you can use the validate method provided by Laravel to validate the incoming data.
// app/Http/Controllers/FormController.php

public function store(Request $request)
{
    // Validate the request data
    $request->validate([
        'name' => 'required|string|max:255',
        'email' => 'required|email|max:255|unique:users',
    ]);

    // If validation passes, you can process the data

    return redirect('/form')->with('success', 'Form submitted successfully!');
}
Step 2: Display Validation Errors
To display validation errors back in your form, update your form.blade.php view:
<!-- resources/views/form.blade.php -->

@if ($errors->any())
    <div>
        <strong>Whoops!</strong> There were some problems with your input.<br><br>
        <ul>
            @foreach ($errors->all() as $error)
                <li>{{ $error }}</li>
            @endforeach
        </ul>
    </div>
@endif
With these changes, your form will now validate user input and display any errors if the validation fails.
Conclusion
Getting started with forms and validations in Laravel is straightforward, thanks to its elegant syntax and built-in features. By following the steps outlined in this tutorial, you can quickly create a form, validate user input, and handle errors effectively. This foundational knowledge will serve you well as you continue to build more complex applications using Laravel.
For more information, refer to the Laravel documentation on validation for in-depth insights and additional features. Happy coding!
Connect with SkillBakery Studios
Explore more tutorials, tools, and resources:
Posted by SkillBakery Studios


 Hello, my name is Jack Sparrow. I'm a 50 year old self-employed Pirate from the Caribbean.
No comments:
Post a Comment