
Getting Started with Laravel : Laravel Controllers: Handling Form Submissions and Persisting Data
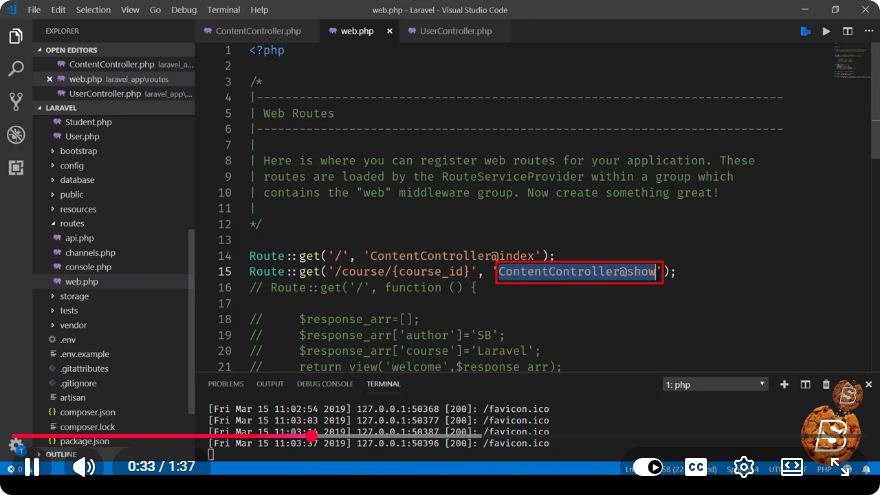
Getting Started with Laravel: Handling Form Submissions and Persisting Data
Laravel is a powerful PHP framework that simplifies the development of web applications by providing an elegant syntax and robust features. In this tutorial, we will focus on Laravel controllers, specifically how to handle form submissions and persist data to a database. By the end of this post, you will have a clear understanding of how to create a controller for your form and interact with the database.
Prerequisites
Before we dive into handling form submissions, ensure you have the following:
- A working Laravel installation (preferably version 8 or later).
- Basic knowledge of PHP and Laravel's MVC architecture.
- A database set up (MySQL is commonly used).
Step 1: Setting Up the Database
First, ensure that your database is properly configured in the .env file of your Laravel project. Open the file and set the following variables:
DB_CONNECTION=mysql
DB_HOST=127.0.0.1
DB_PORT=3306
DB_DATABASE=your_database_name
DB_USERNAME=your_username
DB_PASSWORD=your_password
Make sure to replace your_database_name, your_username, and your_password with your actual database credentials.
Step 2: Creating a Migration
Next, we need to create a migration for the table that will store our form data. Run the following command in your terminal:
php artisan make:migration create_posts_table --create=posts
After executing the command, open the newly created migration file located in the database/migrations folder. Define the columns you want to include in your table:
public function up()
{
    Schema::create('posts', function (Blueprint $table) {
        $table->id();
        $table->string('title');
        $table->text('content');
        $table->timestamps();
    });
}
Now, run the migration to create the table:
php artisan migrate
Step 3: Creating the Controller
To handle form submissions, we need a controller. Create a new controller by running:
php artisan make:controller PostController
Open PostController.php, and add the methods to show the form and handle the form submission:
namespace App\Http\Controllers;

use App\Models\Post;
use Illuminate\Http\Request;

class PostController extends Controller
{
    // Show the form
    public function create()
    {
        return view('posts.create');
    }

    // Handle form submission
    public function store(Request $request)
    {
        // Validate the request data
        $request->validate([
            'title' => 'required|max:255',
            'content' => 'required',
        ]);

        // Create a new post
        Post::create([
            'title' => $request->title,
            'content' => $request->content,
        ]);

        // Redirect to a desired route
        return redirect()->route('posts.index')->with('success', 'Post created successfully!');
    }
}
Explanation
- The
createmethod returns the view containing our form. - The
storemethod handles the form submission. It validates the data and creates a new post in the database.
Step 4: Defining Routes
Next, we need to define routes for our controller methods. Open the routes/web.php file and add the following:
use App\Http\Controllers\PostController;

Route::get('/posts/create', [PostController::class, 'create'])->name('posts.create');
Route::post('/posts', [PostController::class, 'store'])->name('posts.store');
Step 5: Creating the Form View
Now, let's create the form view. Create a new file called create.blade.php in the resources/views/posts directory. In this view, you'll create a simple form to input the post data:
<!DOCTYPE html>
<html lang="en">
<head>
    <meta charset="UTF-8">
    <meta name="viewport" content="width=device-width, initial-scale=1.0">
    <title>Create Post</title>
</head>
<body>

<h1>Create Post</h1>

@if ($errors->any())
    <div>
        <ul>
            @foreach ($errors->all() as $error)
                <li>{{ $error }}</li>
            @endforeach
        </ul>
    </div>
@endif

<form action="{{ route('posts.store') }}" method="POST">
    @csrf
    <label for="title">Title:</label>
    <input type="text" name="title" id="title" required>

    <label for="content">Content:</label>
    <textarea name="content" id="content" required></textarea>

    <button type="submit">Submit</button>
</form>

</body>
</html>
Explanation
- The
@csrfdirective is included to protect against CSRF attacks. - We display validation errors if any exist.
Step 6: Testing the Application
Finally, start your Laravel development server:
php artisan serve
Navigate to http://localhost:8000/posts/create in your browser. Fill out the form and submit it. If everything is set up correctly, you should see a success message, and the data should be persisted in your database.
Conclusion
In this tutorial, we covered how to handle form submissions in Laravel using controllers. We created a migration, defined routes, wrote a controller to manage our data, and built a simple form to collect user input. Laravel simplifies these tasks, allowing developers to focus on building great applications. Happy coding!
Connect with SkillBakery Studios
Explore more tutorials, tools, and resources:
Posted by SkillBakery Studios


 Hello, my name is Jack Sparrow. I'm a 50 year old self-employed Pirate from the Caribbean.
No comments:
Post a Comment