
Getting Started with Laravel : Laravel Service Provider Development
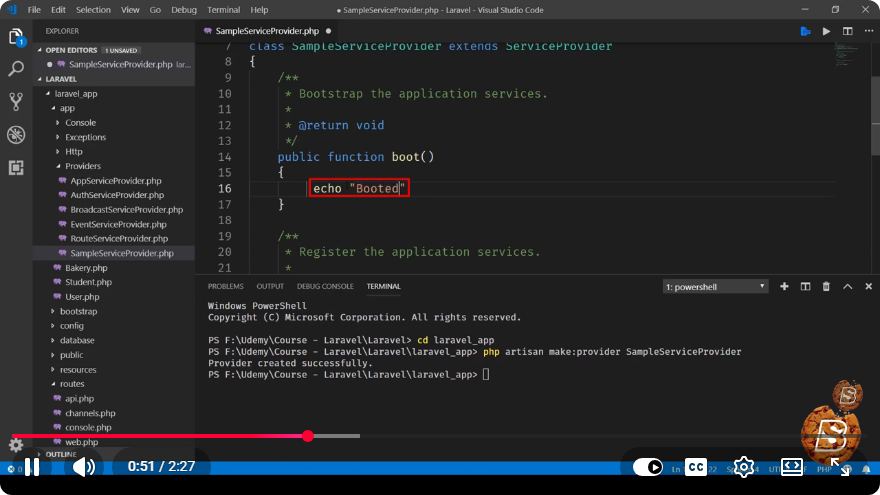
Getting Started with Laravel: Service Provider Development
Laravel's service providers are the central place of application bootstrapping. They are responsible for binding classes into the service container and registering services within the application. In this tutorial, we'll explore how to create a custom service provider in Laravel, making it easier to manage dependencies and organize your code.
What is a Service Provider?
A service provider in Laravel is a class that is responsible for bootstrapping and registering services in your application. It acts as a bridge between the service container and the application, allowing you to define how various components should behave.
Key Responsibilities of Service Providers
- Binding Classes: You can bind classes into the service container, making them available for dependency injection.
- Registering Services: Service providers can register services such as event listeners, middleware, and routes.
- Configuration: They can load configuration files, ensuring that your application has the necessary settings in place.
Creating a Custom Service Provider
Now, let’s walk through the steps to create a custom service provider in Laravel.
Step 1: Generate the Service Provider
You can generate a service provider using the Artisan command line tool. Open your terminal and run the following command:
php artisan make:provider CustomServiceProvider
This command creates a new service provider file in the app/Providers directory.
Step 2: Register the Service Provider
Once the service provider is created, you need to register it in the application. Open config/app.php and add your provider to the providers array:
'providers' => [
    // Other Service Providers

    App\Providers\CustomServiceProvider::class,
],
Step 3: Implement the Service Provider Methods
In your newly created CustomServiceProvider.php file, you'll find two important methods: register and boot.
- register: This method is used to bind services into the container.
- boot: This method is called after all other service providers have been registered. It is typically used for event listeners, middleware, etc.
Here’s an example of what your service provider might look like:
namespace App\Providers;

use Illuminate\Support\ServiceProvider;

class CustomServiceProvider extends ServiceProvider
{
    /**
     * Register any application services.
     *
     * @return void
     */
    public function register()
    {
        // Binding a class into the service container
        $this->app->bind('CustomService', function ($app) {
            return new \App\Services\CustomService();
        });
    }

    /**
     * Bootstrap any application services.
     *
     * @return void
     */
    public function boot()
    {
        // Logic to run during application bootstrapping
    }
}
Step 4: Using the Service
Once your service provider is set up, you can use the bound service anywhere in your application using dependency injection. For example, you can inject CustomService into your controllers:
namespace App\Http\Controllers;

use App\Services\CustomService;

class ExampleController extends Controller
{
    protected $customService;

    public function __construct(CustomService $customService)
    {
        $this->customService = $customService;
    }

    public function index()
    {
        // Use the custom service
        $data = $this->customService->performAction();
        return view('example.index', compact('data'));
    }
}
Summary
By using service providers in Laravel, you can create a clean and maintainable structure for your application. This tutorial has walked you through the steps of creating a custom service provider, registering it, and utilizing it in your application.
Additional Resources
Now that you have a basic understanding of service provider development in Laravel, you can start implementing more advanced features to enhance your application's functionality!
Connect with SkillBakery Studios
Explore more tutorials, tools, and resources:
Posted by SkillBakery Studios


 Hello, my name is Jack Sparrow. I'm a 50 year old self-employed Pirate from the Caribbean.
No comments:
Post a Comment