
Getting Started with Laravel : Preparing Your Windows Environment for Laravel Development
Getting Started with Laravel: Preparing Your Windows Environment for Laravel Development
Laravel is one of the most popular PHP frameworks for web development. If you're looking to dive into Laravel development on a Windows machine, this guide will help you set up your environment in no time. We'll walk through the essential steps to ensure you're ready to start building applications with Laravel.
Prerequisites
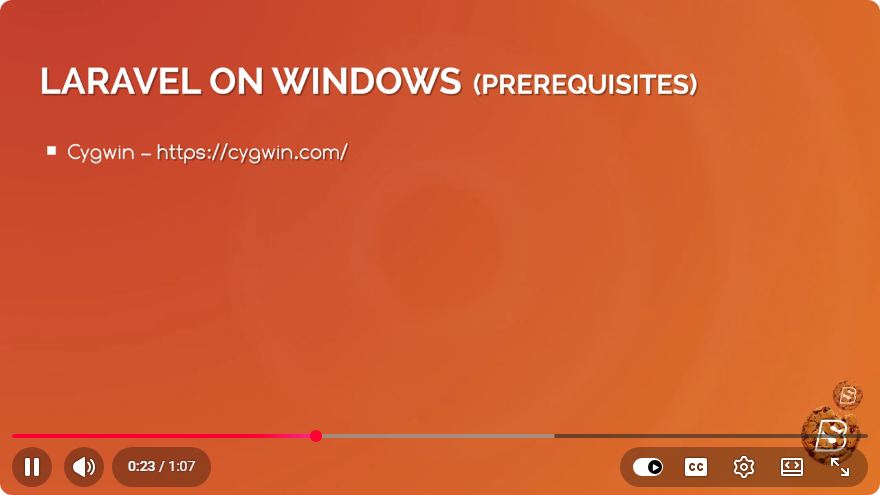
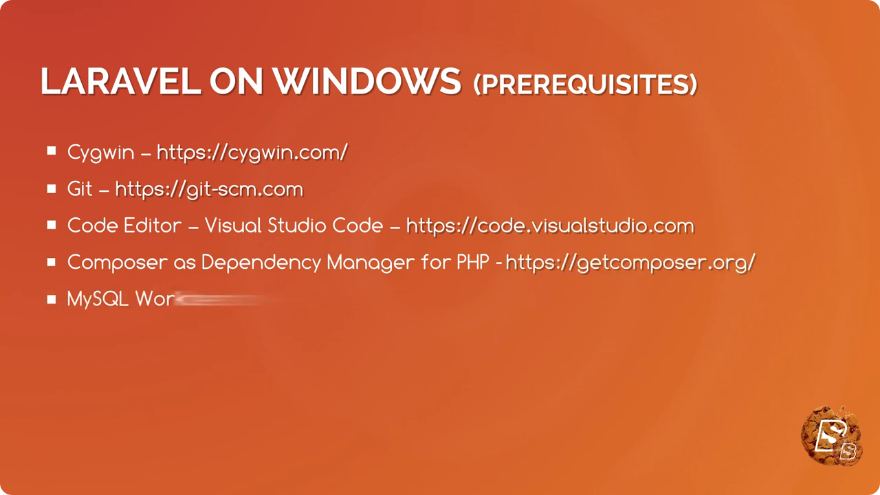
Before we begin, ensure you have the following installed on your Windows machine:
- PHP: Laravel requires PHP version 7.4 or higher.
- Composer: A dependency manager for PHP that Laravel uses.
- A web server: Apache or Nginx is recommended, but the built-in PHP server works fine for development.
- Database: MySQL, PostgreSQL, or SQLite, depending on your preference.
Step 1: Installing PHP
To install PHP on Windows, follow these steps:
Download the PHP binaries: Visit the PHP Downloads page and download the latest version (e.g., PHP 8.x).
Extract the files: Unzip the downloaded file to a directory, for example,
C:\php.Configure your environment variables:
- Right-click on "This PC" or "My Computer" and select "Properties."
- Click on "Advanced system settings" and then "Environment Variables."
- Under "System variables," find the
Pathvariable and click "Edit." - Add the path to your PHP installation (e.g.,
C:\php).
Verify PHP installation: Open a command prompt and run:
php -vYou should see the PHP version information.
Step 2: Installing Composer
Composer is essential for managing dependencies in Laravel. Here’s how to install it:
Download Composer: Visit the Composer Download page and download the Composer-Setup.exe file.
Run the installer: Follow the prompts in the installer. Make sure to select the PHP executable you installed earlier (e.g.,
C:\php\php.exe).Verify Composer installation: Open a new command prompt and run:
composer -VYou should see the Composer version information.
Step 3: Installing Laravel
With PHP and Composer installed, you can now install Laravel:
Open a command prompt: Navigate to the directory where you want to create your Laravel project.
Create a new Laravel project: Use Composer to create a new Laravel application by running:
composer create-project --prefer-dist laravel/laravel myProjectReplace
myProjectwith your desired project name.Navigate to your project directory:
cd myProjectStart the development server: You can use Laravel's built-in server by running:
php artisan serveThis will start your application, and you can access it by navigating to
http://localhost:8000in your web browser.
Step 4: Configuring Your Database
Laravel supports various databases. For this example, we'll configure a MySQL database:
Install MySQL: Download and install MySQL from the MySQL Community Downloads page.
Create a new database:
- Open MySQL Workbench or another MySQL client.
- Create a new database for your Laravel project.
Update
.envfile: In your Laravel project, locate the.envfile and configure the database settings:DB_CONNECTION=mysql DB_HOST=127.0.0.1 DB_PORT=3306 DB_DATABASE=your_database_name DB_USERNAME=your_username DB_PASSWORD=your_passwordReplace the placeholders with your actual database credentials.
Step 5: Testing Your Setup
To ensure everything is working correctly, follow these steps:
Run migrations: In your command prompt, run:
php artisan migrateThis will create the necessary tables in your database.
Access your application: Open your browser and navigate to
http://localhost:8000. You should see the Laravel welcome page, indicating that your setup is complete!
Conclusion
Congratulations! You've successfully prepared your Windows environment for Laravel development. From installing PHP and Composer to creating a new Laravel project and configuring your database, you are now ready to start building robust web applications.
Stay tuned for more Laravel tutorials, and happy coding!
Connect with SkillBakery Studios
Explore more tutorials, tools, and resources:
Posted by SkillBakery Studios


 Hello, my name is Jack Sparrow. I'm a 50 year old self-employed Pirate from the Caribbean.
No comments:
Post a Comment