
Getting Started with Laravel Controllers: Adding Data to Your Database via Form Submission
Getting Started with Laravel Controllers: Adding Data to Your Database via Form Submission
Laravel is a powerful PHP framework known for its elegant syntax and ease of use. One of the core components of any Laravel application is the controller. In this tutorial, we will explore how to set up a simple form submission process to add data to your database using Laravel controllers.
Prerequisites
Before we dive into the tutorial, ensure you have the following:
A local development environment with PHP and Composer installed.
Laravel installed on your machine. If you haven't installed it yet, you can do so via Composer:
composer global require laravel/installerA basic understanding of Laravel’s routing, migrations, and models.
Step 1: Create a New Laravel Project
If you haven't already created a Laravel project, you can do so with the following command:
laravel new my-laravel-app
cd my-laravel-app
Step 2: Set Up the Database
Configure the
.envfile: Update the.envfile in your project root to set up your database connection. Here’s an example for a MySQL database:DB_CONNECTION=mysql DB_HOST=127.0.0.1 DB_PORT=3306 DB_DATABASE=my_database DB_USERNAME=root DB_PASSWORD=Create a migration for the data: Let's say you're building a simple application to store user data. Run the following command to create a migration file:
php artisan make:migration create_users_table --create=usersDefine the schema: Open the newly created migration file in
database/migrations/and define the columns:public function up() { Schema::create('users', function (Blueprint $table) { $table->id(); $table->string('name'); $table->string('email')->unique(); $table->timestamps(); }); }Run the migration: Execute the following command to create the table in your database:
php artisan migrate
Step 3: Create a Model
Now, create a model for the User:
php artisan make:model User
This will create a User.php model file in the app/Models directory, which will interact with the users table.
Step 4: Create a Controller
Next, you need a controller to handle the logic of form submission. Create a new controller named UserController:
php artisan make:controller UserController
Adding Logic to the Controller
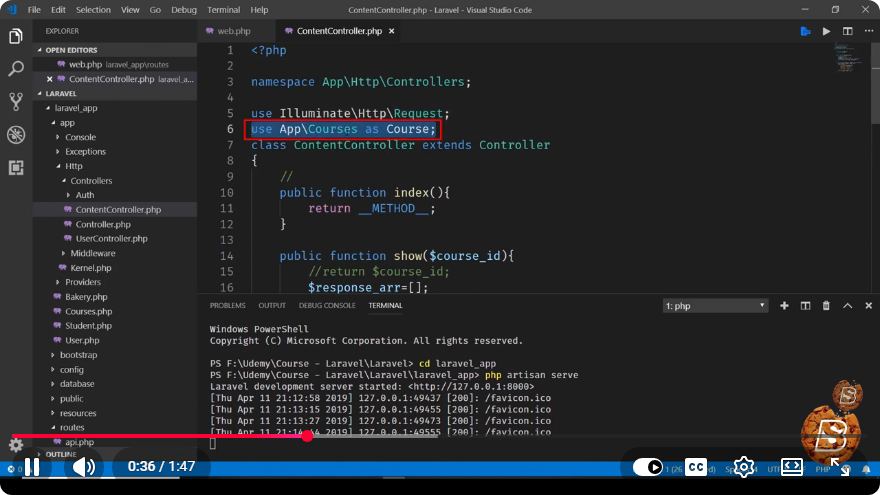
Open the UserController.php file located in the app/Http/Controllers directory and add the following methods:
namespace App\Http\Controllers;

use App\Models\User;
use Illuminate\Http\Request;

class UserController extends Controller
{
    // Show the form to create a user
    public function create()
    {
        return view('user.create');
    }

    // Store user data
    public function store(Request $request)
    {
        $request->validate([
            'name' => 'required|max:255',
            'email' => 'required|email|unique:users,email',
        ]);

        User::create([
            'name' => $request->name,
            'email' => $request->email,
        ]);

        return redirect()->back()->with('success', 'User added successfully!');
    }
}
Step 5: Set Up Routes
Next, you need to define routes for the form display and submission in routes/web.php:
use App\Http\Controllers\UserController;

Route::get('/users/create', [UserController::class, 'create']);
Route::post('/users', [UserController::class, 'store']);
Step 6: Create the Form View
Create a new Blade view file named create.blade.php in the resources/views/user directory:
<!DOCTYPE html>
<html lang="en">
<head>
    <meta charset="UTF-8">
    <meta name="viewport" content="width=device-width, initial-scale=1.0">
    <title>Create User</title>
</head>
<body>
    <h1>Create User</h1>

    @if(session('success'))
        <p style="color: green;">{{ session('success') }}</p>
    @endif

    <form action="/users" method="POST">
        @csrf
        <label for="name">Name</label>
        <input type="text" id="name" name="name" required>
        <br>

        <label for="email">Email</label>
        <input type="email" id="email" name="email" required>
        <br>

        <button type="submit">Submit</button>
    </form>
</body>
</html>
Step 7: Test the Application
Now, start your Laravel development server:
php artisan serve
Visit http://127.0.0.1:8000/users/create in your web browser. Fill out the form and submit it. You should see a success message, and the user data will be stored in your database.
Conclusion
In this tutorial, we covered the basics of creating a form submission in Laravel using controllers. You learned how to set up a database, create a migration, and handle user input securely. With this foundation, you can expand your Laravel application by adding more features and functionalities. Happy coding!
Connect with SkillBakery Studios
Explore more tutorials, tools, and resources:
Posted by SkillBakery Studios


 Hello, my name is Jack Sparrow. I'm a 50 year old self-employed Pirate from the Caribbean.
No comments:
Post a Comment