
Getting Started with Text-to-Speech for Web Developers: A Beginner's Guide
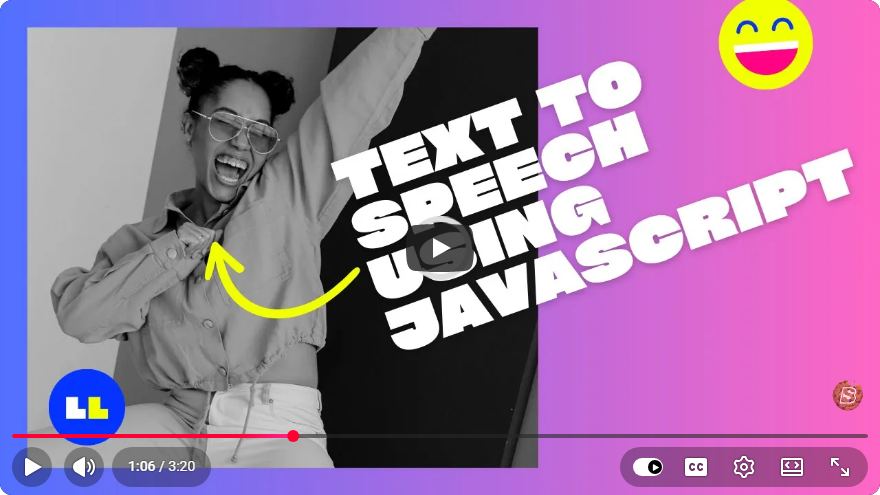
Getting Started with Text-to-Speech for Web Developers: A Beginner's Guide
In today's digital landscape, accessibility is paramount, and one of the effective ways to enhance user engagement is through text-to-speech (TTS) technology. This beginner's guide will help web developers understand the basics of implementing TTS in their web applications. Let's dive into the essentials of bringing your text to life with speech!
What is Text-to-Speech?
Text-to-Speech is a technology that converts written text into spoken words. It can be particularly beneficial for users with visual impairments, learning disabilities, or anyone who prefers auditory content. With TTS, you can create more interactive and inclusive web applications.
Why Use Text-to-Speech?
- Accessibility: Makes information available to users with disabilities.
- User Engagement: Increases time spent on your website.
- Multi-tasking: Users can listen while performing other tasks.
Getting Started with the Web Speech API
The Web Speech API provides a simple way to incorporate TTS functionality into your web applications. It consists of two components: Speech Recognition and Speech Synthesis. In this guide, we will focus on the Speech Synthesis part.
Browser Compatibility
Before diving into the code, it's essential to check browser compatibility. Most modern browsers support the Web Speech API, but always verify on Can I use for the latest support details.
Basic Implementation of Text-to-Speech
Step 1: Set Up Your HTML
Start with a simple HTML structure where users can input text to be converted to speech.
<!DOCTYPE html>
<html lang="en">
<head>
    <meta charset="UTF-8">
    <meta name="viewport" content="width=device-width, initial-scale=1.0">
    <title>Text-to-Speech Demo</title>
</head>
<body>
    <h1>Text-to-Speech Demo</h1>
    <textarea id="text-to-speak" rows="5" cols="30" placeholder="Type something..."></textarea>
    <button id="speak-btn">Speak</button>
    <script src="app.js"></script>
</body>
</html>
Step 2: Create the JavaScript Functionality
Next, you will need to implement the JavaScript that interacts with the Web Speech API. Create a new file named app.js and add the following code:
// app.js

document.getElementById('speak-btn').addEventListener('click', function () {
    const text = document.getElementById('text-to-speak').value;

    // Check if the text is empty
    if (!text) {
        alert("Please enter some text!");
        return;
    }

    // Create a new instance of SpeechSynthesis
    const utterance = new SpeechSynthesisUtterance(text);

    // Optional: Set properties like voice, pitch, and rate
    utterance.pitch = 1; // Range: 0 to 2
    utterance.rate = 1; // Range: 0.1 to 10
    utterance.volume = 1; // Range: 0 to 1

    // Speak the text
    window.speechSynthesis.speak(utterance);
});
Step 3: Customize Voice and Settings
The Web Speech API supports multiple voices, accents, and languages. You can customize the voice used by fetching the available voices and selecting one.
Add the following code to fetch and set a specific voice:
let voices = [];

function populateVoiceList() {
    voices = window.speechSynthesis.getVoices();
}

window.speechSynthesis.onvoiceschanged = populateVoiceList;

// Update the speak function to use a selected voice
const selectedVoice = voices.find(voice => voice.name === 'Google US English'); // Choose your preferred voice
utterance.voice = selectedVoice;
Testing Your Implementation
Open your HTML file in a web browser and try inputting some text. Click the "Speak" button, and your text should be read aloud!
Conclusion
Integrating Text-to-Speech in your web applications can significantly enhance user experience and accessibility. With just a few lines of code, you can implement this powerful feature using the Web Speech API. As you grow more comfortable with TTS, consider exploring advanced features like voice selection, language options, and event handling to improve the user experience further.
Now that you're equipped with the basics, get out there and start making your web applications more accessible and engaging! Happy coding!
Connect with SkillBakery Studios
Explore more tutorials, tools, and resources:
Posted by SkillBakery Studios


 Hello, my name is Jack Sparrow. I'm a 50 year old self-employed Pirate from the Caribbean.
No comments:
Post a Comment