
Git Basics Atomic Commits
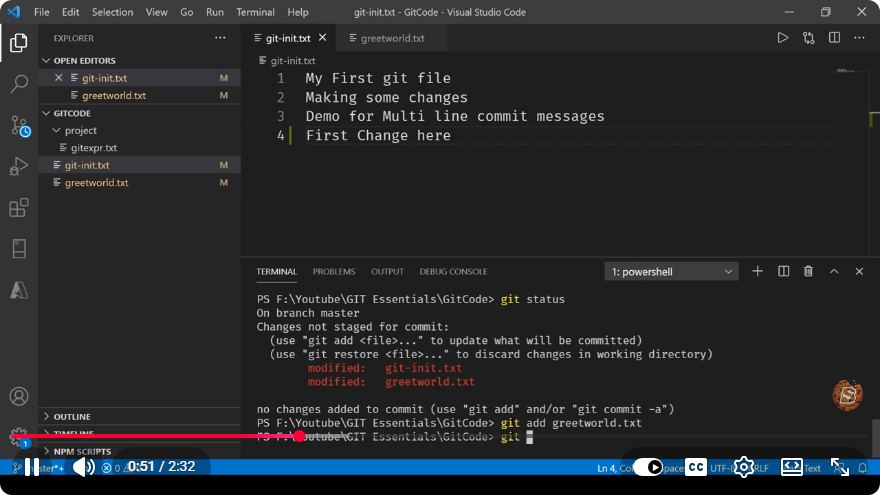
Understanding Git Basics: Atomic Commits in 2 Minutes
Git is a powerful version control system widely used in software development. One of the fundamental practices in Git is the concept of atomic commits. In this blog post, we will explore what atomic commits are, why they are important, and how to implement them effectively in your projects.
What are Atomic Commits?
Atomic commits refer to the practice of making commits in a way that each commit contains a single logical change. This means that each commit should encapsulate one specific feature, bug fix, or improvement. The idea is to keep commits small, focused, and self-contained.
Characteristics of Atomic Commits:
- Single Purpose: Each commit should address one specific task or issue.
- Self-Contained: A commit should be complete enough to be understood in isolation.
- Clear History: Atomic commits help maintain a clear and understandable project history.
Why are Atomic Commits Important?
Atomic commits offer several advantages that contribute to better collaboration and project management:
- Easier Code Reviews: Reviewers can focus on one change at a time, making it simpler to understand the impact of each commit.
- Simplified Reverts: If a particular change is problematic, it can be reverted without affecting unrelated changes.
- Improved Debugging: Isolating changes helps in quickly identifying when and where a bug was introduced.
- Enhanced Collaboration: Teams can work on different features or fixes concurrently without stepping on each other’s toes.
How to Create Atomic Commits
To create atomic commits, follow these best practices:
1. Plan Your Changes
Before making any changes, take a moment to plan what you want to achieve. Identify the specific task you are addressing, whether it’s a new feature, bug fix, or refactor.
2. Use Branches
Create a new branch for each task. This not only keeps your commits isolated but also allows you to develop features concurrently without affecting the main codebase.
git checkout -b feature/your-feature-name
3. Make Incremental Changes
Break your work into small, manageable chunks. Each chunk should be a logical step towards completing the task. Avoid mixing unrelated changes in the same commit.
4. Write Descriptive Commit Messages
When you are ready to commit your changes, write a clear and concise commit message that describes the change. A good commit message typically follows this structure:
<type>(<scope>): <subject>

<body>
- Type: The nature of the change (feat, fix, docs, style, refactor, perf, test, chore).
- Scope: The area of the codebase affected.
- Subject: A brief summary of the change.
Example Commit Message:
git commit -m "feat(authentication): add user login functionality"
5. Review Your Commits
Before pushing your changes, review your commits to ensure they are atomic. Use git log to see your commit history and confirm that each commit is focused and makes sense on its own.
git log --oneline
6. Push Your Changes
Once you are satisfied with your atomic commits, push them to the remote repository.
git push origin feature/your-feature-name
Conclusion
Atomic commits are a best practice in Git that leads to a cleaner, more manageable project history. By following the steps outlined in this tutorial, you can enhance the quality of your commits, making code reviews easier, debugging more efficient, and collaboration smoother.
Incorporate atomic commits into your workflow today and reap the benefits of a well-structured version control system!
For a quick visual guide, check out the YouTube video on Git basics and atomic commits. Happy coding!
Connect with SkillBakery Studios
Explore more tutorials, tools, and resources:
Posted by SkillBakery Studios


 Hello, my name is Jack Sparrow. I'm a 50 year old self-employed Pirate from the Caribbean.
No comments:
Post a Comment