
Google Speech To Text - Configuring Storage - Using Windows Forms C# .Net - Part II
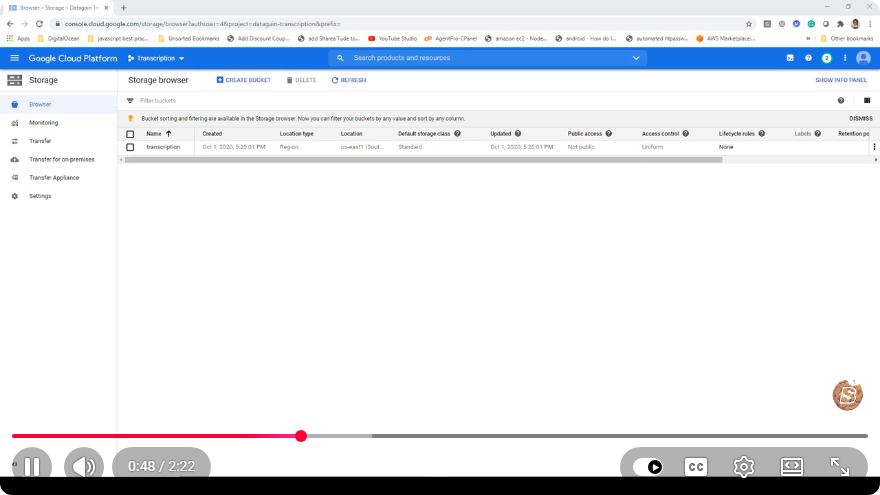
Google Speech To Text - Configuring Storage in Windows Forms C# .Net
In this blog post, we will delve into the crucial aspects of configuring storage for Google Speech to Text in a Windows Forms C# application. This tutorial is based on a YouTube video that provides a concise overview of the process. We will break down the steps to make it easier for you to implement this feature in your own projects.
Prerequisites
Before we start, ensure you have the following:
- Visual Studio installed on your machine.
- A Google Cloud account with the Speech to Text API enabled.
- Your Google Cloud credentials JSON file downloaded.
Setting Up Your Project
Step 1: Create a New Windows Forms Application
- Open Visual Studio.
- Go to
File>New>Project. - Select
Windows Forms App (.NET Framework). - Name your project and click
Create.
Step 2: Install Google Cloud Client Libraries
To utilize Google Cloud services, you must install the necessary NuGet packages. Follow these steps:
- Right-click on your project in the Solution Explorer.
- Select
Manage NuGet Packages. - Search for
Google.Cloud.Speech.V1and install it. - Also, install
Google.Apis.Authfor authentication purposes.
You can alternatively install these packages via the Package Manager Console:
Install-Package Google.Cloud.Speech.V1
Install-Package Google.Apis.Auth
Configuring Storage for Speech to Text
Step 3: Set Up Your Credentials
The credentials file you downloaded from Google Cloud needs to be configured in your application. Place this JSON file in your project directory.
Modify your code to reference this file:
using Google.Cloud.Speech.V1;

public class SpeechToText
{
    private SpeechClient speechClient;

    public SpeechToText()
    {
        string credentialPath = @"path\to\your\credentials.json";
        Environment.SetEnvironmentVariable("GOOGLE_APPLICATION_CREDENTIALS", credentialPath);
        speechClient = SpeechClient.Create();
    }
}
Step 4: Implementing Speech Recognition
You need a method to handle the audio input and transcribe it. Below is a simple example of how to do this:
public string RecognizeSpeech(string audioFilePath)
{
    var response = speechClient.Recognize(new RecognitionConfig()
    {
        Encoding = RecognitionConfig.Types.AudioEncoding.Linear16,
        SampleRateHertz = 16000,
        LanguageCode = "en-US",
    }, RecognitionAudio.FromFile(audioFilePath));

    return string.Join(" ", response.Results.Select(result => result.Alternatives[0].Transcript));
}
Step 5: Storing Transcriptions
To store the transcriptions, you might want to implement a simple text file output or a database entry. Below is an example of writing the transcription to a text file:
public void SaveTranscriptionToFile(string transcription, string outputPath)
{
    File.WriteAllText(outputPath, transcription);
}
Complete Example
Below is a complete example that combines the above code snippets into a cohesive class for your Windows Forms application:
using Google.Cloud.Speech.V1;
using System;
using System.IO;

public class SpeechToText
{
    private SpeechClient speechClient;

    public SpeechToText()
    {
        string credentialPath = @"path\to\your\credentials.json";
        Environment.SetEnvironmentVariable("GOOGLE_APPLICATION_CREDENTIALS", credentialPath);
        speechClient = SpeechClient.Create();
    }

    public string RecognizeSpeech(string audioFilePath)
    {
        var response = speechClient.Recognize(new RecognitionConfig()
        {
            Encoding = RecognitionConfig.Types.AudioEncoding.Linear16,
            SampleRateHertz = 16000,
            LanguageCode = "en-US",
        }, RecognitionAudio.FromFile(audioFilePath));

        return string.Join(" ", response.Results.Select(result => result.Alternatives[0].Transcript));
    }

    public void SaveTranscriptionToFile(string transcription, string outputPath)
    {
        File.WriteAllText(outputPath, transcription);
    }
}
Conclusion
In this tutorial, we explored how to configure storage for Google Speech to Text in a Windows Forms C# application. We covered setting up your project, installing the necessary libraries, and implementing the code to recognize speech and save transcriptions.
Feel free to expand this basic setup as per your application's requirements. Happy coding!
Connect with SkillBakery Studios
Explore more tutorials, tools, and resources:
Posted by SkillBakery Studios


 Hello, my name is Jack Sparrow. I'm a 50 year old self-employed Pirate from the Caribbean.
No comments:
Post a Comment