
Master Node JS : install nodejs mac - Web Development

Mastering Node.js: How to Install Node.js on macOS
Node.js is a powerful JavaScript runtime built on Chrome's V8 engine, allowing developers to build scalable network applications. If you're looking to get started with Node.js on your Mac, this guide will walk you through the installation process step-by-step.
Prerequisites
Before diving into the installation, ensure that you have the following prerequisites:
- A Mac computer running macOS.
- Basic knowledge of using the Terminal.
Step 1: Open Terminal
To start the installation process, you need to open the Terminal application on your Mac. You can find it by navigating to Applications > Utilities > Terminal, or by using Spotlight Search (⌘ + Space) and typing "Terminal".
Step 2: Install Homebrew (Optional)
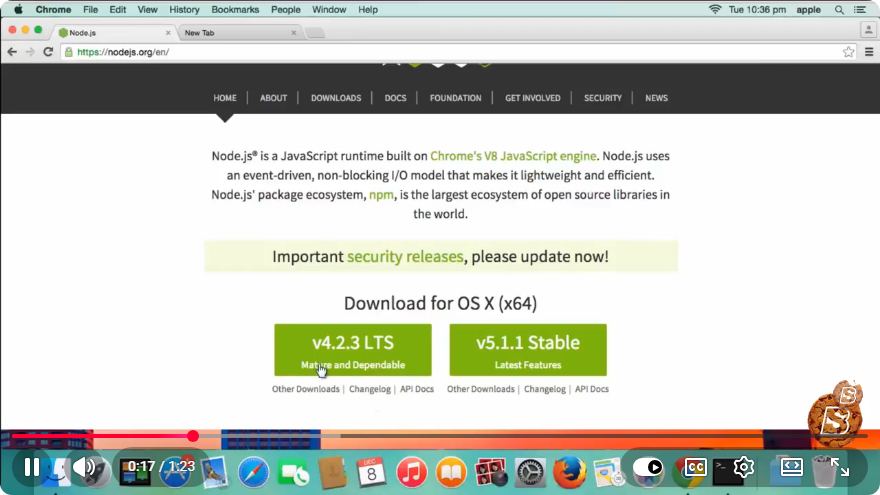
While you can install Node.js directly from the official website, using Homebrew simplifies the process and allows you to manage packages easily. If you don’t have Homebrew installed, you can do so by running the following command in your Terminal:
/bin/bash -c "$(curl -fsSL https://raw.githubusercontent.com/Homebrew/install/HEAD/install.sh)"
This command downloads and runs the Homebrew installation script. Follow the prompts to complete the installation.
Step 3: Install Node.js Using Homebrew
Once you have Homebrew installed, you can install Node.js with a single command. In your Terminal, enter:
brew install node
Homebrew will download and install the latest version of Node.js and npm (Node Package Manager) automatically.
Step 4: Verify the Installation
To confirm that Node.js and npm were installed successfully, you can check their versions. Run the following commands one after the other:
node -v
npm -v
You should see the version numbers for both Node.js and npm displayed in the Terminal. If you see the version numbers, congratulations! You have successfully installed Node.js on your Mac.
Step 5: Create a Simple Node.js Application
Now that you have Node.js installed, let’s create a simple application to ensure everything is working correctly.
Create a new directory for your project:
mkdir my-node-app
cd my-node-app
Create a new JavaScript file:
touch app.jsOpen the file in your preferred text editor and add the following code:
// app.js
const http = require('http');

const hostname = '127.0.0.1';
const port = 3000;

const server = http.createServer((req, res) => {
  res.statusCode = 200;
  res.setHeader('Content-Type', 'text/plain');
  res.end('Hello World\n');
});

server.listen(port, hostname, () => {
  console.log(`Server running at http://${hostname}:${port}/`);
});
Run the application in your Terminal:
node app.jsOpen your web browser and navigate to
http://127.0.0.1:3000/. You should see the message "Hello World".
Conclusion
Congratulations! You have successfully installed Node.js on your Mac and set up a simple web server. Node.js opens up a world of possibilities for web development, enabling you to create dynamic applications with ease.
For further exploration, consider diving into Node.js documentation and experimenting with libraries and frameworks like Express.js for building robust web applications.
If you have any questions or run into issues during the installation process, feel free to leave a comment below or consult the Node.js community for assistance. Happy coding!
Connect with SkillBakery Studios
Explore more tutorials, tools, and resources:
Posted by SkillBakery Studios


 Hello, my name is Jack Sparrow. I'm a 50 year old self-employed Pirate from the Caribbean.
No comments:
Post a Comment