
MongoDB : installing mongodb on Windows
Quick Guide to Installing MongoDB on Windows
MongoDB is a popular NoSQL database that is designed for scalability and flexibility. This guide will walk you through the steps to install MongoDB on a Windows operating system in just a few minutes. Whether you are a developer looking to integrate MongoDB into your applications or just curious about NoSQL databases, this tutorial will provide you with the essential steps to get MongoDB up and running on your Windows machine.
Prerequisites
Before we get started, ensure that your Windows system meets the following requirements:
- Windows 10 or later (Windows Server is also supported).
- At least 2 GB of RAM.
- Sufficient disk space (recommended: at least 1 GB).
Step 1: Download MongoDB Installer
Go to the MongoDB Download Center: Visit the MongoDB Download Center and select the Community Server version.
Select the Windows version:
- Choose the appropriate version for your Windows system (most likely the MSI installer).
- Click on the "Download" button.
Step 2: Install MongoDB
Run the Installer: Locate the downloaded
.msifile and double-click to run it.Follow the Setup Wizard:
- Click "Next" to begin the installation.
- Accept the License Agreement and click "Next".
Choose Setup Type: Select "Complete" for a full installation or "Custom" if you wish to choose specific components. For a standard installation, "Complete" is recommended. Click "Next".
Configure Service:
- In the Service Configuration options, you can set MongoDB to run as a service. This is recommended for ease of use.
- Ensure that the "Install MongoDB as a Service" option is checked, and leave the default settings to run the service with the default data directory.
- Click "Next".
Choose Install Location: You can leave the default installation path or choose another directory. Click "Next".
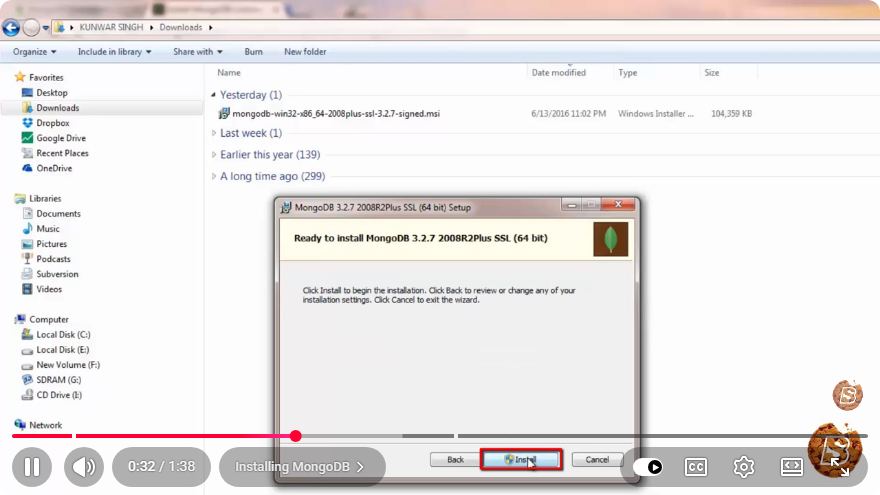
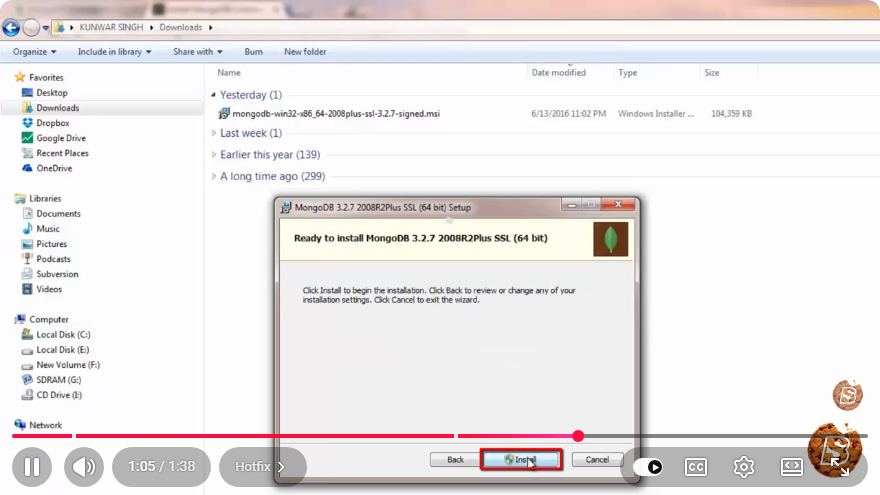
Finish Installation: Click "Install" to begin the installation process. Once completed, click "Finish".
Step 3: Set Up the Environment
Add MongoDB to the PATH: To use MongoDB commands from the Command Prompt, you need to add MongoDB to your system's PATH environment variable.
- Right-click on "This PC" or "My Computer" and select "Properties".
- Click on "Advanced system settings".
- In the System Properties window, click on the "Environment Variables" button.
- Under "System variables", find the "Path" variable and click "Edit".
- Add the path to the MongoDB
bindirectory (e.g.,C:\Program Files\MongoDB\Server\<version>\bin) and click "OK".
Create Data Directory: MongoDB requires a data directory to store its files. By default, it uses
C:\data\db. To create this directory:Open Command Prompt and run:
mkdir C:\data\db
Step 4: Starting MongoDB
Open Command Prompt: Search for "cmd" in the Windows search bar and open Command Prompt.
Start MongoDB: In the Command Prompt, type the following command to start the MongoDB server:
mongodThis command will start the MongoDB server, and you should see output indicating that the server is running.
Step 5: Access MongoDB Shell
Open a New Command Prompt: Open another Command Prompt window.
Start MongoDB Shell: In the new window, type:
mongoThis command will connect you to the MongoDB instance running on your machine.
Conclusion
Congratulations! You have successfully installed MongoDB on your Windows machine. You can now start using MongoDB to manage your data in a flexible way. For more advanced usage and commands, consider checking out the official MongoDB Documentation.
Happy coding!
Connect with SkillBakery Studios
Explore more tutorials, tools, and resources:
Posted by SkillBakery Studios


 Hello, my name is Jack Sparrow. I'm a 50 year old self-employed Pirate from the Caribbean.
No comments:
Post a Comment