
React - Learn how to create a Progressive Web Apps - Install in Chrome
Creating Progressive Web Apps with React: A Step-by-Step Guide
In today’s digital landscape, Progressive Web Apps (PWAs) are gaining immense popularity due to their ability to deliver a native app-like experience on the web. If you're a React developer, creating a PWA is a straightforward process that can significantly enhance the user experience. In this tutorial, we'll walk you through the steps to create a PWA using React, culminating in how to install it in Chrome in just over a minute.
What is a Progressive Web App?
Progressive Web Apps combine the best of web and mobile applications. They are built using standard web technologies like HTML, CSS, and JavaScript, but offer features such as:
- Responsive Design: Adaptable to any screen size.
- Offline Capabilities: Functionality without an internet connection.
- App-like Experience: Fast loading, full-screen mode, and home screen installation.
Prerequisites
Before diving into the tutorial, ensure you have the following installed:
- Node.js (version 12 or higher)
- npm (Node Package Manager)
- Basic knowledge of React
Setting Up Your React App
To get started, we’ll create a new React application using Create React App (CRA), which has built-in support for PWAs.
Step 1: Create Your React App
Open your terminal and run the following command:
npx create-react-app my-pwa
This command creates a new folder called my-pwa with all the necessary files and dependencies.
Step 2: Navigate to Your App Directory
Change into your newly created app’s directory:
cd my-pwa
Step 3: Enable PWA Features
Next, we need to turn your React app into a Progressive Web App. Locate the src/index.js file and make the following changes:
- Import the service worker.
- Change
serviceWorker.unregister();toserviceWorker.register();.
Your index.js file should look like this:
import React from 'react';
import ReactDOM from 'react-dom';
import './index.css';
import App from './App';
import * as serviceWorker from './serviceWorker';

ReactDOM.render(
  <React.StrictMode>
    <App />
  </React.StrictMode>,
  document.getElementById('root')
);

serviceWorker.register();
Step 4: Configure the Manifest File
The manifest file is crucial for PWAs as it allows you to customize how your app appears on the home screen. Open the public/manifest.json file and modify it according to your requirements:
{
  "short_name": "MyPWA",
  "name": "My Progressive Web App",
  "icons": [
    {
      "src": "icon-192x192.png",
      "sizes": "192x192",
      "type": "image/png"
    },
    {
      "src": "icon-512x512.png",
      "sizes": "512x512",
      "type": "image/png"
    }
  ],
  "start_url": ".",
  "display": "standalone",
  "theme_color": "#000000",
  "background_color": "#ffffff"
}
Make sure to replace the src values with the paths to your icon images.
Step 5: Build Your App
Now that your app is set up as a PWA, it’s time to build it for production:
npm run build
This command generates a build folder containing the production-ready version of your app.
Testing Your PWA
To test your Progressive Web App, you can use a local server. Install serve globally if you haven't already:
npm install -g serve
Now, serve your build folder:
serve -s build
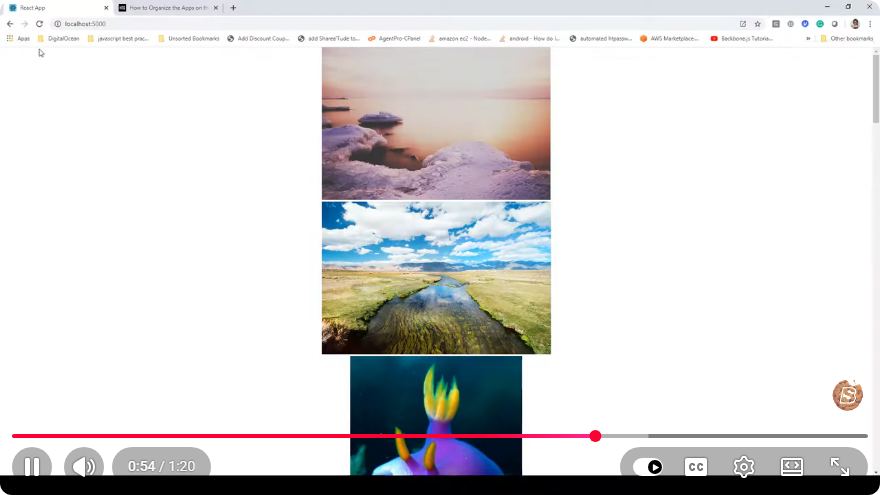
Open your browser and navigate to http://localhost:5000. You should see your PWA running!
Installing Your PWA in Chrome
- Open Chrome and navigate to your app's URL (e.g.,
http://localhost:5000). - Look for the install prompt. You can also click the three dots in the upper right corner of Chrome, then select "Install."
- Follow the prompts to add your app to your home screen.
Congratulations! You have successfully created and installed a Progressive Web App using React.
Conclusion
Creating Progressive Web Apps with React is a rewarding experience that enhances user engagement. By following this guide, you now have a solid foundation to build upon. Experiment with additional features such as offline support, push notifications, and more to further enhance your PWA.
Feel free to leave comments or questions below, and happy coding!
Connect with SkillBakery Studios
Explore more tutorials, tools, and resources:
Posted by SkillBakery Studios


 Hello, my name is Jack Sparrow. I'm a 50 year old self-employed Pirate from the Caribbean.
No comments:
Post a Comment