
Recognize Numbers in Images using Google Cloud Vision API in Web Application
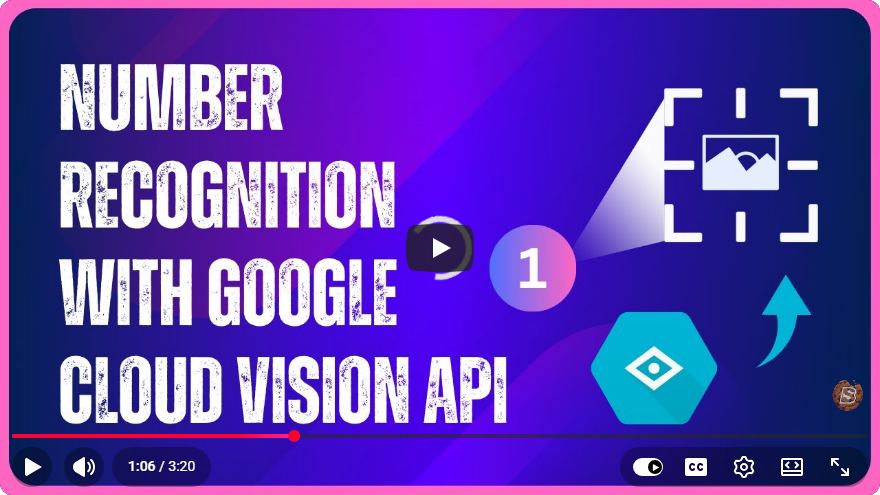
Recognizing Numbers in Images Using Google Cloud Vision API in a Web Application
In today's digital landscape, the ability to extract information from images is a powerful feature that can enhance web applications. One of the most effective tools for this is the Google Cloud Vision API. In this blog post, we will explore how to recognize numbers in images using this API. By the end of this tutorial, you will have a functional web application capable of detecting numbers in uploaded images.
What is Google Cloud Vision API?
The Google Cloud Vision API is a service that enables developers to integrate image recognition capabilities into applications. It can analyze images and provide insights, such as identifying objects, reading text, and recognizing faces. For our purposes, we will focus on its Optical Character Recognition (OCR) feature to extract numbers from images.
Prerequisites
Before we start, ensure you have the following:
- Google Cloud Account: You need an active Google Cloud account.
- Node.js: Make sure you have Node.js installed on your machine.
- Basic knowledge of HTML, CSS, and JavaScript: Familiarity with these technologies will be helpful.
Setting Up Google Cloud Vision API
Follow these steps to set up the Google Cloud Vision API:
Step 1: Create a New Project
- Log in to your Google Cloud Console.
- Click on the "Select a project" drop-down at the top.
- Click on "New Project" and give it a name.
- Click "Create".
Step 2: Enable the Vision API
- With your project selected, navigate to the API & Services dashboard.
- Click on Library.
- Search for "Vision API" and click on it.
- Click Enable.
Step 3: Create Service Account Credentials
- Go to the APIs & Services > Credentials.
- Click on Create Credentials > Service Account.
- Follow the prompts to create a service account and download the JSON key file.
Step 4: Install Google Cloud Client Library
In your terminal, run the following command to install the Google Cloud Client Library:
npm install @google-cloud/vision
Building the Web Application
Now that we have set up the Google Cloud Vision API, we will create a simple web application that allows users to upload images and extract numbers from them.
Step 1: Project Structure
Create a new folder for your project and structure it as follows:
/recognize-numbers
    ├── index.html
    ├── app.js
    ├── style.css
    └── service-account.json (your downloaded key)
Step 2: Create the HTML File
In index.html, create a simple form for image upload:
<!DOCTYPE html>
<html lang="en">
<head>
    <meta charset="UTF-8">
    <meta name="viewport" content="width=device-width, initial-scale=1.0">
    <link rel="stylesheet" href="style.css">
    <title>Number Recognition</title>
</head>
<body>
    <h1>Recognize Numbers in Images</h1>
    <input type="file" id="imageInput" accept="image/*">
    <button id="uploadBtn">Upload Image</button>
    <h2>Detected Numbers:</h2>
    <div id="result"></div>
    <script src="app.js"></script>
</body>
</html>
Step 3: Add Styles
In style.css, add some basic styles:
body {
    font-family: Arial, sans-serif;
    text-align: center;
    margin: 20px;
}

input {
    margin: 10px;
}

#result {
    margin-top: 20px;
    font-weight: bold;
}
Step 4: Implement the Logic in JavaScript
In app.js, add the logic to handle image uploads and call the Google Cloud Vision API:
const uploadBtn = document.getElementById('uploadBtn');
const imageInput = document.getElementById('imageInput');
const resultDiv = document.getElementById('result');

uploadBtn.addEventListener('click', async () => {
    const file = imageInput.files[0];
    if (!file) {
        alert('Please upload an image!');
        return;
    }

    const reader = new FileReader();
    reader.onloadend = async () => {
        const base64Image = reader.result.split(',')[1];
        const response = await fetch('/recognize', {
            method: 'POST',
            headers: {
                'Content-Type': 'application/json',
            },
            body: JSON.stringify({ image: base64Image }),
        });

        const data = await response.json();
        resultDiv.innerText = data.text || 'No numbers found';
    };
    reader.readAsDataURL(file);
});
Step 5: Create a Server to Handle API Requests
You need a backend server to process the image and call the Google Cloud Vision API. Create a new file named server.js:
const express = require('express');
const bodyParser = require('body-parser');
const vision = require('@google-cloud/vision');
const fs = require('fs');

const app = express();
const port = 3000;

app.use(bodyParser.json({ limit: '10mb' }));

const client = new vision.ImageAnnotatorClient({
    keyFilename: 'service-account.json',
});

app.post('/recognize', async (req, res) => {
    const image = req.body.image;

    try {
        const [result] = await client.textDetection({ image: { content: Buffer.from(image, 'base64') } });
        const detections = result.textAnnotations;

        if (detections.length > 0) {
            const detectedText = detections[0].description;
            const numbers = detectedText.match(/\d+/g);
            res.json({ text: numbers ? numbers.join(', ') : 'No numbers found' });
        } else {
            res.json({ text: 'No text found' });
        }
    } catch (error) {
        console.error(error);
        res.status(500).send('Error processing image');
    }
});

app.listen(port, () => {
    console.log(`Server running at http://localhost:${port}`);
});
Step 6: Running the Application
- Install the necessary packages for the server:
npm install express body-parser
- Start your server:
node server.js
- Open your browser and navigate to
http://localhost:3000to access the web application.
Conclusion
In this tutorial, we built a simple web application that recognizes numbers in images using the Google Cloud Vision API. We walked through setting up the API, creating a user interface, and implementing the backend logic. This application can be further improved with advanced features like error handling, image preview, and more robust styling.
Feel free to experiment with different images and enhance the application further! Happy coding!
Connect with SkillBakery Studios
Explore more tutorials, tools, and resources:
Posted by SkillBakery Studios


 Hello, my name is Jack Sparrow. I'm a 50 year old self-employed Pirate from the Caribbean.
No comments:
Post a Comment