
Visual Studio IDE 2019 - Close Specific Set Of Open Documents 52 seconds
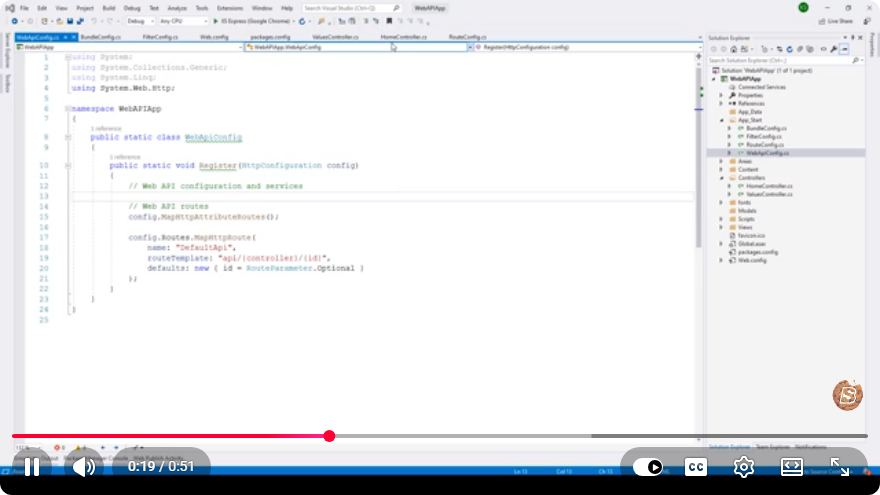
Closing Specific Sets of Open Documents in Visual Studio IDE 2019
Visual Studio IDE 2019 is a powerful integrated development environment that offers a wide array of features for developers. One of the often-overlooked functionalities is the ability to manage open documents efficiently. In this tutorial, we will explore how to close specific sets of open documents in Visual Studio 2019, which can streamline your workflow and improve productivity.
Why Manage Open Documents?
As you work on larger projects, it's common to have multiple files open simultaneously. While this can be beneficial for coding and debugging, it can also lead to clutter and confusion. Managing your open documents effectively can help you:
- Keep your workspace organized
- Reduce memory usage
- Enhance focus by minimizing distractions
Closing Specific Sets of Open Documents
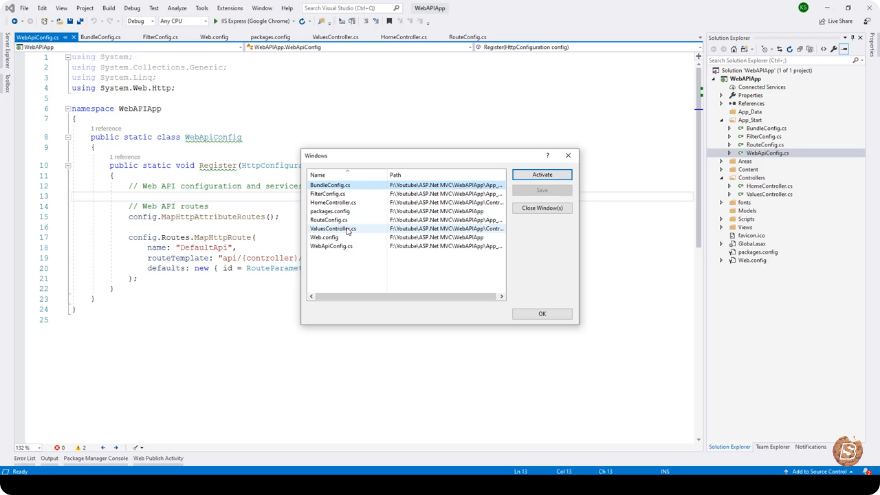
Visual Studio 2019 provides a few methods to close specific documents. Here are the steps you can follow:
Method 1: Using the Tab Context Menu
Locate the Document Tabs: At the top of the Visual Studio window, you will see the document tabs representing the files currently open.
Right-Click on a Tab: Identify the tab of the document you want to close. Right-click on the tab to bring up the context menu.
Select Close: From the context menu, you can select options such as:
Close: Closes the selected document.Close All Documents: Closes all open documents.Close All But This: Closes all documents except the one you have selected.
This method is straightforward for managing a small number of documents but can become tedious when dealing with many files.
Method 2: Using Solution Explorer
Open Solution Explorer: If it’s not already open, you can access Solution Explorer by navigating to
View>Solution Explorer.Select the Document: In the Solution Explorer, find the file you want to close.
Right-Click to Close: Right-click on the file and select
Close. This will close the document without affecting the others.
Method 3: Keyboard Shortcuts
For those who prefer keyboard navigation, Visual Studio also allows you to close documents using shortcuts:
- Close Active Document: Press
Ctrl + F4orCtrl + Wto close the currently active document. - Close All Documents: You can close all open documents by pressing
Ctrl + Shift + F4.
Using keyboard shortcuts can significantly speed up your workflow, especially when managing multiple files.
Method 4: Customizing Your Workspace
If you frequently find yourself needing to close specific sets of documents, consider customizing your workspace:
Create Solution Configurations: You can create different configurations for various stages of your project. This allows you to open a specific set of documents relevant to the current task.
Use the Document Window Layout: Visual Studio allows you to save and restore different layouts. You can set up your layout, close the necessary documents, and save this configuration.
Extensions and Add-ons: Explore available extensions in the Visual Studio Marketplace that can offer enhanced document management features.
Conclusion
Managing open documents in Visual Studio 2019 is crucial for maintaining an efficient and productive development environment. Whether through context menus, Solution Explorer, keyboard shortcuts, or workspace customization, you have several options to close specific sets of documents based on your needs. By implementing these strategies, you can create a workspace that promotes focus and organization, ultimately leading to more effective coding sessions.
For more tips and tricks on using Visual Studio effectively, stay tuned to our blog! Happy coding!
Connect with SkillBakery Studios
Explore more tutorials, tools, and resources:
Posted by SkillBakery Studios


 Hello, my name is Jack Sparrow. I'm a 50 year old self-employed Pirate from the Caribbean.
No comments:
Post a Comment