
Vue.js 101 : Effortless Communication between Vue.js Parent and Child Components: A Guide to v-on
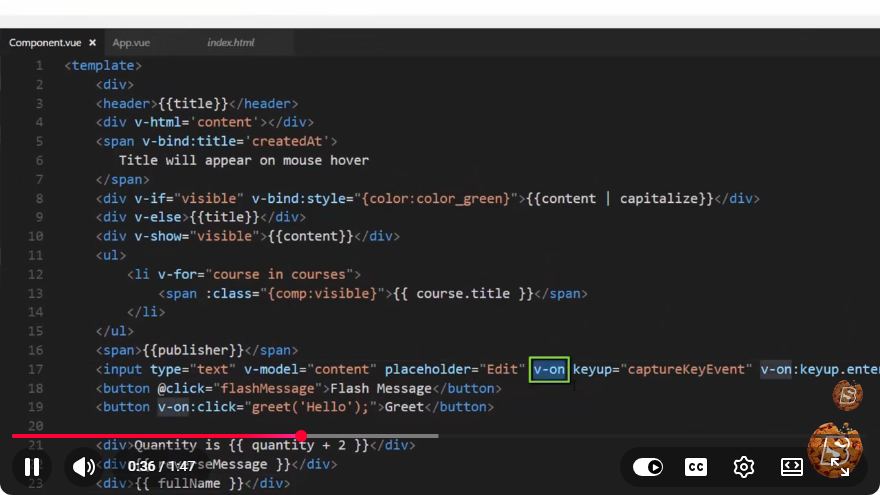
Vue.js 101: Effortless Communication between Parent and Child Components
Vue.js is a progressive JavaScript framework that is widely used for building user interfaces. One of its key strengths lies in its ability to facilitate communication between parent and child components effortlessly. In this guide, we will explore how to use the v-on directive to handle events and enable seamless interaction between these components.
Understanding Parent and Child Components
In Vue.js, components are the building blocks of your application. A parent component is one that contains one or more child components, and it often manages the state or data shared with these children. This hierarchical structure allows for organized and maintainable code.
The Role of v-on
The v-on directive is used to listen for events on DOM elements. When it comes to parent-child communication, v-on allows the parent component to listen for events emitted by a child component. This is particularly useful when the child needs to notify the parent about changes or user interactions.
Setting Up Your Vue.js Environment
Before we dive into the code, ensure you have a basic Vue.js setup. You can create a new Vue project using Vue CLI:
vue create my-vue-app
cd my-vue-app
npm run serve
Creating a Parent Component
Let’s create a simple parent component that will contain a child component. In your src/components directory, create a file named ParentComponent.vue:
<template>
  <div>
    <h1>Parent Component</h1>
    <ChildComponent @childEvent="handleChildEvent" />
    <p>Message from Child: {{ messageFromChild }}</p>
  </div>
</template>

<script>
import ChildComponent from './ChildComponent.vue';

export default {
  components: {
    ChildComponent,
  },
  data() {
    return {
      messageFromChild: '',
    };
  },
  methods: {
    handleChildEvent(message) {
      this.messageFromChild = message;
    },
  },
};
</script>

<style scoped>
/* Add your styles here */
</style>
Explanation of the Parent Component
- Template: The template contains a header, an instance of
ChildComponent, and a paragraph that will display the message received from the child. - Data: We define a
messageFromChilddata property to store the message from the child. - Methods: The
handleChildEventmethod updatesmessageFromChildwhen it receives a message from the child.
Creating a Child Component
Next, let’s create a child component that will emit an event. Create a new file named ChildComponent.vue in the same directory:
<template>
  <div>
    <h2>Child Component</h2>
    <button @click="sendMessage">Send Message to Parent</button>
  </div>
</template>

<script>
export default {
  methods: {
    sendMessage() {
      this.$emit('childEvent', 'Hello Parent!');
    },
  },
};
</script>

<style scoped>
/* Add your styles here */
</style>
Explanation of the Child Component
- Template: The template includes a header and a button. When the button is clicked, it triggers the
sendMessagemethod. - Methods: The
sendMessagemethod usesthis.$emitto emit an event namedchildEvent. It sends the message 'Hello Parent!' to the parent component.
Bringing It All Together
Now that we have both components set up, make sure to include ParentComponent in your main App.vue file:
<template>
  <div id="app">
    <ParentComponent />
  </div>
</template>

<script>
import ParentComponent from './components/ParentComponent.vue';

export default {
  components: {
    ParentComponent,
  },
};
</script>

<style>
/* Add your styles here */
</style>
Conclusion
In this tutorial, we learned how to facilitate communication between parent and child components in Vue.js using the v-on directive. By emitting events from the child and listening for them in the parent, we can create interactive and dynamic applications with ease.
Feel free to expand upon this example by adding more features or components. With Vue.js, the possibilities are endless!
Further Reading
By mastering the communication between components, you can build more sophisticated applications and enhance the user experience. Happy coding!
Connect with SkillBakery Studios
Explore more tutorials, tools, and resources:
Posted by SkillBakery Studios


 Hello, my name is Jack Sparrow. I'm a 50 year old self-employed Pirate from the Caribbean.
No comments:
Post a Comment