
Vue.js 101 : Installation and Setup of Standalone Version
Vue.js 101: Installation and Setup of Standalone Version
Vue.js is a progressive JavaScript framework that is widely used for building user interfaces and single-page applications. If you’re new to Vue.js, getting started with its installation and setup can seem daunting. This blog post will guide you through the process of installing and setting up the standalone version of Vue.js in just a few simple steps.
What is Vue.js?
Vue.js is an open-source JavaScript framework designed for building user interfaces. It allows developers to create interactive web applications with ease and efficiency. Vue is known for its simplicity, flexibility, and a gentle learning curve, making it an excellent choice for beginners and experienced developers alike.
Prerequisites
Before you begin the installation, ensure you have the following:
- Basic understanding of HTML, CSS, and JavaScript.
- A code editor installed (e.g., Visual Studio Code, Sublime Text).
- A modern web browser (e.g., Chrome, Firefox).
Step 1: Setting Up Your Project Directory
First, create a directory for your new Vue.js project. You can do this using your terminal or command prompt.
mkdir my-vue-app
cd my-vue-app
This will create a new folder named my-vue-app and navigate into it.
Step 2: Creating the HTML File
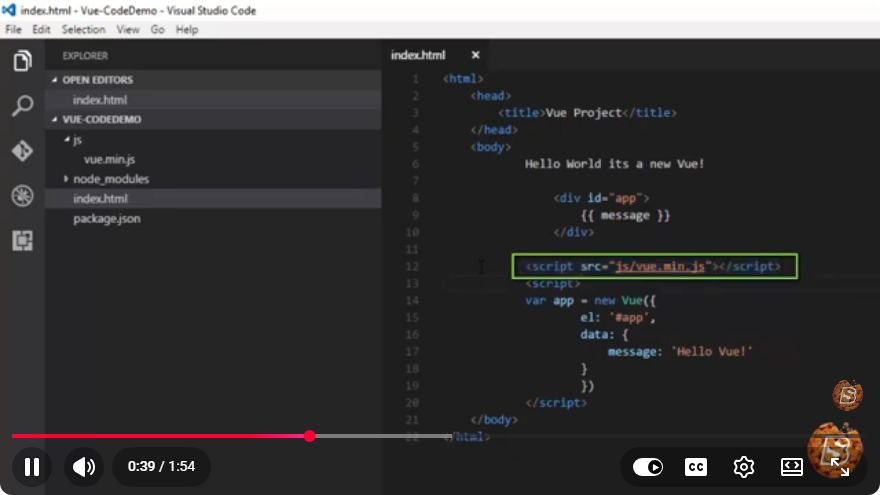
Next, you need to create an HTML file that will serve as the entry point for your Vue.js application. Create a file called index.html in your project directory and add the following code:
<!DOCTYPE html>
<html lang="en">
<head>
    <meta charset="UTF-8">
    <meta name="viewport" content="width=device-width, initial-scale=1.0">
    <title>My Vue.js App</title>
    <script src="https://cdn.jsdelivr.net/npm/vue@2"></script>
</head>
<body>
    <div id="app">
        <h1>{{ message }}</h1>
    </div>

    <script>
        new Vue({
            el: '#app',
            data: {
                message: 'Hello, Vue.js!'
            }
        });
    </script>
</body>
</html>
Explanation of the Code
- DOCTYPE and HTML Structure: The
<!DOCTYPE html>declaration defines the document type, and the<html>tag starts the HTML document. - Vue.js CDN: The
<script>tag imports Vue.js from a CDN (Content Delivery Network). This is the standalone version of Vue.js that you will use. - Vue Instance: The JavaScript code at the bottom creates a new Vue instance, binds it to the HTML element with the
id="app", and defines a data property calledmessage.
Step 3: Opening Your Application
Once you have your index.html file set up, open it in a web browser. You can do this by double-clicking the file or using the following command in your terminal:
open index.html
Note: The command to open files may vary depending on your operating system. For Windows, you might use
start index.html.
You should see a webpage displaying "Hello, Vue.js!" which indicates that Vue.js is successfully installed and running.
Step 4: Next Steps
Now that you have a basic Vue.js application up and running, you can start exploring more advanced features of the framework, such as:
- Vue Components
- Vue Router for navigation
- Vuex for state management
Conclusion
Congratulations! You have successfully installed and set up the standalone version of Vue.js. This simple setup serves as the foundation for more complex applications. As you continue your journey with Vue.js, you’ll discover a vast array of features that will empower you to build dynamic and responsive web applications.
For further learning, consider checking out the official Vue.js documentation at Vue.js Official Guide. Happy coding!
Connect with SkillBakery Studios
Explore more tutorials, tools, and resources:
Posted by SkillBakery Studios


 Hello, my name is Jack Sparrow. I'm a 50 year old self-employed Pirate from the Caribbean.
No comments:
Post a Comment