
Web Developers : 1 - Introduction to FaunaDB and NextJS
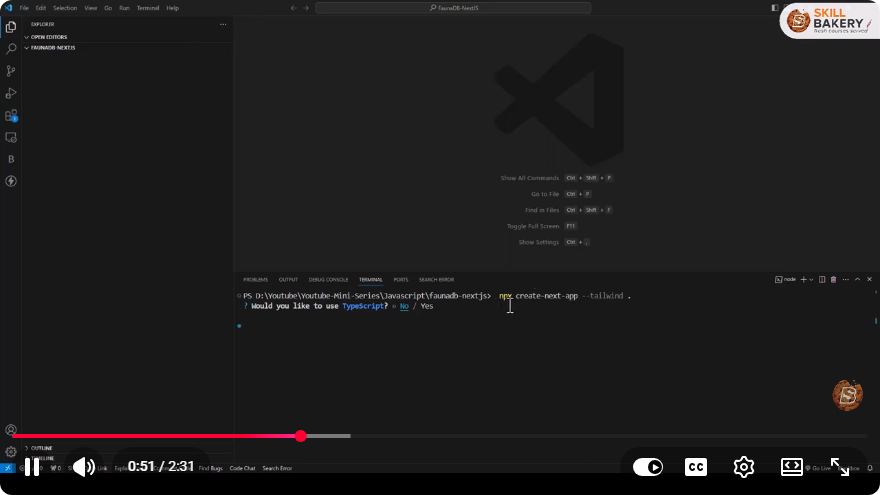
Introduction to FaunaDB and Next.js for Web Developers
In the ever-evolving landscape of web development, leveraging powerful tools is crucial for building efficient applications. One such combination gaining traction is FaunaDB and Next.js. In this tutorial, we'll provide an overview of both technologies, how they integrate, and why they are essential for modern web development.
What is FaunaDB?
FaunaDB is a serverless, globally distributed database designed to simplify data management for developers. It offers several features that make it an attractive choice for modern applications:
- Serverless Architecture: There’s no need to manage servers or infrastructure, allowing developers to focus on building applications.
- Global Distribution: FaunaDB automatically replicates data across multiple regions, ensuring high availability and low latency.
- GraphQL and FQL Support: It supports both GraphQL and its own query language, Fauna Query Language (FQL), providing flexibility to developers.
- ACID Transactions: FaunaDB ensures data integrity with support for ACID transactions.
What is Next.js?
Next.js is a popular React framework that enables developers to build fast and scalable web applications. Some of its key features include:
- Server-Side Rendering (SSR): Next.js allows pages to be rendered on the server, which improves performance and SEO.
- Static Site Generation (SSG): It can pre-render pages at build time, offering faster load times.
- API Routes: Developers can easily create API endpoints within the application, streamlining the development process.
- File-Based Routing: Next.js uses a file system-based routing mechanism, making it intuitive to organize your application structure.
Setting Up Your Development Environment
To get started with FaunaDB and Next.js, you'll need a few prerequisites:
- Node.js: Ensure you have Node.js installed on your machine. You can download it from nodejs.org.
- FaunaDB Account: Sign up for a free account at FaunaDB.
- Next.js: You can create a new Next.js app using the command line.
Creating a Next.js Application
To create a new Next.js application, open your terminal and run the following command:
npx create-next-app my-fauna-app
cd my-fauna-app
This command will scaffold a new Next.js project in the my-fauna-app directory.
Connecting FaunaDB with Next.js
Once your application is set up, it’s time to integrate FaunaDB. Follow these steps:
Step 1: Install the FaunaDB Client
You need to install the FaunaDB client library to interact with the database. In your project directory, run:
npm install faunadb
Step 2: Setting Up Environment Variables
For security reasons, it's essential to keep your FaunaDB secret key private. Create a .env.local file in your project root and add your secret key:
FAUNADB_SECRET=your_faunadb_secret_key
Step 3: Create a FaunaDB Client Instance
In your Next.js application, create a utility file to initialize the FaunaDB client. Create a new file named faunaClient.js in the root directory:
// faunaClient.js
import faunadb from 'faunadb';

const q = faunadb.query;
const client = new faunadb.Client({
  secret: process.env.FAUNADB_SECRET,
});

export { client, q };
Fetching Data from FaunaDB
Now that your FaunaDB client is set up, you can fetch data from your database. In this example, we’ll create a simple API route to retrieve data.
Step 1: Create an API Route
Create a new file named getData.js inside the pages/api directory:
// pages/api/getData.js
import { client, q } from '../../faunaClient';

export default async function handler(req, res) {
  try {
    const data = await client.query(
      q.Paginate(q.Documents(q.Collection('your_collection_name')))
    );
    res.status(200).json(data);
  } catch (error) {
    res.status(500).json({ error: 'Error fetching data' });
  }
}
Step 2: Fetch Data in a Component
You can now fetch data from the API route in one of your components. Here’s an example of how to do that:
// pages/index.js
import { useEffect, useState } from 'react';

export default function Home() {
  const [data, setData] = useState([]);

  useEffect(() => {
    const fetchData = async () => {
      const response = await fetch('/api/getData');
      const result = await response.json();
      setData(result.data); // Adjust based on your data structure
    };

    fetchData();
  }, []);

  return (
    <div>
      <h1>Data from FaunaDB</h1>
      <ul>
        {data.map(item => (
          <li key={item.id}>{item.data.name}</li>
        ))}
      </ul>
    </div>
  );
}
Conclusion
In this tutorial, we introduced you to FaunaDB and Next.js, two powerful tools for web developers. We covered how to set up a Next.js project, connect it to FaunaDB, and fetch data using an API route. This combination allows you to build scalable, serverless applications with ease.
As you continue your journey in web development, experimenting with FaunaDB and Next.js can significantly enhance your projects. Happy coding!
Connect with SkillBakery Studios
Explore more tutorials, tools, and resources:
Posted by SkillBakery Studios


 Hello, my name is Jack Sparrow. I'm a 50 year old self-employed Pirate from the Caribbean.
No comments:
Post a Comment