
Web Developers : 11-Employing Event Handlers in React
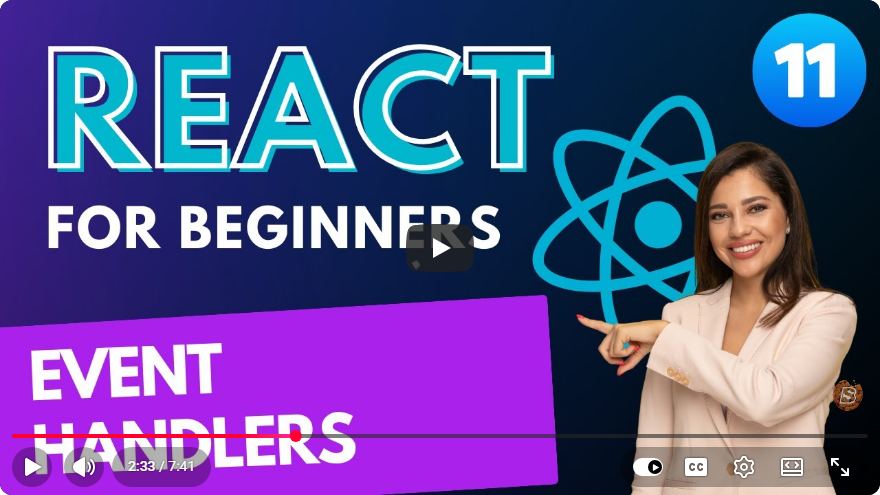
Mastering Event Handlers in React: A Comprehensive Guide
React is a powerful JavaScript library for building user interfaces, and one of its key features is the ability to handle events efficiently. In this tutorial, we will explore how to employ event handlers in React, diving into practical examples and best practices. Whether you're a beginner or looking to refresh your knowledge, this guide will provide you with the tools you need to handle events effectively in your applications.
What Are Event Handlers?
Event handlers are functions that are called in response to events in your application, such as user interactions (clicks, input changes, etc.). In React, you can assign these handlers directly to elements in your JSX code, making your components interactive and dynamic.
Setting Up a Simple React App
Before we dive into event handlers, let’s set up a basic React application. If you haven’t already created your app, you can do so using Create React App:
npx create-react-app my-event-handler-app
cd my-event-handler-app
npm start
This command sets up a new React project and starts the development server.
Using Event Handlers in React
1. Basic Click Event
Let's start with a simple example using the click event. We will create a button that displays an alert when clicked.
Step 1: Create a Button Component
Create a new file named Button.js in the src folder:
import React from 'react';

const Button = () => {
    const handleClick = () => {
        alert('Button was clicked!');
    };

    return (
        <button onClick={handleClick}>
            Click Me
        </button>
    );
};

export default Button;
Step 2: Use the Button Component
Now, import and use the Button component in your App.js:
import React from 'react';
import Button from './Button';

const App = () => {
    return (
        <div>
            <h1>Event Handlers in React</h1>
            <Button />
        </div>
    );
};

export default App;
2. Handling Form Input
Next, we will explore how to handle input events. We'll create a simple form that updates its state based on user input.
Step 1: Create a Form Component
Create a new file named Form.js in the src folder:
import React, { useState } from 'react';

const Form = () => {
    const [inputValue, setInputValue] = useState('');

    const handleChange = (event) => {
        setInputValue(event.target.value);
    };

    const handleSubmit = (event) => {
        event.preventDefault();
        alert(`Submitted value: ${inputValue}`);
    };

    return (
        <form onSubmit={handleSubmit}>
            <input
                type="text"
                value={inputValue}
                onChange={handleChange}
                placeholder="Type something"
            />
            <button type="submit">Submit</button>
        </form>
    );
};

export default Form;
Step 2: Use the Form Component
Import and use the Form component in your App.js:
import React from 'react';
import Button from './Button';
import Form from './Form';

const App = () => {
    return (
        <div>
            <h1>Event Handlers in React</h1>
            <Button />
            <Form />
        </div>
    );
};

export default App;
3. Keyboard Events
Handling keyboard events is straightforward in React. Let's modify our form to log the input value when the user presses the Enter key.
Update the Form Component
Modify the handleKeyDown function in Form.js:
const handleKeyDown = (event) => {
    if (event.key === 'Enter') {
        alert(`Entered value: ${inputValue}`);
    }
};

// Update the input field
<input
    type="text"
    value={inputValue}
    onChange={handleChange}
    onKeyDown={handleKeyDown}
    placeholder="Type something"
/>
4. Event Binding
In React, you need to bind the event handlers to the correct context. Using arrow functions, as shown in the examples above, automatically binds this to the component instance. However, if you're using traditional function syntax, make sure to bind the method in the constructor.
constructor(props) {
    super(props);
    this.handleClick = this.handleClick.bind(this);
}
Best Practices for Event Handlers
- Keep Handlers Simple: Avoid complex logic in your event handlers. If the logic grows, consider moving it to separate functions.
- Use Arrow Functions: They help keep the context of
thisin React components. - Prevent Default Behavior: When necessary, use
event.preventDefault()to prevent default actions (like form submissions). - Throttling/Debouncing: For performance-sensitive events like scrolling or resizing, consider using throttling or debouncing techniques.
Conclusion
Event handlers are a crucial part of creating interactive applications in React. By mastering them, you can enhance the user experience and build responsive interfaces. In this tutorial, we covered the basics of using event handlers for click events, form inputs, and keyboard interactions.
Experiment with these concepts by extending the examples provided or creating your own components. Happy coding!
Further Resources
By understanding and implementing event handlers effectively, you can elevate your React applications to new heights!
Connect with SkillBakery Studios
Explore more tutorials, tools, and resources:
Posted by SkillBakery Studios


 Hello, my name is Jack Sparrow. I'm a 50 year old self-employed Pirate from the Caribbean.
No comments:
Post a Comment