
Web Developers : 7-Refactor and Style Next.js Codebase
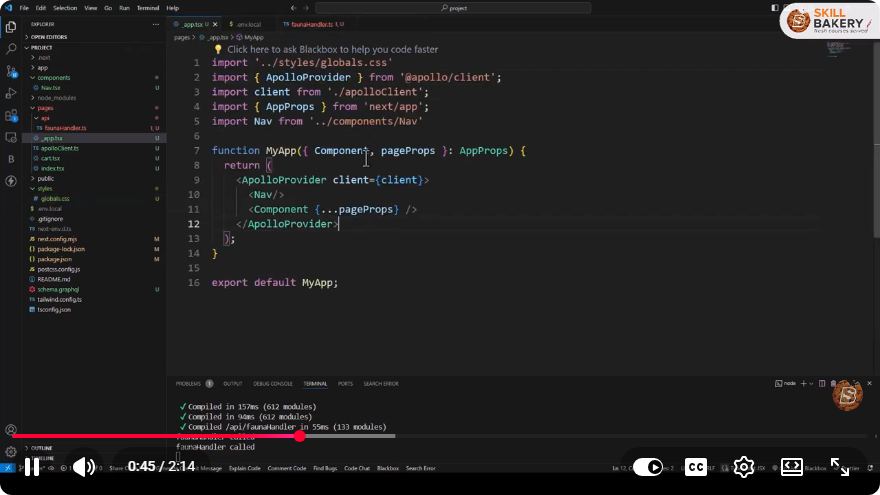
Refactoring and Styling a Next.js Codebase: A Quick Guide
In the fast-paced world of web development, maintaining clean and efficient code is crucial. In this blog post, we'll explore how to refactor and style a Next.js codebase effectively. This guide is inspired by the YouTube video "Web Developers : 7-Refactor and Style Next.js Codebase" and aims to provide practical tips for enhancing your Next.js applications.
What is Next.js?
Next.js is a powerful React framework that enables developers to build server-side rendered (SSR) and static web applications efficiently. It comes with built-in features such as file-based routing, optimized performance, and easy API integration, making it a popular choice among web developers.
Why Refactor?
Refactoring is the process of restructuring existing code without changing its external behavior. The primary goals of refactoring are:
- Improved Readability: Clean code is easier to read and understand.
- Enhanced Maintainability: Well-structured code is simpler to modify and extend.
- Reduced Technical Debt: Refactoring helps eliminate code smells and inefficiencies.
Tips for Refactoring Your Next.js Codebase
1. Organize Your Project Structure
A well-organized project structure is fundamental for any Next.js application. Here’s a common structure you might consider:
/my-next-app
  ├── /components
  ├── /pages
  ├── /public
  ├── /styles
  ├── /utils
  ├── /hooks
  └── package.json
This structure separates various aspects of your application, making it easier to navigate.
2. Use Functional Components
When refactoring, prefer functional components over class components. Functional components are simpler and offer better performance due to React's optimizations. Here’s a quick example:
// Before: Class Component
class MyComponent extends React.Component {
  render() {
    return <div>Hello, World!</div>;
  }
}

// After: Functional Component
const MyComponent = () => {
  return <div>Hello, World!</div>;
};
3. Leverage Custom Hooks
Custom hooks can help you encapsulate logic that can be reused across components. For instance, if you need to fetch data, you can create a custom hook like this:
import { useState, useEffect } from 'react';

const useFetchData = (url) => {
  const [data, setData] = useState(null);
  const [loading, setLoading] = useState(true);

  useEffect(() => {
    const fetchData = async () => {
      const response = await fetch(url);
      const result = await response.json();
      setData(result);
      setLoading(false);
    };
    fetchData();
  }, [url]);

  return { data, loading };
};
4. Apply CSS Modules or Styled Components
When it comes to styling in Next.js, you have multiple options. CSS Modules and styled-components are popular choices for maintaining styles scoped to components.
Using CSS Modules:
/* styles.module.css */
.title {
  font-size: 2rem;
  color: blue;
}
// Component.js
import styles from './styles.module.css';

const MyComponent = () => {
  return <h1 className={styles.title}>Hello, World!</h1>;
};
Using Styled Components:
import styled from 'styled-components';

const Title = styled.h1`
  font-size: 2rem;
  color: blue;
`;

const MyComponent = () => {
  return <Title>Hello, World!</Title>;
};
5. Optimize Images
Optimizing images is essential for performance. Next.js provides an Image component that optimizes images on-demand. Here’s how to use it:
import Image from 'next/image';

const MyComponent = () => {
  return (
    <Image
      src="/path/to/image.jpg"
      alt="Description"
      width={500}
      height={300}
    />
  );
};
6. Remove Unused Code
During refactoring, identify and remove unused components or functions. This not only cleans up your codebase but also improves performance.
7. Write Tests
After refactoring, ensure that your application is still functioning correctly by writing tests. You can use Jest and React Testing Library for unit and integration tests.
import { render, screen } from '@testing-library/react';
import MyComponent from './MyComponent';

test('renders Hello, World!', () => {
  render(<MyComponent />);
  const linkElement = screen.getByText(/Hello, World!/i);
  expect(linkElement).toBeInTheDocument();
});
Conclusion
Refactoring and styling a Next.js codebase doesn't have to be a daunting task. By following these tips, you can enhance the readability, maintainability, and performance of your applications. Remember to keep your code clean, utilize functional components, and take advantage of Next.js features like CSS Modules and the Image component. Happy coding!
Connect with SkillBakery Studios
Explore more tutorials, tools, and resources:
Posted by SkillBakery Studios


 Hello, my name is Jack Sparrow. I'm a 50 year old self-employed Pirate from the Caribbean.
No comments:
Post a Comment