
Web Developers : Easily convert HTML Prototype to a React App in less than 10 min #webdevelopment
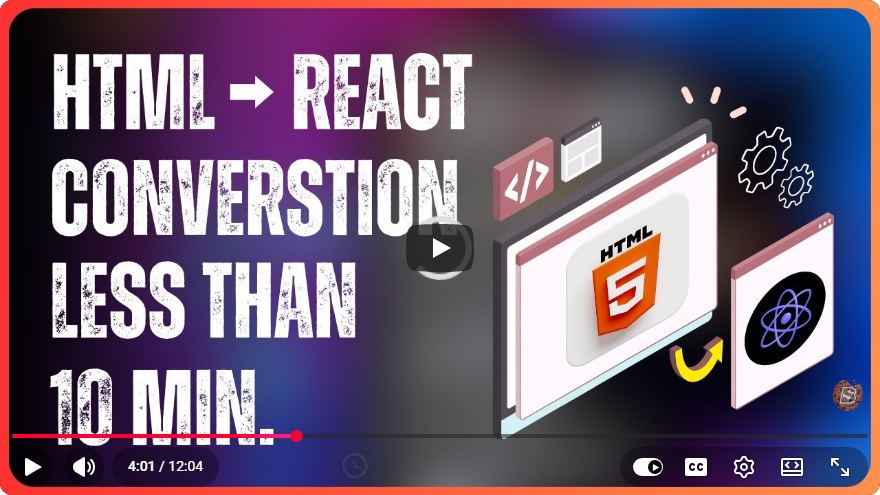
Convert Your HTML Prototype to a React App in Under 10 Minutes
In the fast-paced world of web development, efficiency is key. The ability to quickly convert an HTML prototype into a React application can significantly streamline your workflow. In this tutorial, we’ll walk you through the steps to achieve this transformation in less than 10 minutes.
Prerequisites
Before you dive in, ensure that you have the following:
- Basic knowledge of HTML and React: Familiarity with HTML structure and React concepts will help you understand the conversion process.
- Node.js and npm installed: React applications are built using Node.js and npm (Node Package Manager). You can download them from the official Node.js website.
- A code editor: Use any code editor of your choice, such as VS Code, Sublime Text, or Atom.
Step 1: Set Up Your React Environment
First, we need to create a new React application. You can do this easily using Create React App, a tool that sets everything up for you. Open your terminal and run:
npx create-react-app my-react-app
cd my-react-app
This command creates a new directory called my-react-app and sets up a basic React project structure.
Step 2: Clean Up the Default Template
Navigate to the src folder and clean up the default files created by Create React App. You can delete the following files:
App.cssApp.test.jslogo.svgindex.css
Next, modify App.js to remove all default content so that it’s ready for your HTML prototype:
import React from 'react';

function App() {
  return (
    <div className="App">
      {/* Your HTML prototype will go here */}
    </div>
  );
}

export default App;
Step 3: Copy Your HTML Prototype
Now, take your HTML prototype. Let’s say you have a simple HTML structure like this:
<div class="header">
  <h1>Welcome to My Website</h1>
  <p>This is a simple HTML prototype.</p>
</div>
Copy this HTML content and paste it inside the div in App.js. However, since React uses JSX, we need to make some modifications:
- Change
classtoclassName. - Self-close any empty tags (like
<img />or<br />).
Your modified App.js will look like this:
import React from 'react';

function App() {
  return (
    <div className="App">
      <div className="header">
        <h1>Welcome to My Website</h1>
        <p>This is a simple HTML prototype.</p>
      </div>
    </div>
  );
}

export default App;
Step 4: Add CSS Styling
If your HTML prototype includes CSS styles, create a new CSS file, for example, App.css, and add your styles there. Link your CSS file in App.js:
import './App.css';
Here’s a sample CSS you might add to App.css:
.App {
  text-align: center;
}

.header {
  background-color: #f8f9fa;
  padding: 20px;
  border-radius: 5px;
}
Step 5: Run Your React Application
Now that you’ve set up your React app with the HTML prototype, it’s time to see it in action. Go back to your terminal and run:
npm start
This command starts your React application and opens it in your default web browser. You should see your HTML prototype rendered as a React component!
Conclusion
Congratulations! You’ve successfully converted your HTML prototype into a React application in less than 10 minutes. This quick approach can save you a lot of time as you develop more complex applications. Remember, React allows you to build reusable components, so consider breaking down your HTML into smaller components for better maintainability in the future.
Further Learning
To enhance your skills, consider exploring the following topics:
- React Component Lifecycle: Learn how to manage component states and lifecycle methods.
- React Router: Dive into client-side routing for single-page applications.
- State Management: Explore tools like Redux or Context API for managing application state.
By mastering these concepts, you can elevate your React applications to new heights. Happy coding!
Connect with SkillBakery Studios
Explore more tutorials, tools, and resources:
Posted by SkillBakery Studios


 Hello, my name is Jack Sparrow. I'm a 50 year old self-employed Pirate from the Caribbean.
No comments:
Post a Comment