
2 - Backbone.js : Installing BackBoneJs - Web Development 59 seconds

Installing Backbone.js: A Quick Guide for Web Developers
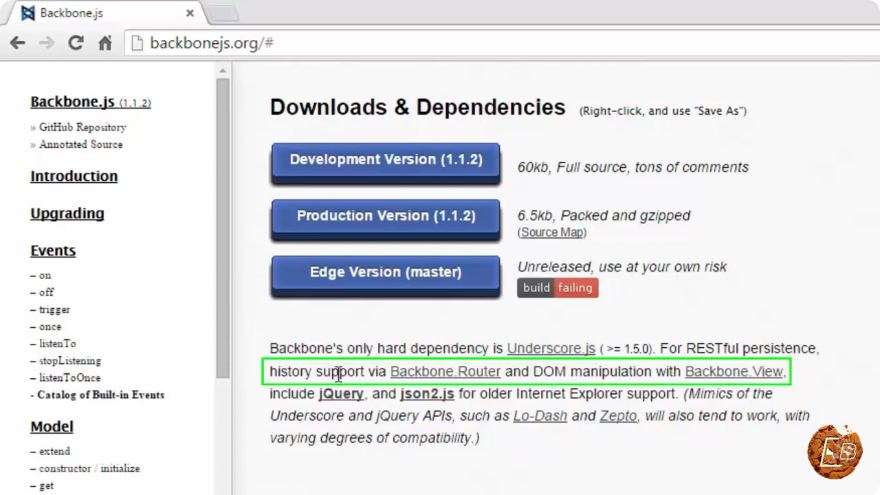
Backbone.js is a popular JavaScript library that provides structure to web applications by offering models with key-value binding and custom events. If you're looking to streamline your web development process, integrating Backbone.js can be a significant step forward. In this post, we'll explore how to install Backbone.js quickly and efficiently.
Prerequisites
Before diving into the installation process, make sure you have the following prerequisites:
Node.js and npm: Backbone.js is often used in conjunction with Node.js and npm (Node Package Manager) for package management. You can download and install Node.js from nodejs.org.
Basic knowledge of JavaScript: Familiarity with JavaScript and web development concepts is beneficial as Backbone.js builds upon these fundamentals.
A code editor: Choose a code editor of your choice, such as Visual Studio Code, Sublime Text, or Atom, to write your JavaScript code.
Step 1: Create a New Project Directory
First, create a new directory for your Backbone.js project. Open your terminal or command prompt and run the following commands:
mkdir my-backbone-app
cd my-backbone-app
This will create a new folder called my-backbone-app and navigate into it.
Step 2: Initialize npm
Next, initialize your project with npm by running:
npm init -y
This command creates a package.json file with default settings, which will help manage your project's dependencies.
Step 3: Install Backbone.js
To install Backbone.js, you can use npm to add it as a dependency to your project. Run the following command:
npm install backbone --save
The --save flag ensures that Backbone.js is added to your package.json file, allowing others (or yourself in the future) to easily install the same dependencies.
Step 4: Install Underscore.js and jQuery
Backbone.js relies on Underscore.js and jQuery to function effectively. Therefore, you need to install both libraries as well. Execute the following commands:
npm install underscore --save
npm install jquery --save
Step 5: Set Up Your Project Structure
It's a good practice to organize your project files. Create the following directory structure:
my-backbone-app/
│
├── index.html
├── js/
│   └── app.js
└── package.json
index.html: The main HTML file for your application.js/app.js: The JavaScript file where you will write your Backbone.js code.
Step 6: Create the HTML File
In the index.html file, include the necessary libraries and create a basic structure:
<!DOCTYPE html>
<html lang="en">
<head>
    <meta charset="UTF-8">
    <meta name="viewport" content="width=device-width, initial-scale=1.0">
    <title>My Backbone App</title>
    <script src="node_modules/jquery/dist/jquery.min.js"></script>
    <script src="node_modules/underscore/underscore-min.js"></script>
    <script src="node_modules/backbone/backbone-min.js"></script>
    <script src="js/app.js"></script>
</head>
<body>
    <h1>Hello, Backbone.js!</h1>
</body>
</html>
This structure sets up your HTML file to load jQuery, Underscore, and Backbone.js from the node_modules directory.
Step 7: Write Your First Backbone.js Code
In js/app.js, you can now start writing your Backbone.js code. Here’s a simple example:
// Define a simple model
var Item = Backbone.Model.extend({
    defaults: {
        name: 'Unnamed Item'
    }
});

// Create an instance of the model
var myItem = new Item();
console.log(myItem.get('name')); // Outputs: Unnamed Item
This code defines a model called Item, giving it a default value. When you create an instance of this model, you can retrieve its attributes using the get method.
Conclusion
Congratulations! You've successfully installed Backbone.js and set up the basic structure for your web application. With Backbone.js, you can start building organized and maintainable web applications, utilizing its powerful features like models, views, and collections.
Remember to explore the Backbone.js documentation for more in-depth information and advanced usage scenarios. Happy coding!
Connect with SkillBakery Studios
Explore more tutorials, tools, and resources:
Posted by SkillBakery Studios


No comments:
Post a Comment