
7. Setting up Android Studio for Flutter Development: Comprehensive Guide for Seamless App Creation
Setting Up Android Studio for Flutter Development: A Comprehensive Guide
In the world of mobile app development, Flutter has emerged as a powerful toolkit for creating cross-platform applications. If you're looking to dive into Flutter development using Android Studio, you've come to the right place. This guide will walk you through the essential steps to set up Android Studio for seamless Flutter app creation.
Prerequisites
Before you begin, ensure that you have the following installed on your system:
- Java Development Kit (JDK): Flutter requires JDK 8 or later.
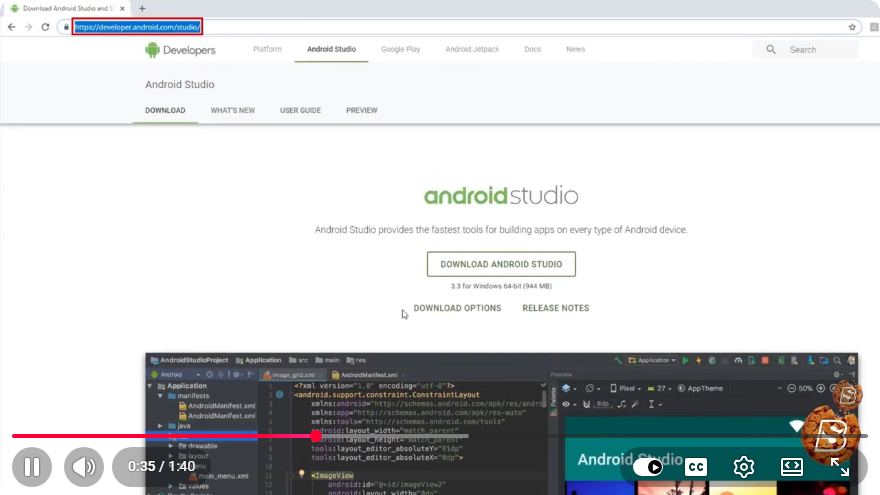
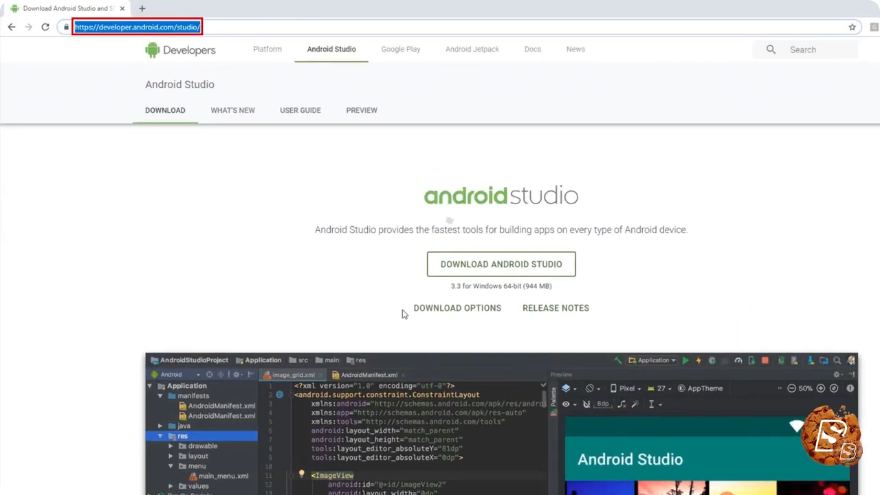
- Android Studio: Download the latest version from the official website.
- Flutter SDK: You can download the Flutter SDK from the Flutter website.
Step 1: Install Android Studio
- Download Android Studio from the official site.
- Run the installer and follow the setup prompts. Ensure that you install the Android SDK, SDK Platform, and Android Virtual Device (AVD) components during installation.
Step 2: Install Flutter SDK
- Download the Flutter SDK from the Flutter website.
- Extract the downloaded ZIP file to a desired location on your machine (e.g.,
C:\flutterfor Windows or~/flutterfor macOS). - Add Flutter to your PATH:
For Windows:
- Search for "Environment Variables" in the Start menu.
- Click on "Environment Variables."
- Under "System Variables," find the
Pathvariable and click "Edit." - Add the full path to the
flutter/binfolder.
For macOS/Linux:
- Open a terminal and run:
export PATH="$PATH:`<path-to-flutter-directory>/flutter/bin`" - You can add this command to your shell's startup file (like
.bashrcor.zshrc) to make it permanent.
- Open a terminal and run:
Step 3: Install Flutter and Dart Plugins in Android Studio
- Launch Android Studio.
- Go to File > Settings (or
Android Studio > Preferenceson macOS). - Select Plugins from the left sidebar.
- Search for
Flutterand click Install. This will automatically install the Dart plugin as well. - Once installed, restart Android Studio.
Step 4: Set Up Flutter SDK in Android Studio
- Open Android Studio and go to File > New > New Flutter Project.
- In the Flutter SDK path field, browse and select the path where you extracted the Flutter SDK.
- Click Next, and fill in the project details like project name and location.
- Click Finish to create the new Flutter project.
Step 5: Create an Android Emulator (Optional)
If you want to test your Flutter app without a physical device, you can set up an Android emulator:
- Go to Tools > AVD Manager in Android Studio.
- Click on Create Virtual Device.
- Choose a device definition and click Next.
- Select a system image (preferably one with Google APIs) and click Next.
- Configure the AVD settings as desired and click Finish.
Step 6: Run Your First Flutter App
- Open the main Dart file located in
lib/main.dart. - Click on the Run button (green triangle) in the top toolbar.
- Choose the emulator or a connected device.
- The default Flutter demo app will be compiled and launched on your selected device.
Conclusion
Congratulations! You have successfully set up Android Studio for Flutter development. With your environment ready, you can now explore the exciting world of Flutter and create beautiful, high-performance mobile applications. For more in-depth learning, consider checking out the official Flutter documentation for tutorials and best practices.
Happy coding!
Connect with SkillBakery Studios
Explore more tutorials, tools, and resources:
Posted by SkillBakery Studios


 Hello, my name is Jack Sparrow. I'm a 50 year old self-employed Pirate from the Caribbean.
No comments:
Post a Comment