
Android Studio aapt.exe instant run issue - Program Code Exit with 1 2 minutes
Solving the Android Studio aapt.exe Instant Run Issue: Program Code Exit with 1-2 Minutes
Android Studio is a powerful development environment for building Android applications. However, developers often encounter issues that can hinder their workflow. One common problem is the aapt.exe instant run issue, which can cause the program to exit unexpectedly after 1-2 minutes. In this post, we’ll explore the causes of this issue and provide practical solutions to help you resolve it.
Understanding the aapt.exe Issue
The aapt.exe (Android Asset Packaging Tool) is a crucial component of the Android build process. It handles tasks such as packaging the app resources, generating the R.java file, and more. When you enable Instant Run, Android Studio attempts to optimize the build process, which can sometimes lead to instability and errors, particularly with aapt.exe.
Common Symptoms
Typically, you may notice the following symptoms:
- Android Studio freezes or crashes unexpectedly.
- The build process fails, displaying an error related to
aapt.exe. - Instant Run fails to work correctly, requiring a full build instead.
Possible Causes
Before diving into solutions, it’s essential to understand the potential causes of the aapt.exe issue:
- Configuration Issues: Incorrect project configuration or settings can disrupt the build process.
- Corrupted Cache: The Android Studio cache may be corrupted, leading to build failures.
- Outdated SDK/Build Tools: Using outdated versions of the SDK or build tools can create compatibility issues.
- Instant Run Feature: While convenient, Instant Run may introduce instability in certain projects.
Solutions to Fix the aapt.exe Instant Run Issue
1. Disable Instant Run
If you're facing persistent issues with Instant Run, the quickest workaround is to disable it. While this may slow down your build process, it often resolves conflicts related to aapt.exe.
To disable Instant Run:
- Open Android Studio.
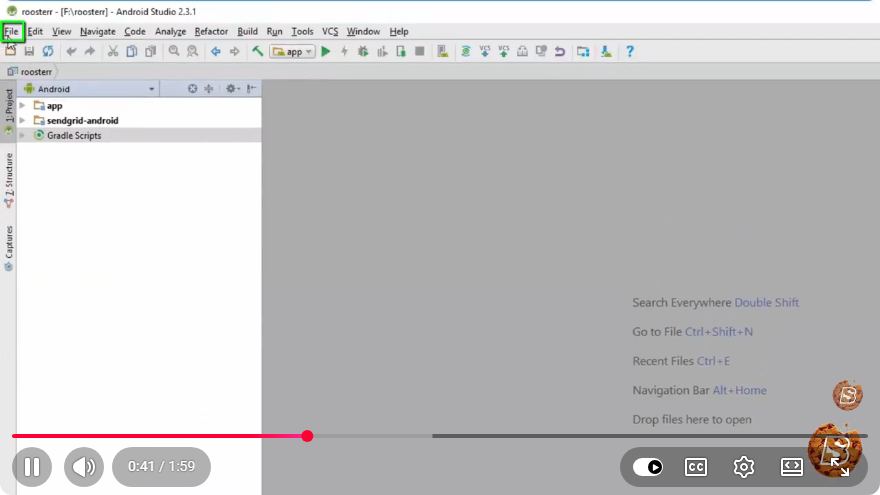
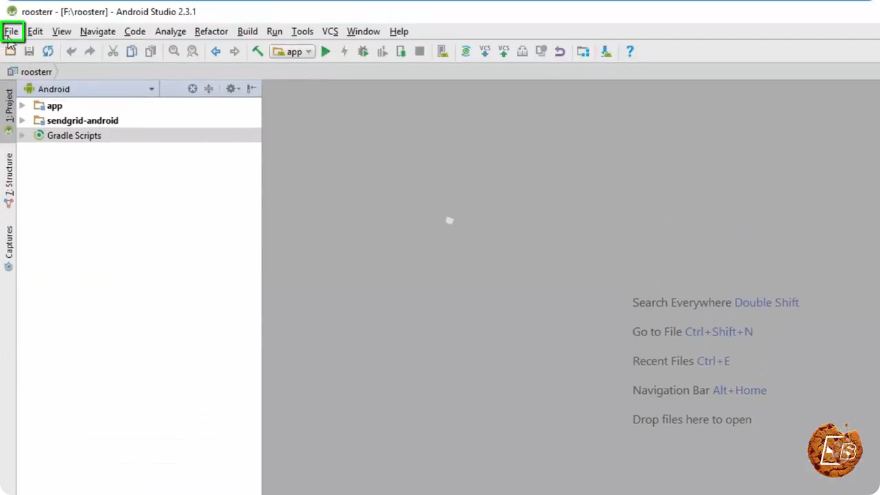
- Navigate to File > Settings (or Preferences on macOS).
- Go to Build, Execution, Deployment > Instant Run.
- Uncheck the "Enable Instant Run" option.
- Click OK and restart Android Studio.
2. Clear Cache and Restart
Clearing the cache can help resolve issues caused by corrupted files. Here’s how to do it:
- In Android Studio, go to File > Invalidate Caches / Restart.
- Choose Invalidate and Restart.
- This action will clear the cache and restart Android Studio.
3. Update Android SDK and Build Tools
Keeping your SDK and build tools updated can prevent compatibility issues. To update:
- Open Android Studio.
- Go to Tools > SDK Manager.
- In the SDK Platforms tab, check for updates and install the latest version.
- Switch to the SDK Tools tab and ensure you have the latest build tools installed.
- Click OK to apply changes.
4. Check Project Configuration
Ensure that your project is configured correctly. Check the following settings:
Gradle Version: Ensure you are using a compatible version of Gradle. Update your
gradle-wrapper.propertiesfile if necessary:distributionUrl=https\://services.gradle.org/distributions/gradle-x.x-bin.zipBuild.gradle File: Verify your
build.gradlefile for any deprecated dependencies or configurations.
5. Monitor System Resources
Sometimes, system resource limitations can cause aapt.exe to fail. Ensure that your development machine has enough RAM and CPU resources. Close any unnecessary applications that may be consuming resources.
6. Reinstall Android Studio
As a last resort, if none of the above solutions work, consider reinstalling Android Studio. This can resolve deeper issues related to corrupted installations.
- Uninstall Android Studio from your system.
- Go to the official Android Studio download page to download the latest version.
- Follow the installation instructions provided.
Conclusion
The aapt.exe instant run issue can be a frustrating roadblock in your Android development journey. By understanding the root causes and applying the solutions outlined in this tutorial, you can overcome this challenge and streamline your development process. Remember to keep your environment updated and to monitor your project configuration closely for the best results.
If you continue to experience issues, consider reaching out to the Android development community or checking the official Android documentation for further assistance. Happy coding!
Connect with SkillBakery Studios
Explore more tutorials, tools, and resources:
Posted by SkillBakery Studios


 Hello, my name is Jack Sparrow. I'm a 50 year old self-employed Pirate from the Caribbean.
No comments:
Post a Comment