
Visual Studio 2015 - Entity Framework Migration
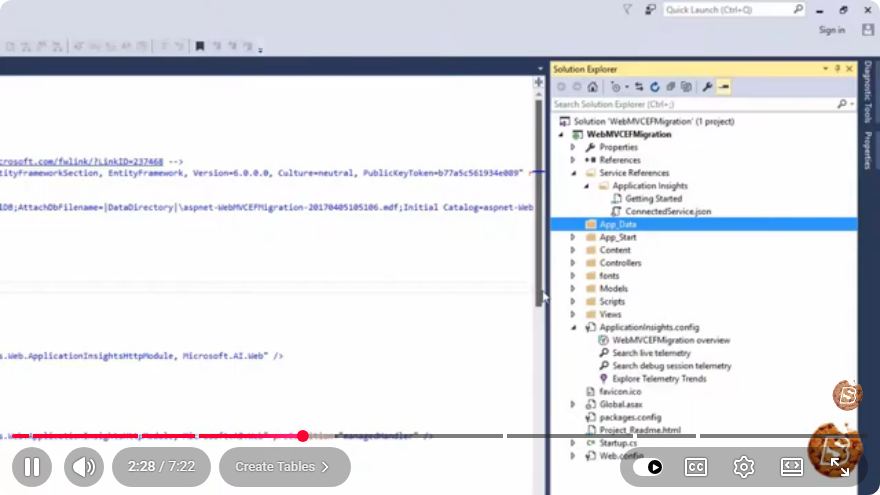
Mastering Entity Framework Migrations in Visual Studio 2015
Entity Framework (EF) is a powerful Object-Relational Mapping (ORM) framework that simplifies database interactions in .NET applications. One of its essential features is migrations, which allow developers to keep their database schema in sync with their application models. In this tutorial, we will explore how to use Entity Framework migrations in Visual Studio 2015 effectively.
What are Entity Framework Migrations?
Entity Framework migrations enable you to update your database schema without losing existing data. Changes made to your data models can be transformed into a series of migration steps, which can be applied to the database incrementally. This ensures that your application evolves while maintaining data integrity.
Prerequisites
Before we dive into the tutorial, make sure you have the following:
- Visual Studio 2015 installed
- A working .NET application that uses Entity Framework
- Basic knowledge of C# and SQL databases
Setting Up Your Project for Migrations
Step 1: Install Entity Framework
If you haven’t already set up Entity Framework in your project, you can do so using NuGet Package Manager.
Open your project in Visual Studio.
Go to
Tools>NuGet Package Manager>Package Manager Console.Run the following command to install Entity Framework:
Install-Package EntityFramework
Step 2: Enable Migrations
To enable migrations for your project, you need to execute a command in the Package Manager Console.
Still in the Package Manager Console, run:
Enable-MigrationsThis command will create a
Migrationsfolder in your project, containing a configuration file namedConfiguration.cs.
Creating a Migration
Step 3: Make Changes to Your Model
Before creating a migration, let’s assume you have a simple model called Product. Here’s an example:
public class Product
{
    public int Id { get; set; }
    public string Name { get; set; }
    public decimal Price { get; set; }
}
Now, suppose you want to add a new property called StockQuantity to the Product model:
public class Product
{
    public int Id { get; set; }
    public string Name { get; set; }
    public decimal Price { get; set; }
    public int StockQuantity { get; set; } // New property
}
Step 4: Add a Migration
Once you’ve updated your model, you can create a migration to reflect this change in the database.
In the Package Manager Console, run the following command:
Add-Migration AddStockQuantityToProductThis command generates a migration file named something like
YYYYMMDD_HHMMSS_AddStockQuantityToProduct.csin theMigrationsfolder. This file contains two methods:Up()andDown().- Up(): Contains the code to apply the migration.
- Down(): Contains the code to revert the migration.
Step 5: Update the Database
To apply the migration to your database, execute the following command:
Update-Database
After running this command, Entity Framework will apply the migration, adding the StockQuantity column to the Products table in your database.
Reviewing Migration History
Entity Framework keeps track of applied migrations in a special table named __MigrationHistory. To see the migrations that have been applied, you can query this table directly in your database:
SELECT * FROM __MigrationHistory;
Rolling Back a Migration
If you need to revert your last migration, you can do so using the Update-Database command with the -TargetMigration parameter. For example, to roll back to the previous migration, you can run:
Update-Database -TargetMigration: PreviousMigrationName
Replace PreviousMigrationName with the name of the migration you want to revert to.
Conclusion
In this tutorial, we’ve covered how to enable and use Entity Framework migrations in Visual Studio 2015. By following these steps, you can easily manage your database schema changes while preserving your data. Migrations are a vital part of any application that requires continuous development and deployment, so mastering them will significantly enhance your development workflow.
Feel free to leave comments or questions below if you need further clarification or assistance! Happy coding!
Connect with SkillBakery Studios
Explore more tutorials, tools, and resources:
Posted by SkillBakery Studios


 Hello, my name is Jack Sparrow. I'm a 50 year old self-employed Pirate from the Caribbean.
No comments:
Post a Comment