
Developers : 28-Set Up a New Rust/Webpack Project with the rust-webpack Template
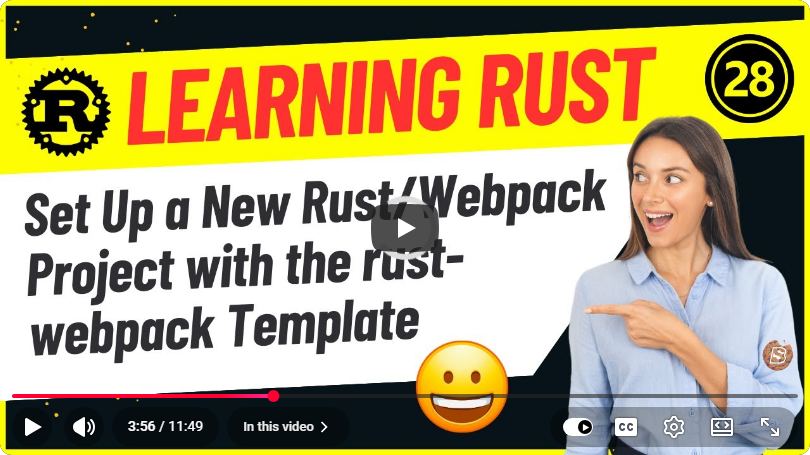
Setting Up a New Rust/Webpack Project with the Rust-Webpack Template
In the world of web development, combining the power of Rust with the flexibility of JavaScript bundlers like Webpack opens up new possibilities for building efficient and scalable applications. In this blog post, we will walk through the steps to set up a new Rust/Webpack project using the rust-webpack template, as discussed in the YouTube video titled "Developers: 28-Set Up a New Rust/Webpack Project."
Prerequisites
Before diving into the setup process, ensure you have the following installed on your machine:
- Rust: You can install Rust using rustup.
- Node.js and npm: Download and install Node.js from the official website.
- Webpack: While we will install it later, ensure you have npm set up.
Step 1: Create a New Rust Project
First, we need to create a new Rust project using Cargo, Rust's package manager and build system.
Open your terminal and run the following command:
cargo new rust-webpack-demo --lib
This command creates a new library project named rust-webpack-demo. The --lib flag indicates that we will be developing a library rather than a binary application.
Step 2: Add the Rust-Webpack Template
Next, we will add the rust-webpack template. This template provides a streamlined way to integrate Rust with Webpack.
Navigate into your project directory:
cd rust-webpack-demo
Now, add the rust-webpack template as a dependency in your Cargo.toml file. Open the file and add the following under [dependencies]:
[dependencies]
wasm-bindgen = "0.2"
The wasm-bindgen library is crucial for enabling communication between Rust and JavaScript.
Step 3: Configure Webpack
To use Webpack, we need to set it up in our project. Start by creating a package.json file in your project root. Run:
npm init -y
This command will create a default package.json file. Next, we need to install Webpack and the necessary loaders:
npm install --save-dev webpack webpack-cli webpack-dev-server
npm install --save-dev babel-loader @babel/core @babel/preset-env
After the installation is complete, create a webpack.config.js file in your project root with the following content:
const path = require('path');

module.exports = {
    entry: './src/main.js',
    output: {
        path: path.resolve(__dirname, 'dist'),
        filename: 'bundle.js',
    },
    mode: 'development',
    devtool: 'source-map',
    module: {
        rules: [
            {
                test: /\.js$/,
                exclude: /node_modules/,
                use: {
                    loader: 'babel-loader',
                    options: {
                        presets: ['@babel/preset-env'],
                    },
                },
            },
        ],
    },
    devServer: {
        contentBase: path.join(__dirname, 'dist'),
        compress: true,
        port: 9000,
    },
};
This configuration sets up Webpack to bundle your JavaScript files and serve them using the Webpack Dev Server.
Step 4: Write Your Rust Code
Now it's time to write some Rust code. Create a new file named lib.rs in the src directory with the following content:
use wasm_bindgen::prelude::*;

#[wasm_bindgen]
pub fn greet(name: &str) -> String {
    format!("Hello, {}!", name)
}
This simple Rust function takes a string and returns a greeting message.
Step 5: Compile Rust Code to WebAssembly
Next, we need to compile the Rust code to WebAssembly (Wasm). To do this, ensure you have the wasm target installed:
rustup target add wasm32-unknown-unknown
Now, compile your Rust code:
cargo build --target wasm32-unknown-unknown
This command will generate a .wasm file in the target/wasm32-unknown-unknown/debug directory.
Step 6: Integrate Rust with JavaScript
Create a new file named main.js in the src directory and add the following content:
import init, { greet } from '../target/wasm32-unknown-unknown/debug/rust-webpack-demo.js';

async function run() {
    await init();
    console.log(greet("world"));
}

run();
This code imports the Rust function compiled to WebAssembly and calls it once the module is initialized.
Step 7: Update Your HTML File
Create an index.html file in the dist directory with the following content:
<!DOCTYPE html>
<html lang="en">
<head>
    <meta charset="UTF-8">
    <meta name="viewport" content="width=device-width, initial-scale=1.0">
    <title>Rust and Webpack Demo</title>
</head>
<body>
    <script src="bundle.js"></script>
</body>
</html>
This HTML file will serve as the entry point for your application.
Step 8: Run Webpack Dev Server
Finally, we can run the Webpack Dev Server to see our application in action. Add the following script to the scripts section of your package.json:
"scripts": {
    "start": "webpack serve --open"
}
Now, start the server with:
npm start
This command will compile your Rust code, bundle it with Webpack, and open your browser to http://localhost:9000. Check the console for the greeting message!
Conclusion
Congratulations! You've successfully set up a Rust/Webpack project using the rust-webpack template. This basic foundation allows you to leverage Rust's performance and safety while still utilizing the powerful ecosystem of JavaScript and Webpack for modern web development. As you continue to explore, consider diving deeper into advanced Rust features, Webpack plugins, and optimizing your build process. Happy coding!
Connect with SkillBakery Studios
Explore more tutorials, tools, and resources:
Posted by SkillBakery Studios


 Hello, my name is Jack Sparrow. I'm a 50 year old self-employed Pirate from the Caribbean.
No comments:
Post a Comment