
Developers : 4-Compile and Execute a Rust Program with Cargo
Compile and Execute a Rust Program with Cargo
Rust has quickly become a popular programming language for system-level programming, game development, and web assembly, thanks to its performance and safety features. One of the primary tools used in Rust development is Cargo, the Rust package manager and build system. In this tutorial, we will explore how to compile and execute a Rust program using Cargo in just a few simple steps.
What is Cargo?
Cargo is an essential tool in the Rust ecosystem that simplifies the process of managing Rust projects. It handles tasks such as:
- Creating new projects
- Managing dependencies
- Compiling packages
- Running tests
With Cargo, developers can focus more on writing code rather than managing the build process.
Prerequisites
Before we dive into compiling and executing a Rust program, ensure you have the following installed on your system:
- Rust: You can install Rust using rustup, which is the recommended way to install the Rust toolchain.
- Cargo: Cargo is included with the Rust installation, so you won't need to install it separately.
To verify your installations, you can run these commands in your terminal:
rustc --version
cargo --version
If both commands return version numbers, you’re ready to go!
Step 1: Creating a New Rust Project
To create a new Rust project using Cargo, simply run the following command in your terminal:
cargo new hello_cargo
This command creates a new directory called hello_cargo with the following structure:
hello_cargo/
├── Cargo.toml
└── src
    └── main.rs
- Cargo.toml: This file contains metadata about the project, such as its name, version, and dependencies.
- src/main.rs: This is the main source file where you will write your Rust code.
Step 2: Writing Your Rust Program
Navigate to the src directory and open main.rs in your favorite text editor. The default content of main.rs looks like this:
fn main() {
    println!("Hello, world!");
}
You can modify this to create a simple program. For example, let’s change the message:
fn main() {
    println!("Hello, Cargo!");
}
Step 3: Compiling Your Rust Program
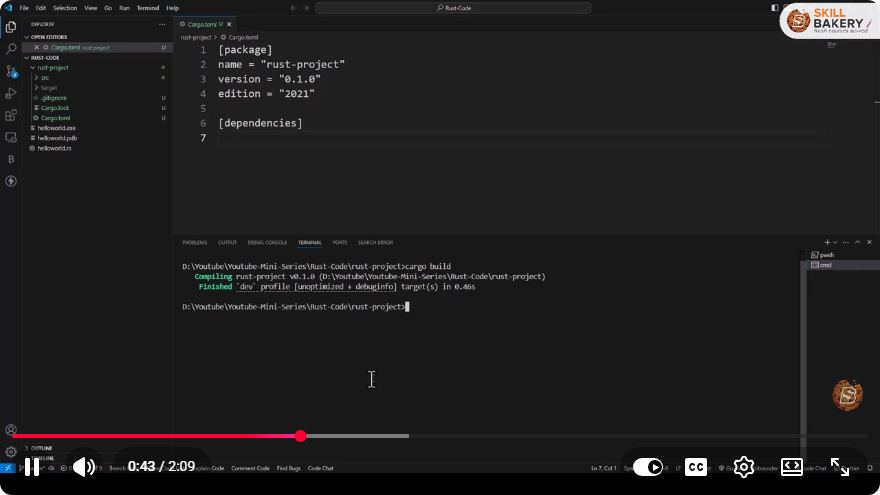
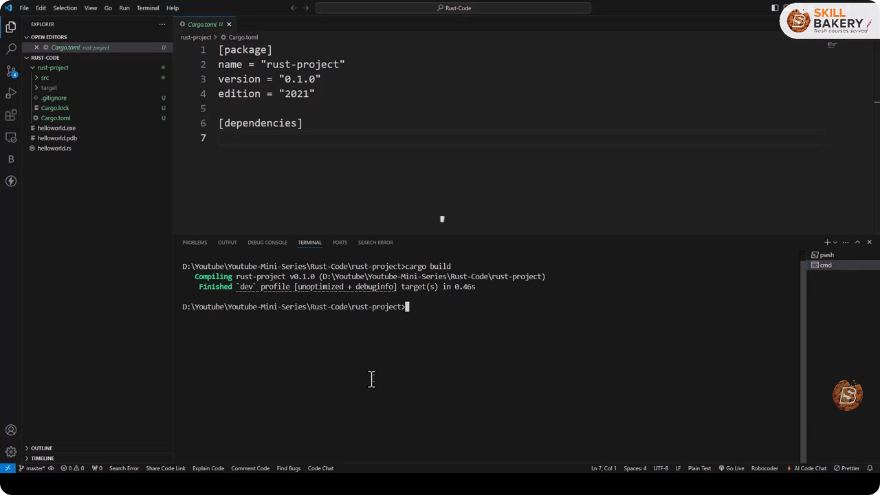
To compile your Rust program, return to the terminal and navigate to the root directory of your project (hello_cargo). You can then compile your project using the following command:
cargo build
Cargo will compile your project and create an executable. If you check the target/debug directory, you will find the compiled binary file named hello_cargo.
Understanding Build Types
Cargo supports different build types:
- Debug Build: The default build type, optimized for development. Use
cargo buildfor this. - Release Build: Optimized for performance. You can create a release build with the following command:
cargo build --release
The release build will be located in target/release.
Step 4: Executing Your Rust Program
Once you have compiled your Rust program, you can run it using Cargo with the following command:
cargo run
This command compiles your project (if it hasn’t been compiled yet) and then runs the executable. You should see the output:
Hello, Cargo!
Conclusion
Congratulations! You have successfully compiled and executed a Rust program using Cargo. This powerful tool not only simplifies project management but also enhances the development workflow. As you continue to explore Rust, you'll find that Cargo is indispensable for handling dependencies and managing larger projects.
If you want to learn more about Rust and Cargo, the official Rust documentation is an excellent resource to deepen your understanding.
Happy coding!
Connect with SkillBakery Studios
Explore more tutorials, tools, and resources:
Posted by SkillBakery Studios


 Hello, my name is Jack Sparrow. I'm a 50 year old self-employed Pirate from the Caribbean.
No comments:
Post a Comment