
Developers : 3-Create a Rust Package Using Cargo Package Manager
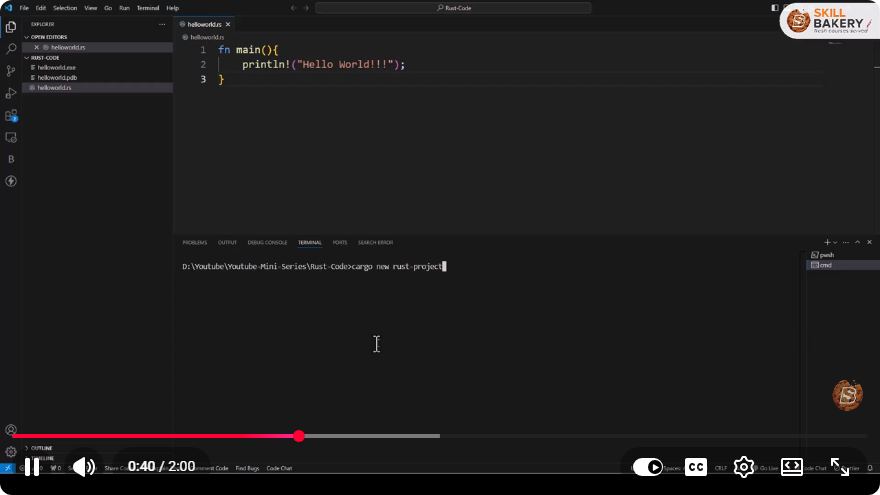
Developing a Rust Package Using Cargo Package Manager
Rust has gained immense popularity for its performance and safety features. One of the key components that ease the development process in Rust is the Cargo package manager. In this blog post, we will walk you through the steps to create a Rust package using Cargo, making it simple for you to manage your Rust projects effectively.
What is Cargo?
Cargo is the Rust package manager that simplifies the process of managing Rust projects. It handles downloading libraries (dependencies), building packages, and creating documentation. Using Cargo, developers can focus on writing code rather than managing the complexities of building and packaging.
Getting Started with Cargo
Before you start, ensure that you have Rust and Cargo installed on your system. If you haven't installed them yet, you can do so by following the instructions on the official Rust website.
Step 1: Create a New Rust Package
To create a new Rust package, you will use the cargo new command. Open your terminal and run:
cargo new my_rust_package
This command creates a new directory named my_rust_package containing the basic structure of a Rust package.
Step 2: Package Structure Overview
The newly created package will have the following structure:
my_rust_package/
├── Cargo.toml
└── src
    └── main.rs
- Cargo.toml: This file contains metadata about your package, including its name, version, dependencies, and more.
- src/main.rs: This is the main source file for your package. It's where you'll write your Rust code.
Step 3: Modify Cargo.toml
Open the Cargo.toml file in your favorite text editor. You will see a default configuration that looks like this:
[package]
name = "my_rust_package"
version = "0.1.0"
edition = "2021"

[dependencies]
Here, you can modify the package name, version, and add any dependencies your project may require. For instance, if you want to add a dependency on the serde crate for serialization, you would update the dependencies section as follows:
[dependencies]
serde = "1.0"
Step 4: Write Your Code
Now, let’s write a simple Rust program. Open src/main.rs and replace its content with the following code:
fn main() {
    let greeting = "Hello, Rust!";
    println!("{}", greeting);
}
This simple program initializes a string and prints it to the console.
Step 5: Build and Run Your Package
Now that you've written your code, it's time to build and run your package. In your terminal, navigate to the package directory and run:
cargo run
This command compiles your package and executes the resulting binary. You should see the output:
Hello, Rust!
Step 6: Managing Dependencies
As your project grows, you may need to add more dependencies. You can do this by editing the Cargo.toml file as mentioned earlier. After adding a dependency, always run:
cargo build
This command will download and compile any new dependencies.
Step 7: Testing Your Code
Cargo also provides a built-in testing framework. You can create tests in your project by adding a module in your src/main.rs file:
#[cfg(test)]
mod tests {
    #[test]
    fn test_greeting() {
        assert_eq!("Hello, Rust!", "Hello, Rust!");
    }
}
To run your tests, simply use:
cargo test
This command will compile your tests and run them, providing you with feedback on their success or failure.
Conclusion
Congratulations! You have successfully created a Rust package using the Cargo package manager. You’ve learned how to set up a new package, manage dependencies, write code, and test your project. Cargo simplifies the Rust development process, allowing you to focus on building robust applications.
For further exploration, consider diving deeper into Rust's features and Cargo's capabilities, such as workspaces, building libraries, and publishing your packages to crates.io. Happy coding!
Connect with SkillBakery Studios
Explore more tutorials, tools, and resources:
Posted by SkillBakery Studios


 Hello, my name is Jack Sparrow. I'm a 50 year old self-employed Pirate from the Caribbean.
No comments:
Post a Comment