
Developing Web App using React Cosmos DB - Setting up Visual Studio Code Editor and Azure Extensions
Developing a Web App Using React and Cosmos DB: Setting Up Visual Studio Code and Azure Extensions
In today's fast-paced development environment, creating a web application with React and Cosmos DB can be an exciting endeavor. This tutorial will guide you through the setup of Visual Studio Code (VS Code) and the necessary Azure extensions, allowing you to kickstart your web app project in under two minutes!
Prerequisites
Before we dive into the setup process, ensure you have the following prerequisites:
- Node.js and npm: Make sure you have Node.js installed, as it comes with npm (Node Package Manager), which is essential for managing your React application dependencies.
- Visual Studio Code: Download and install VS Code from the official website.
- Azure Account: Sign up for an Azure account if you haven't already. You can get started with a free tier that provides access to many Azure services.
Step 1: Setting Up Visual Studio Code
1. Install Visual Studio Code
- Go to the Visual Studio Code website.
- Download the installer for your operating system and follow the installation instructions.
2. Open Visual Studio Code
Once installed, launch Visual Studio Code.
3. Install the Azure Extensions
To integrate Azure services into your VS Code environment, you need to install the relevant Azure extensions.
Open Extensions View: You can access the Extensions view by clicking on the Extensions icon in the Activity Bar on the side of the window or by using the shortcut
Ctrl + Shift + X.Search for Azure Extensions: In the search bar, type "Azure" to find the Azure extensions. The key extensions to look for include:
- Azure Storage
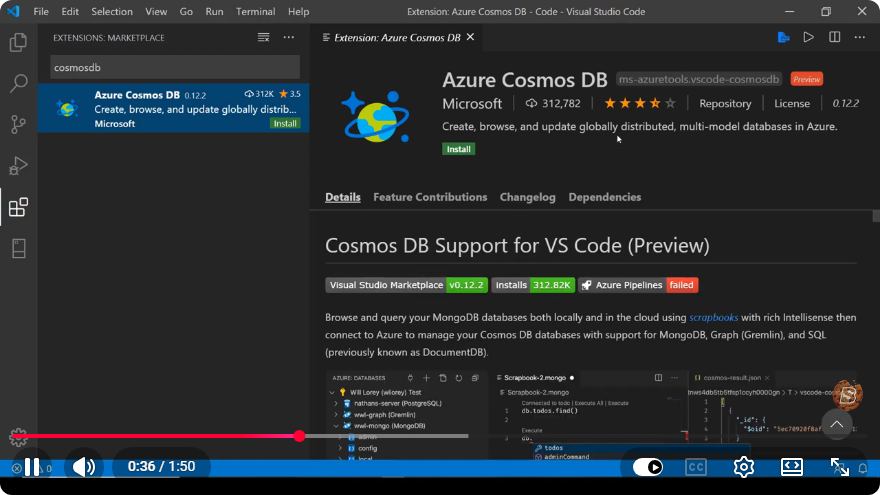
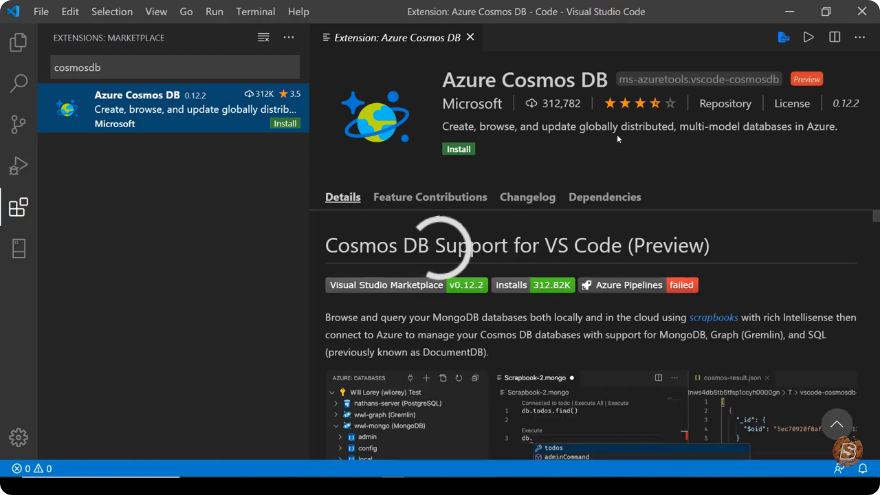
- Azure Cosmos DB
- Azure Functions (if you plan on using serverless functions)
Install the Extensions: Click on the Install button for each of these extensions to add them to your VS Code environment.
Step 2: Configure Azure Cosmos DB
1. Create a Cosmos DB Account
- Log in to Azure Portal: Go to the Azure Portal and log in with your credentials.
- Create a new Cosmos DB account:
- Click on "Create a resource".
- Search for "Azure Cosmos DB" and select it.
- Follow the prompts to create a new Cosmos DB account. Choose the API that suits your needs (e.g., SQL API).
2. Connect to Cosmos DB from VS Code
- Open the Azure View: In VS Code, click on the Azure icon in the Activity Bar.
- Sign in to Azure: If prompted, sign in to your Azure account.
- Find Your Cosmos DB Account: Expand the Azure Cosmos DB section, and you should see your newly created Cosmos DB account listed.
- Explore Your Database: Click on your database to explore it. You can create collections, documents, and more directly from VS Code.
Step 3: Create Your React App
Now that you have set up your environment, it’s time to create your React application.
1. Initialize a New React App
Open a terminal in VS Code (you can use the integrated terminal with `Ctrl + ``).
Run the following command to create a new React app:
npx create-react-app my-web-appChange into your project directory:
cd my-web-app
2. Install Required Packages
Depending on your application requirements, you might want to install additional packages. For example, if you plan on using Axios for API calls, run:
npm install axios
Step 4: Run Your Application
To start your React application, use the following command:
npm start
This command will launch the app in your default web browser, typically at http://localhost:3000.
Conclusion
In just a few minutes, you have successfully set up Visual Studio Code, installed the necessary Azure extensions, created a Cosmos DB account, and initialized a React app. With these foundational steps complete, you're now ready to develop your web application and leverage the power of Azure Cosmos DB.
Explore further features, such as creating APIs to interact with your Cosmos DB database and implementing user authentication to enhance your React application.
Happy coding!
Connect with SkillBakery Studios
Explore more tutorials, tools, and resources:
Posted by SkillBakery Studios


 Hello, my name is Jack Sparrow. I'm a 50 year old self-employed Pirate from the Caribbean.
No comments:
Post a Comment