
Download And Installing Knockout - Master KnockoutJs-Web Development
Downloading and Installing Knockout.js: A Quick Guide
In the world of web development, Knockout.js stands out as a powerful JavaScript library for creating rich, responsive user interfaces. If you’re seeking to enhance your web applications with data-binding capabilities, you’ve come to the right place. This tutorial will guide you through the process of downloading and installing Knockout.js in just a few simple steps.
What is Knockout.js?
Knockout.js is a JavaScript library that helps you create dynamic and responsive user interfaces with ease. It utilizes the Model-View-ViewModel (MVVM) design pattern, allowing for a clear separation of concerns in your application. By using Knockout.js, you can effortlessly bind data to your UI, enabling automatic updates in response to changes in your data model.
Prerequisites
Before we begin, ensure you have the following:
- A basic understanding of HTML, CSS, and JavaScript.
- A code editor installed on your computer (e.g., Visual Studio Code, Sublime Text).
- A web browser to test your application.
Step 1: Download Knockout.js
There are multiple ways to download Knockout.js. You can either download it directly from the official website or use a package manager like npm or Yarn.
Option A: Download from the Official Website
- Visit the Knockout.js official website.
- Navigate to the "Download" section.
- Choose the latest version (e.g., Knockout 3.5.1) and click on the link to download the minified version (knockout-3.5.1.min.js).
Option B: Using npm
If you have npm installed, you can easily install Knockout.js via the command line. Open your terminal and run the following command:
npm install knockout
Option C: Using Yarn
If you prefer Yarn as your package manager, you can install Knockout.js with:
yarn add knockout
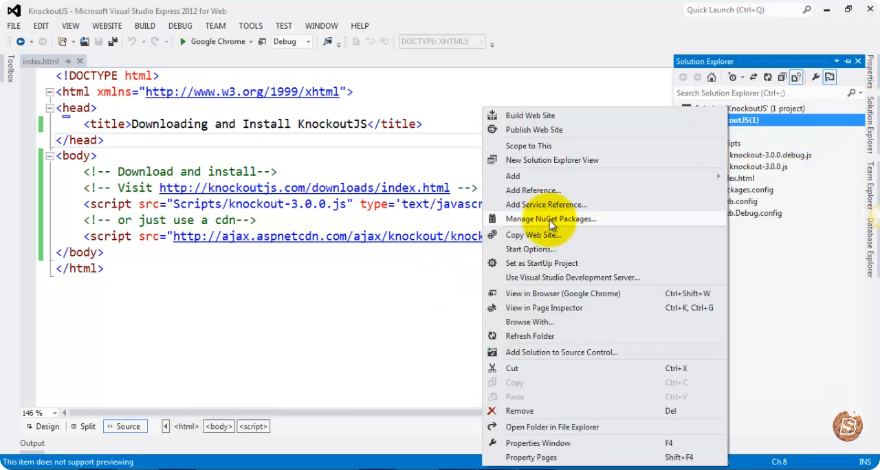
Step 2: Include Knockout.js in Your Project
Once you have downloaded or installed Knockout.js, the next step is to include it in your project. If you downloaded the file manually, place it in your project's directory. If you used npm or Yarn, it will be automatically added to your node_modules.
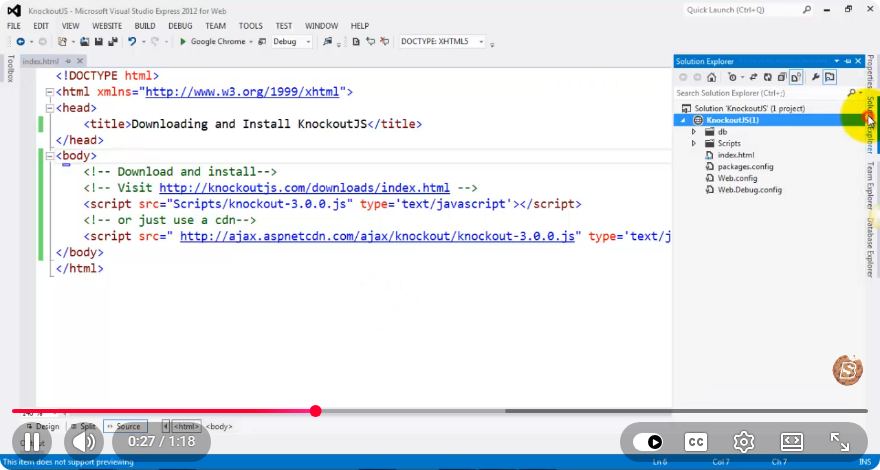
Including Knockout.js in HTML
Create an HTML file (e.g., index.html) and include the Knockout.js script in the <head> section:
<!DOCTYPE html>
<html lang="en">
<head>
    <meta charset="UTF-8">
    <meta name="viewport" content="width=device-width, initial-scale=1.0">
    <title>Knockout.js Example</title>
    <script src="path/to/your/knockout-3.5.1.min.js"></script>
</head>
<body>
    <!-- Your HTML content will go here -->
</body>
</html>
If you installed Knockout.js via npm or Yarn, you can include it in your build process using a module bundler like Webpack or directly in your JavaScript files if you are using ES6 imports:
import ko from 'knockout';
Step 3: Create a Simple Knockout.js Application
Now that you have included Knockout.js in your project, let’s create a simple example to see it in action. Below is a basic implementation demonstrating data-binding.
HTML Structure
Add the following code inside the <body> tag of your index.html file:
<div>
    <h2 data-bind="text: title"></h2>
    <input type="text" data-bind="value: title" />
</div>
<script src="path/to/your/knockout-3.5.1.min.js"></script>
<script src="app.js"></script>
JavaScript Logic
Create a file named app.js in the same directory and add the following code:
function AppViewModel() {
    this.title = ko.observable("Hello, Knockout!");
}

ko.applyBindings(new AppViewModel());
Step 4: Run Your Application
Open your index.html file in a web browser. You should see the text “Hello, Knockout!” displayed on the screen, along with an input box. Typing in the input box will dynamically change the title displayed above it, thanks to Knockout.js’s two-way data binding.
Conclusion
In just a few simple steps, you’ve successfully downloaded, installed, and created a basic application using Knockout.js. This powerful library can greatly enhance your web development projects by providing robust data-binding capabilities.
Feel free to explore more features of Knockout.js, such as observables, computed functions, and custom bindings, to build even more interactive applications. Happy coding!
Connect with SkillBakery Studios
Explore more tutorials, tools, and resources:
Posted by SkillBakery Studios


No comments:
Post a Comment