
Getting Started with Laravel : Laravel Routing Fundamentals: Part II
Getting Started with Laravel: Laravel Routing Fundamentals - Part II
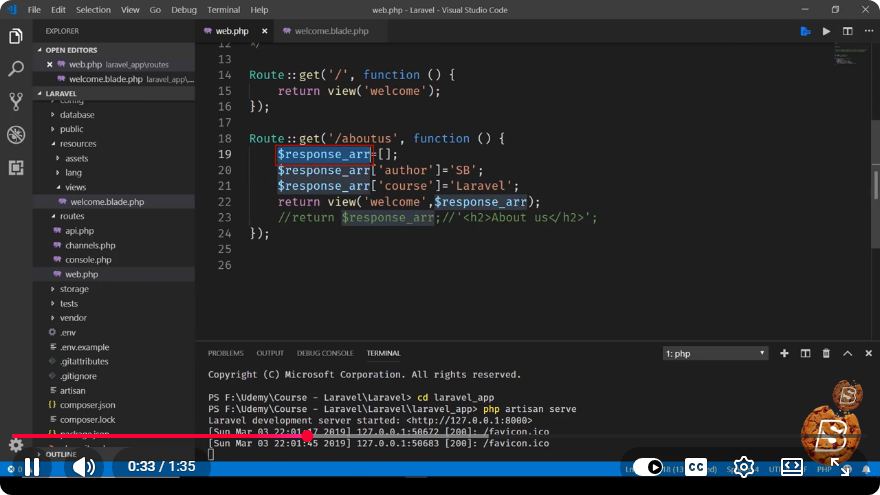
Laravel is one of the most popular PHP frameworks for web application development. In this blog post, we will dive into the fundamentals of routing in Laravel, building on what we learned in Part I. By the end of this post, you'll have a good understanding of how routing works in Laravel and how to implement it effectively in your applications.
What is Routing in Laravel?
Routing in Laravel is the mechanism that allows you to define the endpoints of your application. It helps direct incoming requests to the appropriate controllers, methods, or views. In essence, routing is the backbone of any web application, determining how users interact with your application.
Basic Routing
In Laravel, routes are defined in the routes/web.php file for web traffic. Here’s an example of a simple route:
Route::get('/home', function () {
    return view('home');
});
This code snippet routes HTTP GET requests for the /home URI to a closure that returns a view named home.
Route Parameters
Laravel allows you to define dynamic routes using parameters. For example, if you want to create a route that accepts a user ID, you can do it like this:
Route::get('/user/{id}', function ($id) {
    return 'User ID is: ' . $id;
});
In this case, {id} is a route parameter. When a user accesses /user/1, the closure will return User ID is: 1.
Optional Parameters
You can also define optional parameters in your routes. To do this, simply append a question mark (?) to the parameter name:
Route::get('/user/{id?}', function ($id = null) {
    return 'User ID is: ' . $id;
});
In this example, if no ID is provided, it defaults to null.
Named Routes
Laravel also supports named routes, which allow you to easily generate URLs or redirects to specific routes. To define a named route, you can do the following:
Route::get('/profile', function () {
    return view('profile');
})->name('profile');
You can then generate a URL to this route using the route helper function:
$url = route('profile');
Route Groups
When you have multiple routes sharing the same attributes, you can group them together. This is especially useful for applying middleware or defining common prefixes. Here’s how to do it:
Route::group(['prefix' => 'admin', 'middleware' => 'auth'], function () {
    Route::get('/dashboard', function () {
        return view('admin.dashboard');
    });

    Route::get('/settings', function () {
        return view('admin.settings');
    });
});
In this example, both routes are prefixed with /admin and are protected by the auth middleware.
Conclusion
Understanding routing is essential for working with Laravel. In this post, we covered the basics of routing, including dynamic parameters, optional parameters, named routes, and route groups.
By mastering these concepts, you will be able to create clean and maintainable routes that enhance the user experience of your Laravel applications.
For further learning, consider checking the official Laravel documentation on routing, which provides in-depth information and additional features you can utilize.
Happy coding!
Connect with SkillBakery Studios
Explore more tutorials, tools, and resources:
Posted by SkillBakery Studios


 Hello, my name is Jack Sparrow. I'm a 50 year old self-employed Pirate from the Caribbean.
No comments:
Post a Comment