
Lecture-5: Hugging Face Image Generation Tutorial | Create AI Images with Hugging Face Inference API
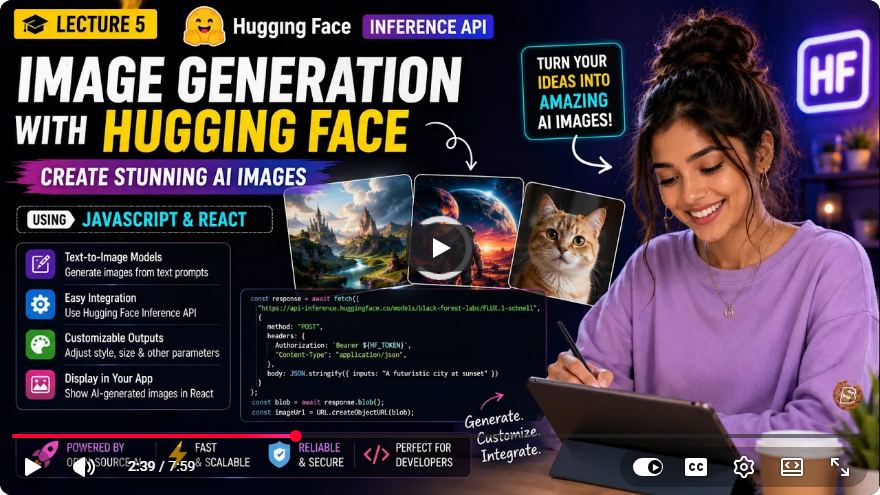
Creating AI Images with Hugging Face: A Comprehensive Guide to Image Generation
Welcome to our latest tutorial where we dive into the world of image generation using the Hugging Face Inference API. In this post, we will explore three key capabilities: image classification, image captioning, and text-to-image generation. By the end of this tutorial, you will have gained hands-on experience in transforming images using Hugging Face’s powerful tools.
Prerequisites
Before we begin, ensure you have the following:
- Basic understanding of JavaScript and web development
- An account on Hugging Face to access the Inference API
- Familiarity with HTML and JavaScript for coding
Setting Up Your Environment
To start, you will need to set up a simple HTML and JavaScript environment. Create an index.html file and an index.js file. Here is a basic structure for your index.html:
<!DOCTYPE html>
<html lang="en">
<head>
    <meta charset="UTF-8">
    <meta name="viewport" content="width=device-width, initial-scale=1.0">
    <title>Hugging Face Image Generation</title>
</head>
<body>
    <h1>Image Generation with Hugging Face</h1>
    <input type="file" id="fileInput">
    <button id="classifyBtn">Classify Image</button>
    <div id="result"></div>
    <script src="index.js"></script>
</body>
</html>
Now, let's move on to the JavaScript code that handles image classification.
Image Classification
Image classification allows us to identify the content of an image. In this example, we will use the Google/witbase patch 16224 model, which is a popular vision transformer model.
JavaScript Code for Image Classification
Add the following code to your index.js file:
const classifyBtn = document.getElementById('classifyBtn');
const fileInput = document.getElementById('fileInput');
const resultDiv = document.getElementById('result');

classifyBtn.addEventListener('click', async () => {
    const file = fileInput.files[0];
    if (!file) {
        alert('Please select a file');
        return;
    }

    const formData = new FormData();
    formData.append('file', file);

    const response = await fetch('https://api-inference.huggingface.co/models/google/witbase-patch-16224', {
        method: 'POST',
        headers: {
            'Authorization': `Bearer YOUR_HUGGINGFACE_API_TOKEN`
        },
        body: formData
    });

    const data = await response.json();
    displayResults(data);
});

function displayResults(data) {
    const predictions = data[0].label;
    const confidence = data[0].score;
    resultDiv.innerHTML = `Predicted: ${predictions} with confidence: ${confidence}`;
}
How it Works
- The user selects an image file using the file input.
- Upon clicking the "Classify Image" button, we create a
FormDataobject and append the selected file. - We make a POST request to the Hugging Face Inference API with the model URL and the selected file.
- The response is processed, and we display the predicted label and its confidence score.
Image Captioning
Next, we will implement image captioning, which generates a natural language description of an image. For this, we will use the zcm 4.5v Novita model.
JavaScript Code for Image Captioning
Extend your index.js with the following code for image captioning:
const captionBtn = document.getElementById('captionBtn');
captionBtn.addEventListener('click', async () => {
    const file = fileInput.files[0];
    if (!file) {
        alert('Please select a file');
        return;
    }

    const reader = new FileReader();
    reader.onloadend = async () => {
        const base64Image = reader.result.split(',')[1];  // Get base64 part
        const response = await fetch('https://api-inference.huggingface.co/models/zcm-4.5v-novita', {
            method: 'POST',
            headers: {
                'Authorization': `Bearer YOUR_HUGGINGFACE_API_TOKEN`,
                'Content-Type': 'application/json'
            },
            body: JSON.stringify({ image: base64Image, text: "Describe this image in one sentence." })
        });

        const data = await response.json();
        resultDiv.innerHTML += `<br>Caption: ${data.output}`;
    };

    reader.readAsDataURL(file);
});
Explanation
- The user selects an image, and we use the
FileReaderAPI to convert it to a Base64 string. - We send a POST request to the Inference API with the Base64 string and a prompt to describe the image.
- The generated caption is then displayed on the page.
Text-to-Image Generation
The final capability we will explore is text-to-image generation, allowing you to generate images based on textual descriptions. For this, we will use the Black Forest Labs Flux one Chanel model.
JavaScript Code for Text-to-Image Generation
Add the following code to your index.js file:
const textToImageBtn = document.getElementById('textToImageBtn');
textToImageBtn.addEventListener('click', async () => {
    const prompt = document.getElementById('textPrompt').value;
    if (!prompt) {
        alert('Please enter a prompt');
        return;
    }

    const response = await fetch('https://api-inference.huggingface.co/models/black-forest-labs/flux-one-chanel', {
        method: 'POST',
        headers: {
            'Authorization': `Bearer YOUR_HUGGINGFACE_API_TOKEN`,
            'Content-Type': 'application/json'
        },
        body: JSON.stringify({ prompt: prompt })
    });

    const blob = await response.blob();
    const imageUrl = URL.createObjectURL(blob);
    resultDiv.innerHTML += `<img src="${imageUrl}" alt="Generated Image"/>`;
});
Code Breakdown
- The user inputs a text prompt describing the desired image.
- A POST request is sent to the Inference API with the prompt.
- The API responds with a generated image, which is converted to an object URL and displayed in the browser.
Important Tips
- Always check that the user has selected a file before sending requests.
- Display a preview of the uploaded image for user confirmation.
- For generated images, remember to revoke object URLs to avoid memory leaks.
- Show a loading state while waiting for the API response to improve user experience.
Conclusion
In this tutorial, we explored how to use the Hugging Face Inference API for image classification, captioning, and text-to-image generation. These capabilities can significantly enhance your applications by providing powerful visual understanding and creativity.
Challenge
As a challenge, try to implement object detection using the model facebook/detr-resnet-50. Display the detected objects along with their confidence scores.
Thank you for joining us in this tutorial! If you found it helpful, don’t forget to like and subscribe for more updates. Happy coding!
Connect with SkillBakery Studios
Explore more tutorials, tools, and resources:
Posted by SkillBakery Studios


 Hello, my name is Jack Sparrow. I'm a 50 year old self-employed Pirate from the Caribbean.
No comments:
Post a Comment