
Master TypeScript : Installation - Web Development
Master TypeScript: Installation Guide
TypeScript is an open-source programming language developed by Microsoft that builds on JavaScript, adding optional static typing. If you're looking to enhance your web development skills, mastering TypeScript is an excellent choice. In this blog post, we will guide you through the installation process of TypeScript, ensuring you are set up and ready to code.
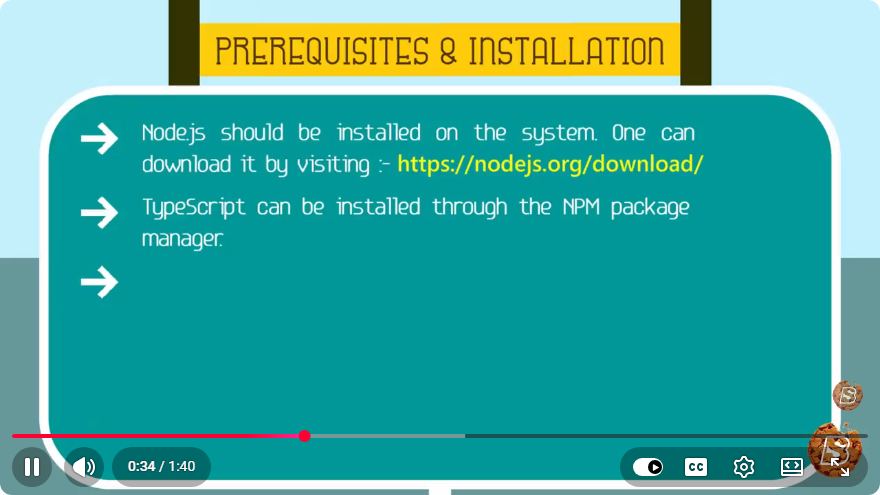
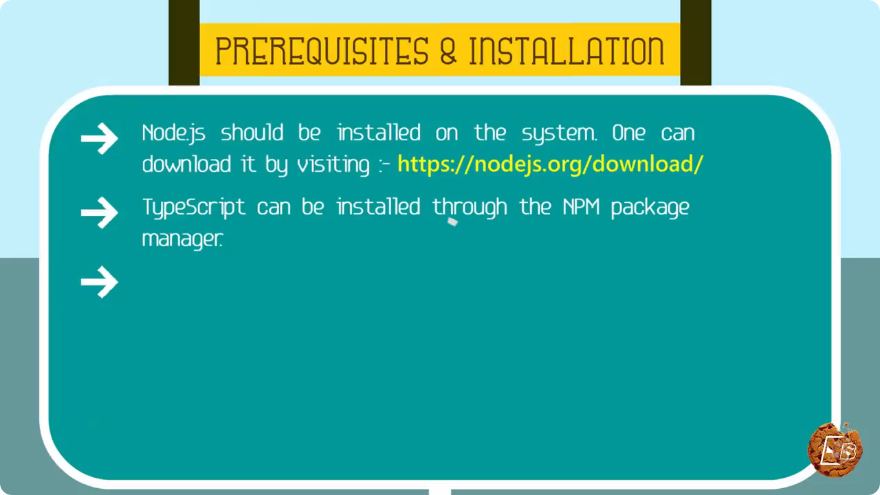
Prerequisites
Before diving into the installation process, ensure you have the following prerequisites:
- Node.js: TypeScript relies on Node.js for running its compiler and tools. If you haven't installed Node.js yet, you can download it from the official Node.js website.
- Package Manager: We will be using npm (Node Package Manager), which comes bundled with Node.js.
Step 1: Verify Node.js Installation
To confirm that Node.js and npm are installed correctly, you can run the following commands in your terminal or command prompt:
node -v
This command will display the installed version of Node.js. Next, check the npm version:
npm -v
If both commands show version numbers, you are ready to proceed with TypeScript installation.
Step 2: Install TypeScript
TypeScript can be installed globally or locally in your project. For many developers, a global installation is sufficient as it allows you to use the TypeScript compiler (tsc) from anywhere on your system.
Global Installation
To install TypeScript globally, run the following command:
npm install -g typescript
The -g flag indicates that you want to install TypeScript globally. After installation, you can verify that TypeScript is installed by checking its version:
tsc -v
Local Installation
If you prefer to install TypeScript locally within a specific project, navigate to your project directory and run:
npm install --save-dev typescript
This command will add TypeScript to your project's devDependencies, allowing you to manage it alongside other project-specific dependencies.
Step 3: Initialize a TypeScript Project
After installing TypeScript, the next step is to create a new TypeScript project. You can do this by generating a tsconfig.json file, which configures the TypeScript compiler's options.
To initialize a new TypeScript project, run the following command in your project directory:
tsc --init
This command will create a tsconfig.json file with default settings. You can customize this file according to your project requirements.
Example tsconfig.json
Here’s a basic example of what a tsconfig.json file may look like:
{
  "compilerOptions": {
    "target": "es5",
    "module": "commonjs",
    "strict": true,
    "esModuleInterop": true,
    "skipLibCheck": true,
    "forceConsistentCasingInFileNames": true
  },
  "include": ["src/**/*"],
  "exclude": ["node_modules"]
}
This configuration compiles TypeScript files located in the src directory while excluding the node_modules folder.
Step 4: Write Your First TypeScript File
Now that you have everything set up, it’s time to create a simple TypeScript file. Create a new file named app.ts in the src directory:
const greeting: string = "Hello, TypeScript!";
console.log(greeting);
Step 5: Compile TypeScript
To compile your TypeScript file into JavaScript, run the following command in your terminal:
tsc
This will generate an app.js file in the output directory specified in your tsconfig.json.
Conclusion
Congratulations! You've successfully installed TypeScript and set up your first TypeScript project. With its powerful typing system and other features, TypeScript can significantly improve your JavaScript development experience.
Feel free to explore more advanced TypeScript features such as interfaces, classes, and generics to fully leverage the power of this language. Happy coding!
Connect with SkillBakery Studios
Explore more tutorials, tools, and resources:
Posted by SkillBakery Studios


No comments:
Post a Comment