
MongoDB : installing mongodb on MAC
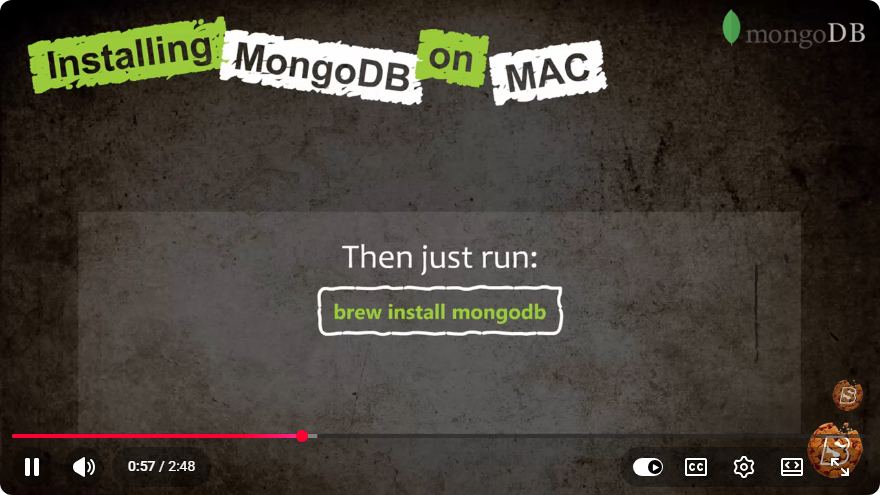
Quick Guide to Installing MongoDB on macOS
MongoDB is a popular NoSQL database that is designed for ease of use and scalability. If you're a developer looking to set up MongoDB on your macOS, this guide will walk you through the installation process in a straightforward manner. Let's get started!
Prerequisites
Before you begin, ensure that you have the following:
- A macOS system (the instructions provided here are applicable to macOS versions like Mojave, Catalina, Big Sur, and later).
- Homebrew installed on your machine. If you haven't installed Homebrew yet, you can do so by running the following command in your terminal:
/bin/bash -c "$(curl -fsSL https://raw.githubusercontent.com/Homebrew/install/HEAD/install.sh)"
Step 1: Tap the MongoDB Formula
First, you need to tap the MongoDB formula from the official MongoDB repository. This will allow Homebrew to access and install MongoDB. Open your terminal and run:
brew tap mongodb/brew
Step 2: Install MongoDB
After tapping the MongoDB repository, you can proceed to install MongoDB. Use the following command in your terminal:
brew install mongodb-community@5.0
This command installs the MongoDB Community Edition, which is free to use and suitable for development purposes.
Step 3: Start MongoDB
Once the installation is complete, you need to start the MongoDB service. You can do this using the following command:
brew services start mongodb/brew/mongodb-community
This command will start MongoDB as a background service, making it accessible to your applications.
Step 4: Verify the Installation
To confirm that MongoDB is running correctly, you can check the status of the service by running:
brew services list
You should see the MongoDB service listed as "started" in the output.
Additionally, you can connect to your MongoDB instance by running the MongoDB shell:
mongosh
If everything is set up correctly, you should see a MongoDB shell prompt.
Step 5: Creating the Data Directory
By default, MongoDB stores its data in /data/db. If this directory doesn't exist, you will need to create it and ensure that your user has the appropriate permissions. Run the following commands:
sudo mkdir -p /data/db
sudo chown -R `id -un` /data/db
This command creates the data directory and changes its ownership to your user account.
Step 6: Stopping MongoDB
If you ever need to stop the MongoDB service, you can do so with the following command:
brew services stop mongodb/brew/mongodb-community
Conclusion
Congratulations! You have successfully installed MongoDB on your macOS system. This simple installation process allows you to start developing applications using MongoDB quickly. Remember to refer to the official MongoDB documentation for further details on how to use MongoDB effectively.
Feel free to reach out if you have any questions or run into issues during the installation process! Happy coding!
Connect with SkillBakery Studios
Explore more tutorials, tools, and resources:
Posted by SkillBakery Studios


 Hello, my name is Jack Sparrow. I'm a 50 year old self-employed Pirate from the Caribbean.
No comments:
Post a Comment