
MoonJs - Templates
Exploring MoonJs: A Quick Guide to Templates
In the fast-evolving world of web development, frameworks and libraries come and go, but a few manage to stand out for their simplicity and effectiveness. One such library is MoonJs, a lightweight JavaScript framework that allows developers to create interactive user interfaces with ease. In this blog post, we will dive into MoonJs, focusing specifically on its template capabilities, as highlighted in the YouTube video titled "MoonJs - Templates 1 minute, 6 seconds."
What is MoonJs?
MoonJs is a minimalistic JavaScript framework inspired by Vue.js and React. It is designed for building user interfaces while offering a reactive data-binding system. With MoonJs, developers can create complex applications with less code and fewer dependencies.
Key Features of MoonJs
- Lightweight: The entire library is only a few kilobytes in size.
- Reactive Data Binding: Updates to the data automatically reflect in the DOM.
- Component-Based Architecture: Encourages modular development through reusable components.
- Easy to Learn: The syntax is simple, making it approachable for beginners.
Understanding Templates in MoonJs
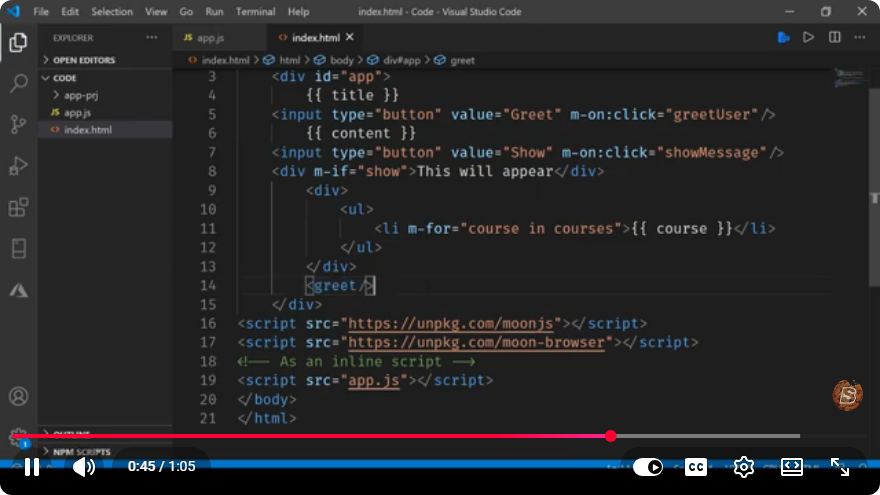
In MoonJs, templates are a powerful feature that allows you to define your UI layout using HTML-like syntax. This section will cover how to create and use templates effectively within your MoonJs applications.
Basic Structure of a Template
A MoonJs template is defined using the Moon instance. Below is a simple example of how to create a basic template:
const app = new Moon({
    el: '#app',
    data: {
        message: 'Hello, MoonJs!'
    }
});
In this snippet, we create a new instance of Moon and bind it to an HTML element with the ID app. We also define a data property with a simple message.
Using Templates with HTML
To display data within your template, you can use the double curly braces {{ }} syntax. This allows you to render dynamic content easily. Here’s how you can extend the previous example to include a template:
<div id="app">
    <h1>{{ message }}</h1>
</div>
Rendering Lists
One of the powerful features of MoonJs is its ability to render lists. This can be done using the each directive. Here’s an example:
const app = new Moon({
    el: '#app',
    data: {
        items: ['Apple', 'Banana', 'Cherry']
    }
});
And the corresponding HTML:
<div id="app">
    <ul>
        <li each="item in items">{{ item }}</li>
    </ul>
</div>
In this example, we use the each directive to iterate over the items array and render each item in a list.
Conditional Rendering
MoonJs also supports conditional rendering with the if directive. This allows you to display elements based on certain conditions. Here’s how you can implement it:
const app = new Moon({
    el: '#app',
    data: {
        showList: true
    }
});
<div id="app">
    <button onclick="app.showList = !app.showList">Toggle List</button>
    <ul if="showList">
        <li>Item 1</li>
        <li>Item 2</li>
    </ul>
</div>
In this example, clicking the button toggles the visibility of the list based on the showList data property.
Conclusion
MoonJs is an innovative framework that simplifies web development by allowing developers to use templates for dynamic content rendering. With features like data binding, list rendering, and conditional rendering, MoonJs empowers developers to create interactive applications quickly and efficiently.
If you’re looking for a lightweight and easy-to-learn alternative to more complex frameworks, MoonJs might just be the right fit for you. Be sure to explore its documentation and features further to unlock the full potential of this framework.
For more detailed tutorials and examples, don’t forget to check out the original video here. Happy coding!
Connect with SkillBakery Studios
Explore more tutorials, tools, and resources:
Posted by SkillBakery Studios


 Hello, my name is Jack Sparrow. I'm a 50 year old self-employed Pirate from the Caribbean.
No comments:
Post a Comment