
MoonJs V1 Beta - Elements Usage
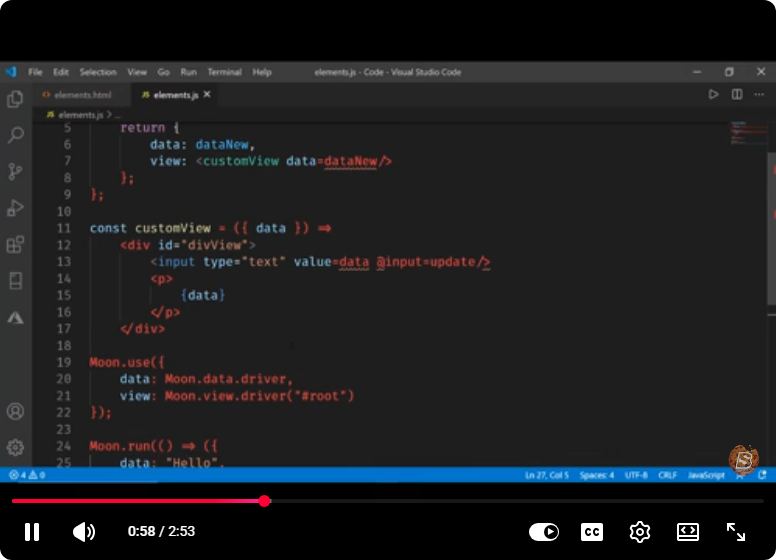
MoonJs V1 Beta - Elements Usage
In this blog post, we will explore the usage of elements in MoonJs V1 Beta as showcased in the YouTube video titled "MoonJs V1 Beta - Elements Usage." MoonJs is a lightweight JavaScript framework designed for building interactive web applications with a focus on simplicity and performance. The video provides a concise yet informative overview of how to utilize elements effectively in this framework.
What is MoonJs?
MoonJs is an innovative JavaScript library that allows developers to create dynamic and interactive web applications. With a minimalistic approach, it integrates seamlessly with existing HTML and JavaScript code. MoonJs is designed for those who want to build reactive user interfaces without the overhead of larger frameworks.
Getting Started with MoonJs
Before diving into elements usage, ensure you have the following prerequisites:
- Basic knowledge of HTML, CSS, and JavaScript.
- A modern web browser (like Chrome or Firefox).
- A code editor to write your MoonJs application (e.g., Visual Studio Code).
Installing MoonJs
To get started with MoonJs, you can include it directly in your HTML file via a CDN. Here’s how to do it:
<!DOCTYPE html>
<html lang="en">
<head>
    <meta charset="UTF-8">
    <meta name="viewport" content="width=device-width, initial-scale=1.0">
    <title>MoonJs Example</title>
    <script src="https://unpkg.com/moonjs/dist/moon.min.js"></script>
</head>
<body>
    <div id="app"></div>
    <script src="app.js"></script>
</body>
</html>
In this example, we include MoonJs from a CDN and prepare an HTML structure with a div element that will serve as our application root.
Understanding Elements in MoonJs
MoonJs provides a set of features that allow developers to create, manipulate, and render elements efficiently. The video highlights several key aspects of element usage, which we will break down into practical sections.
Creating Elements
Creating elements in MoonJs is straightforward. You can use the Moon constructor to initialize a new instance and bind it to a specific element in your HTML.
Here’s a simple example of creating an element in MoonJs:
const app = new Moon({
    el: '#app',
    data: {
        message: 'Hello, MoonJs!'
    }
});
In this example, we create a new Moon instance, bind it to the #app element, and define a reactive data property called message.
Rendering Elements
To render elements, you can use the {{ }} syntax to bind data to the DOM. This allows you to display dynamic content.
<div>{{ message }}</div>
With the above line of code added to your HTML, the message data will be displayed within the div element whenever it changes.
Updating Elements
One of the strengths of MoonJs is its reactivity. When you update the data, the UI updates automatically. Here’s how you can update the message:
app.message = 'Updated Message!';
When the above line is executed, the content of the div will change to "Updated Message!" without needing to manipulate the DOM directly.
Using Directives
MoonJs also supports directives, which are special attributes that enhance the functionality of your elements. The video demonstrates the use of the v-if directive to conditionally render elements:
<button v-on:click="show = !show">Toggle Message</button>
<div v-if="show">{{ message }}</div>
In this example, clicking the button toggles the visibility of the message div based on the show property.
Handling Events
Handling events in MoonJs is seamless. You can listen for events using the v-on directive. Here’s how you can add a click event to a button:
<button v-on:click="handleClick">Click Me!</button>
And in your JavaScript file:
methods: {
    handleClick() {
        this.message = 'Button Clicked!';
    }
}
Now, clicking the button will change the message displayed in the UI.
Conclusion
MoonJs V1 Beta offers an intuitive way to work with elements in your web applications. By understanding how to create, render, and update elements, as well as how to use directives and handle events, you can build interactive user interfaces efficiently.
For further exploration, consider checking out the official MoonJs documentation for more in-depth knowledge and advanced features. Happy coding!
Connect with SkillBakery Studios
Explore more tutorials, tools, and resources:
Posted by SkillBakery Studios


 Hello, my name is Jack Sparrow. I'm a 50 year old self-employed Pirate from the Caribbean.
No comments:
Post a Comment