
MoonJs V1 Beta - Exploring Time Driver
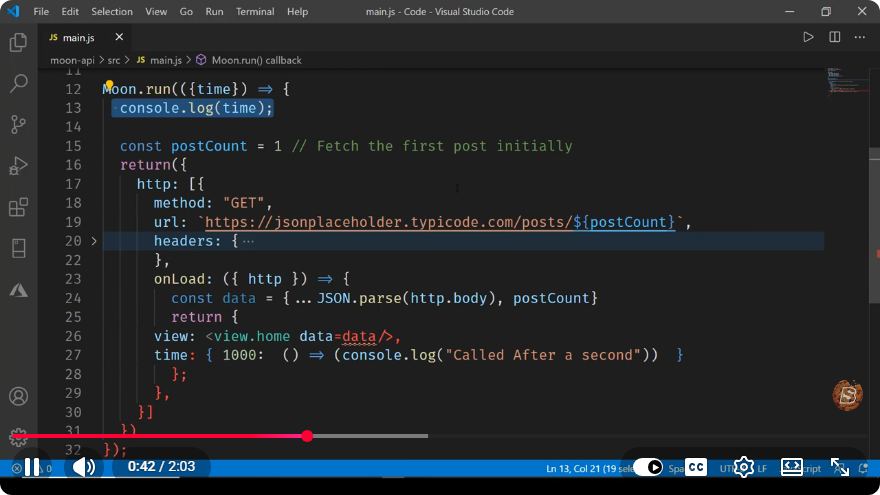
Exploring MoonJs V1 Beta: A Dive into Time Driver
Welcome to our in-depth exploration of MoonJs V1 Beta, a powerful library designed for building reactive web applications. In this blog post, we'll focus specifically on one of its intriguing features: Time Driver. If you’re interested in enhancing your applications with time-based functionalities, you’re in the right place!
What is MoonJs?
MoonJs is a lightweight JavaScript framework that simplifies the process of building interactive user interfaces. It allows developers to create reactive applications efficiently, ensuring that the UI updates in response to data changes seamlessly. The V1 Beta introduces several new features, one of which is Time Driver.
Understanding Time Driver
What is Time Driver?
Time Driver is a unique feature in MoonJs that enables developers to create time-based animations and interactions effortlessly. By leveraging the power of observables, Time Driver allows you to synchronize your application’s state with time, making it ideal for animations, game mechanics, or any time-sensitive functionality.
Key Features of Time Driver
- Reactive Time Management: Automatically updates the application state based on time intervals.
- Customizable Intervals: Set specific intervals for your applications, allowing for flexible timing configurations.
- Integration with Observables: Seamlessly integrates with MoonJs’s reactive data model.
Getting Started with Time Driver
To start using Time Driver, you need to have MoonJs installed in your project. You can do this using npm:
npm install moonjs
Importing MoonJs
Once you have MoonJs installed, you can import it into your JavaScript file:
import Moon from 'moonjs';
Basic Usage of Time Driver
Here’s a simple example to help you understand how to implement Time Driver in your application.
Step 1: Create a Moon Instance
First, you need to create a new instance of Moon:
const app = new Moon({
  data: {
    time: 0
  }
});
Step 2: Setup the Time Driver
Next, you can set up the Time Driver to update the time property every second:
const timeDriver = Moon.TimeDriver({
  interval: 1000, // Update every second
  start: () => {
    app.data.time = 0; // Initialize time
  },
  tick: () => {
    app.data.time += 1; // Increment time
  }
});
Step 3: Start the Time Driver
Finally, start the Time Driver:
timeDriver.start();
Displaying Time in the UI
To display the time in your UI, you can bind it to an HTML element. Here’s how you can do that:
<div id="app">
  <h1>Time: {{ time }}</h1>
</div>
Make sure to mount your app:
app.mount('#app');
Complete Example
Here’s the complete code that combines everything we’ve discussed:
<!DOCTYPE html>
<html lang="en">
<head>
  <meta charset="UTF-8">
  <meta name="viewport" content="width=device-width, initial-scale=1.0">
  <title>MoonJs Time Driver Example</title>
  <script src="https://cdn.jsdelivr.net/npm/moonjs"></script>
</head>
<body>
  <div id="app">
    <h1>Time: {{ time }}</h1>
  </div>
  <script type="module">
    import Moon from 'moonjs';

    const app = new Moon({
      data: {
        time: 0
      }
    });

    const timeDriver = Moon.TimeDriver({
      interval: 1000,
      start: () => {
        app.data.time = 0;
      },
      tick: () => {
        app.data.time += 1;
      }
    });

    timeDriver.start();
    app.mount('#app');
  </script>
</body>
</html>
Conclusion
MoonJs V1 Beta’s Time Driver is a powerful addition for developers looking to integrate time-based features into their applications. With its reactive nature and easy-to-use API, you can create dynamic and interactive web experiences.
Try implementing Time Driver in your projects, and explore the possibilities it offers. Stay tuned for more tutorials as we continue to explore the capabilities of MoonJs and its features! Happy coding!
Connect with SkillBakery Studios
Explore more tutorials, tools, and resources:
Posted by SkillBakery Studios


 Hello, my name is Jack Sparrow. I'm a 50 year old self-employed Pirate from the Caribbean.
No comments:
Post a Comment