
MoonJs V1 Beta - Exploring URL Rewrite using Route
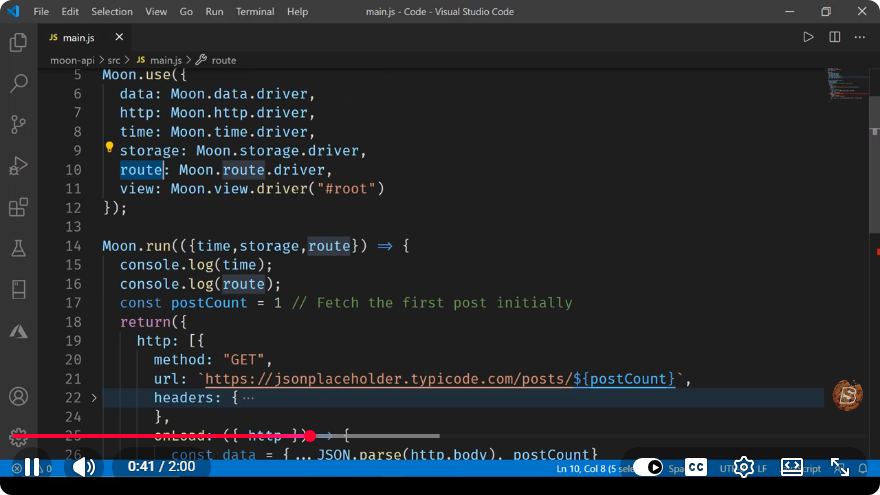
Exploring URL Rewrite with MoonJs V1 Beta
In today's digital landscape, URL rewriting is a vital part of web development, enhancing user experience, SEO, and overall site structure. In this tutorial, we will explore how to utilize URL rewriting in MoonJs V1 Beta, a lightweight JavaScript framework designed for modern web applications. By the end of this post, you’ll have a solid understanding of how to implement routing effectively in your MoonJs projects.
What is MoonJs?
MoonJs is a progressive JavaScript framework that allows developers to build interactive web applications with ease. It features a reactive data-binding system, similar to Vue.js, but aims to provide a smaller footprint and simpler API.
Key Features of MoonJs:
- Lightweight: MoonJs is designed to be minimal and fast.
- Reactive data-binding: It allows for automatic updates to the UI when the underlying data model changes.
- Easy integration: MoonJs can be easily integrated into existing projects alongside other libraries.
Getting Started with MoonJs V1 Beta
Before we dive into URL rewriting, let’s set up a basic MoonJs project. You can include MoonJs directly via CDN or install it through npm. For this tutorial, we’ll use the CDN method.
Step 1: Setting Up Your Project
Create an index.html file and include the MoonJs library:
<!DOCTYPE html>
<html lang="en">
<head>
    <meta charset="UTF-8">
    <meta name="viewport" content="width=device-width, initial-scale=1.0">
    <title>MoonJs URL Rewrite Example</title>
    <script src="https://unpkg.com/moonjs/dist/moon.min.js"></script>
</head>
<body>
    <div id="app"></div>
    <script src="app.js"></script>
</body>
</html>
Step 2: Initializing MoonJs
Next, create an app.js file and initialize your MoonJs application:
const App = {
    data: {
        currentRoute: window.location.pathname
    },
    methods: {
        navigateTo(route) {
            this.currentRoute = route;
            window.history.pushState({}, '', route);
        }
    },
    template: `
        <div>
            <nav>
                <button @click="navigateTo('/')">Home</button>
                <button @click="navigateTo('/about')">About</button>
            </nav>
            <div>
                <template v-if="currentRoute === '/'">
                    <h1>Welcome to the Home Page</h1>
                </template>
                <template v-if="currentRoute === '/about'">
                    <h1>About Us</h1>
                </template>
            </div>
        </div>
    `
};

const moonApp = new Moon({
    el: '#app',
    data: App.data,
    methods: App.methods,
    template: App.template
});
Step 3: Implementing URL Rewriting
Now that we have a basic application structure in place, it’s time to implement URL rewriting using MoonJs's routing capabilities. The navigateTo method already updates the URL without reloading the page, thanks to the history.pushState method.
To handle deep linking and ensure the correct view loads when a user navigates directly to a URL, let's modify our initialization code:
window.onpopstate = () => {
    moonApp.currentRoute = window.location.pathname;
};
This code allows the application to respond to back and forward browser button clicks.
Step 4: Testing Your Application
Now it’s time to test our MoonJs application. Open your index.html file in a web browser, and use the navigation buttons to switch between the Home and About pages. You should see the content update dynamically without a full page refresh.
Additional Enhancements
Here are a few suggestions to improve your URL rewriting implementation further:
- 404 Page Handling: Implement a catch-all route that displays a “404 Not Found” message for undefined routes.
- Dynamic Routing: Explore dynamic routes if you need to pass parameters in your URLs.
- SEO Optimization: Consider server-side rendering if you need better SEO performance for your single-page application.
Conclusion
In this tutorial, we explored the fundamentals of URL rewriting using MoonJs V1 Beta. The simple navigation example showcased how to manipulate the browser's URL while dynamically updating the content displayed to users. With its lightweight nature and reactive data-binding, MoonJs serves as a fantastic tool for building modern web applications.
Feel free to experiment with the provided code and expand upon it to suit your application’s needs. Happy coding!
Connect with SkillBakery Studios
Explore more tutorials, tools, and resources:
Posted by SkillBakery Studios


 Hello, my name is Jack Sparrow. I'm a 50 year old self-employed Pirate from the Caribbean.
No comments:
Post a Comment