
NextJs - API Routes Basics
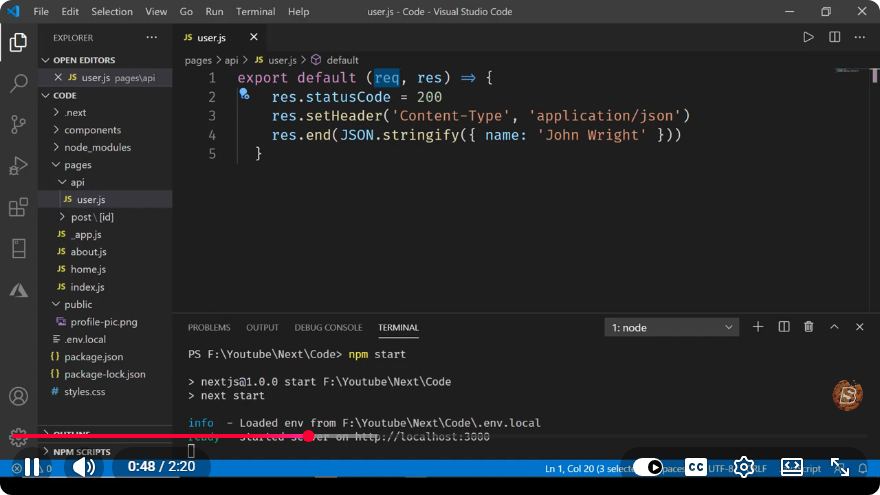
Understanding Next.js API Routes: A Quick Guide
Next.js has revolutionized the way developers build React applications by providing a framework that simplifies server-side rendering and static site generation. One of its powerful features is API Routes, which allow you to create backend endpoints directly within your Next.js application. In this post, we will explore the basics of API Routes in Next.js, including how to create and use them effectively.
What Are API Routes?
API Routes in Next.js allow you to build your own API endpoints as part of your application. This means you can handle requests, process data, and send responses without needing a separate server. This feature is especially useful for small applications or when you want to prototype quickly.
Setting Up a Next.js Project
Before we dive into creating API Routes, make sure you have a Next.js project set up. If you haven’t done this yet, you can create a new Next.js application by running the following command in your terminal:
npx create-next-app my-next-app
cd my-next-app
Creating Your First API Route
Now that you have your Next.js project set up, let’s create our first API route. API routes are located in the pages/api directory. Each file in this directory corresponds to a different API endpoint.
Step 1: Create an API Route
- In your Next.js project, navigate to the
pages/apidirectory. - Create a new file named
hello.js.
Step 2: Write Your API Route
Open hello.js and add the following code:
// pages/api/hello.js

export default function handler(req, res) {
  res.status(200).json({ message: 'Hello, Next.js API Routes!' });
}
Explanation of the Code
req: This parameter represents the incoming request.res: This parameter represents the response you will send back.res.status(200): Sets the HTTP status code to 200, indicating a successful request.res.json(): Sends a JSON response back to the client.
Testing Your API Route
To test your new API route, follow these steps:
- Start your development server by running:
npm run dev
- Open your browser and navigate to
http://localhost:3000/api/hello.
You should see a JSON response that looks like this:
{
  "message": "Hello, Next.js API Routes!"
}
Congratulations! You’ve created and tested your first API route in Next.js.
Handling Different HTTP Methods
Next.js API Routes can handle different HTTP methods such as GET, POST, PUT, and DELETE. Here’s how you can modify the existing hello.js route to respond differently based on the request method.
Updated API Route Example
// pages/api/hello.js

export default function handler(req, res) {
  if (req.method === 'GET') {
    res.status(200).json({ message: 'This is a GET request' });
  } else if (req.method === 'POST') {
    const data = req.body;
    res.status(200).json({ message: 'Data received', data });
  } else {
    res.setHeader('Allow', ['GET', 'POST']);
    res.status(405).end(`Method ${req.method} Not Allowed`);
  }
}
Explanation of the Code
- The code checks
req.methodto determine what type of request it received. - For a GET request, it sends a simple JSON response.
- For a POST request, it expects data in the request body and responds with that data.
- If the method is not allowed, it sends a 405 status with an appropriate message.
Conclusion
Next.js API Routes provide a convenient way to create server-side endpoints directly within your application. They are easy to set up and can handle various types of requests, making them a powerful feature for building full-stack applications with Next.js.
By following the steps outlined in this tutorial, you should now understand the basics of creating and using API Routes in Next.js. For more advanced functionalities, consider exploring middleware, authentication, and database integrations.
Feel free to experiment with your own routes and expand your application's capabilities! Happy coding!
Connect with SkillBakery Studios
Explore more tutorials, tools, and resources:
Posted by SkillBakery Studios


 Hello, my name is Jack Sparrow. I'm a 50 year old self-employed Pirate from the Caribbean.
No comments:
Post a Comment